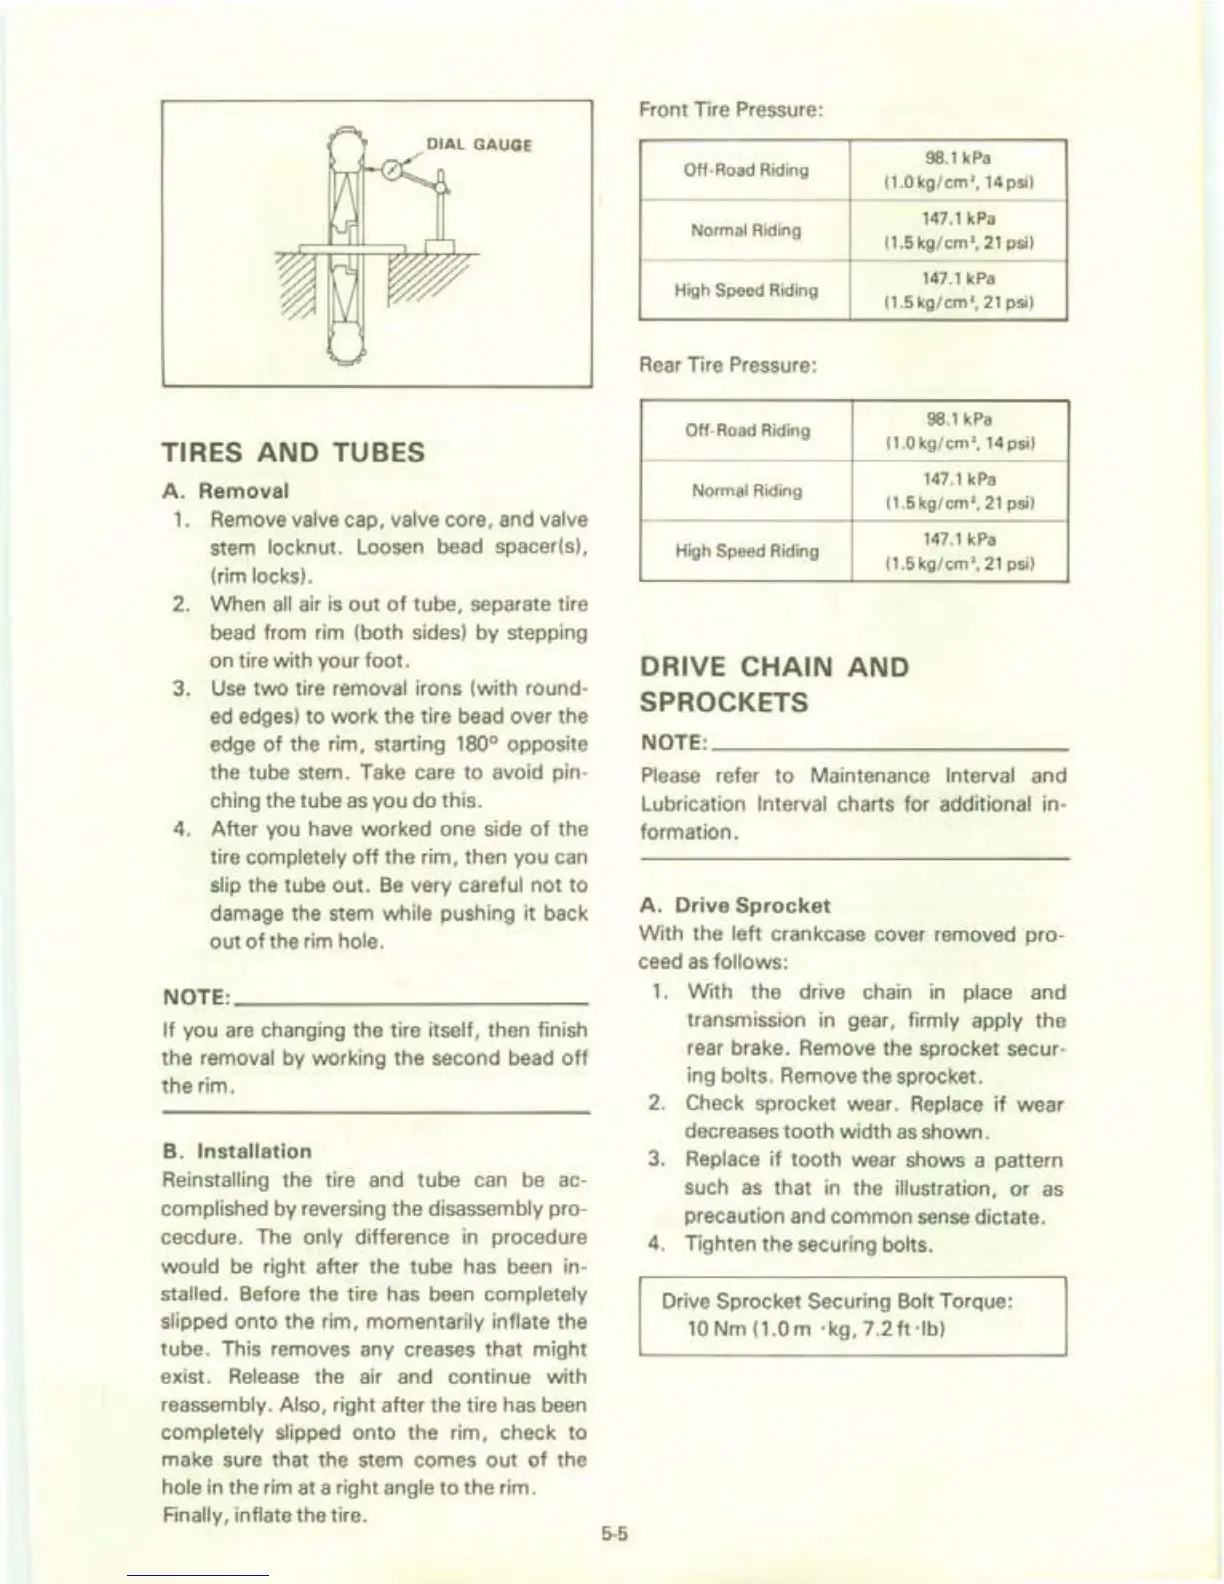
TIRES
AND
TUBES
A.
Removal
1.
Remove valve cap, valve core, and valve
stem locknut. Loosen bead spacer(s),
(rim
locks).
2. When
all
air
is
out
of
tube, separate tire
bead from rim (both sides) by stepping
on tire with your foot.
3.
Use
two
tire removal irons (with round-
ed
edges)
to
work the tire bead over the
edge
of
the rim, starting
180
0
opposite
the tube stem. Take care
to
avoid pin-
ching the tube
as
you do this.
4. After you have worked one side
of
the
tire
completely
off
the rim, then you
can
slip the tube out.
Be
very careful not
to
damage the stem while pushing it back
out
of
the rim hole.
NOTE:
______________________
_
If
you
are
changing the tire itself, then finish
the
removal by working the second bead
off
the rim.
B.
Installation
Reinstalling the tire and tube can
be
ac-
complished by reversing the disassembly pro-
cecdure. The
only difference in procedure
would
be
right after the tube has been in-
stalled. Before the tire has been completely
slipped
onto the rim, momentarily inflate the
tube. This removes any creases that might
exist.
Release
the air and continue with
reassembly. Also, right after the tire has been
completely slipped onto the rim, check
to
make
sure
that the stem comes
out
of
the
hole in the rim at a right angle
to
the rim.
Finally, inflate the tire.
5-5
Front Tire Pressure:
Off-
Road
Riding
98.1
kPa
(1.0kg/cm
2
,
14 psi)
Normal Riding
147.1
kPa
(1.5kg/cm
2
,21
psi)
High
Speed Riding
147.1
kPa
(1.5kg/cm
2
,21 psi)
Rear
Tire Pressure:
Off-Road Riding
98.1
kPa
(1.0kg/cm
2
,
14psi)
Normal Riding
147
.1
kPa
(1
.5
kg/
cm
2,
21
psi)
High
Speed Riding
147.1
kPa
(1.5kg/cm
2
,21 psi)
DRIVE
CHAIN
AND
SPROCKETS
NOTE:
______________________
__
Please
refer
to
Maintenance Interval and
Lubrication
Interval charts for additional in-
formation.
A.
Drive
Sprocket
With the left crankcase cover removed pro-
ceed
as
follows:
1.
With the drive chain
in
place and
transmission in gear,
firmly apply the
rear brake. Remove the sprocket secur-
ing
bolts. Remove the sprocket.
2.
Check sprocket wear. Replace
if
wear
decreases
tooth
width
as
shown.
3.
Replace
if
tooth wear shows a pattern
such
as
that
in
the illustration, or
as
precaution and common
sense
dictate.
4.
Tighten the securing bolts.
Drive Sprocket Securing Bolt Torque:
10
Nm
(100m
'kg,
7.2ft
·lb)
 Loading...