Customizing Your Phone
51
2. Mark the desired line in the Outgoing Allowed Lines field.
3. Click Save changes to accept the change.
4. Perform auto provisioning on the phone to download above configurations. For
more information on how to perform auto provisioning, refer to Downloading
Configuration Files on page 17.
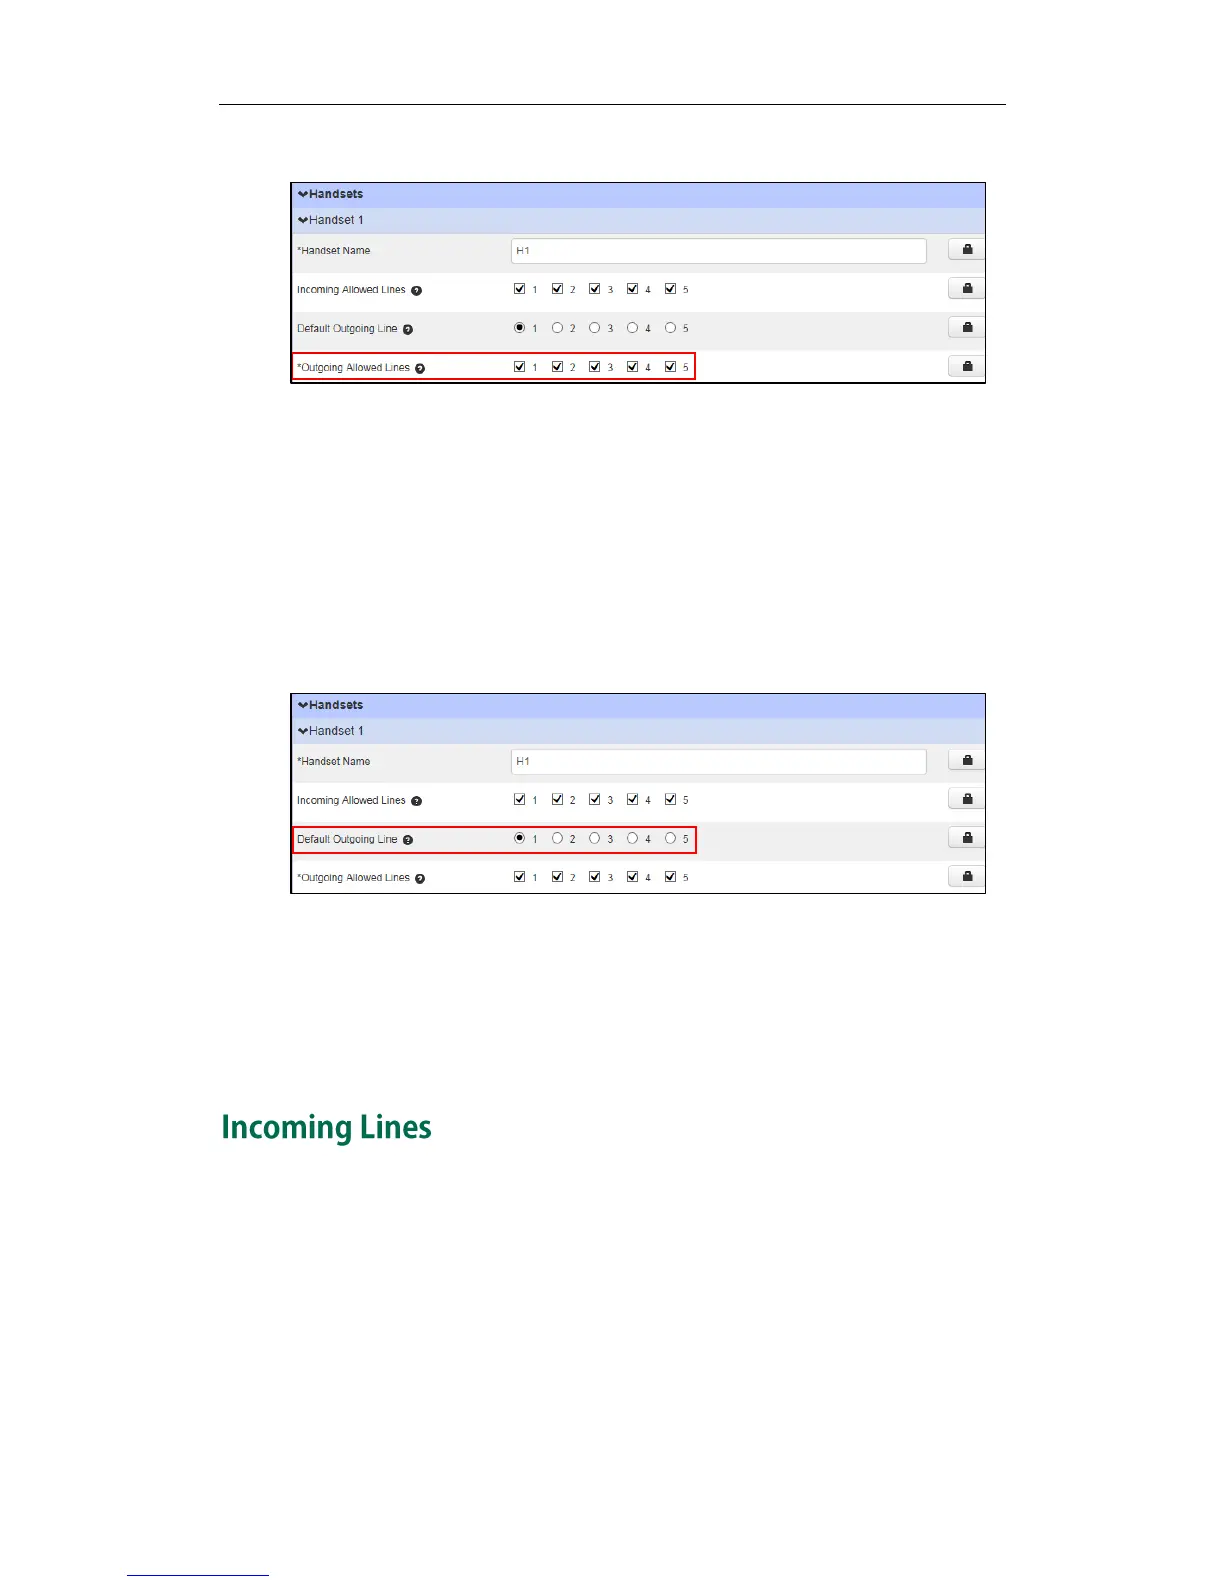
To change the default outgoing line of the handset via the CommPortal phone
configurator:
1. Click on Handsets->Handset X.
2. Mark the desired line in the Default Outgoing Line field.
3. Click Save changes to accept the change.
Perform auto provisioning on the phone to download above configurations. For
more information on how to perform auto provisioning, refer to Downloading
Configuration Files on page 17.
The default outgoing line is changed successfully.
After the handset is registered to the base station, you can assign one or more incoming
lines for the handset. The handset can only receive incoming calls of the assigned
incoming line(s). You can assign incoming lines to all handsets registered to the same
base station on your handset.
To assign the incoming line of the handset via CommPortal phone configurator:
1. Click on Handsets->Handset X.

 Loading...