3-11
IM 04L51B01-01EN
Using Network Functions (Ethernet interface)
3
Starting,Stopping,Resetting,andAcknowledgingComputing
Procedure
1
On the SMARTDAC+ Web Service tab, click Computing.
The Computing dialog box appears.
2
Click a button.
Start computing: Starts computing on math channels The indicator below the Comput-
ing button turns on in blue.
Stop computing: Stops computing on math channels The indicator below the Comput-
ing button turns off.
Reset computing: Resets computing on math channels
Math ACK: Clears the icon that appears (on the GX/GP) when a computation data
dropout occurs.
Alarm ACK
Follow the procedure below to acknowledge all alarms that are occurring.
Procedure
1
On the SMARTDAC+ Web Service tab, click Alarm.
The Alarm dialog box appears.
2
Click Alarm ACK.
Alarms are acknowledged. If the alarm sound is on, it is stopped.
IndicatorbelowtheAlarmbutton
See “Status Indications.”
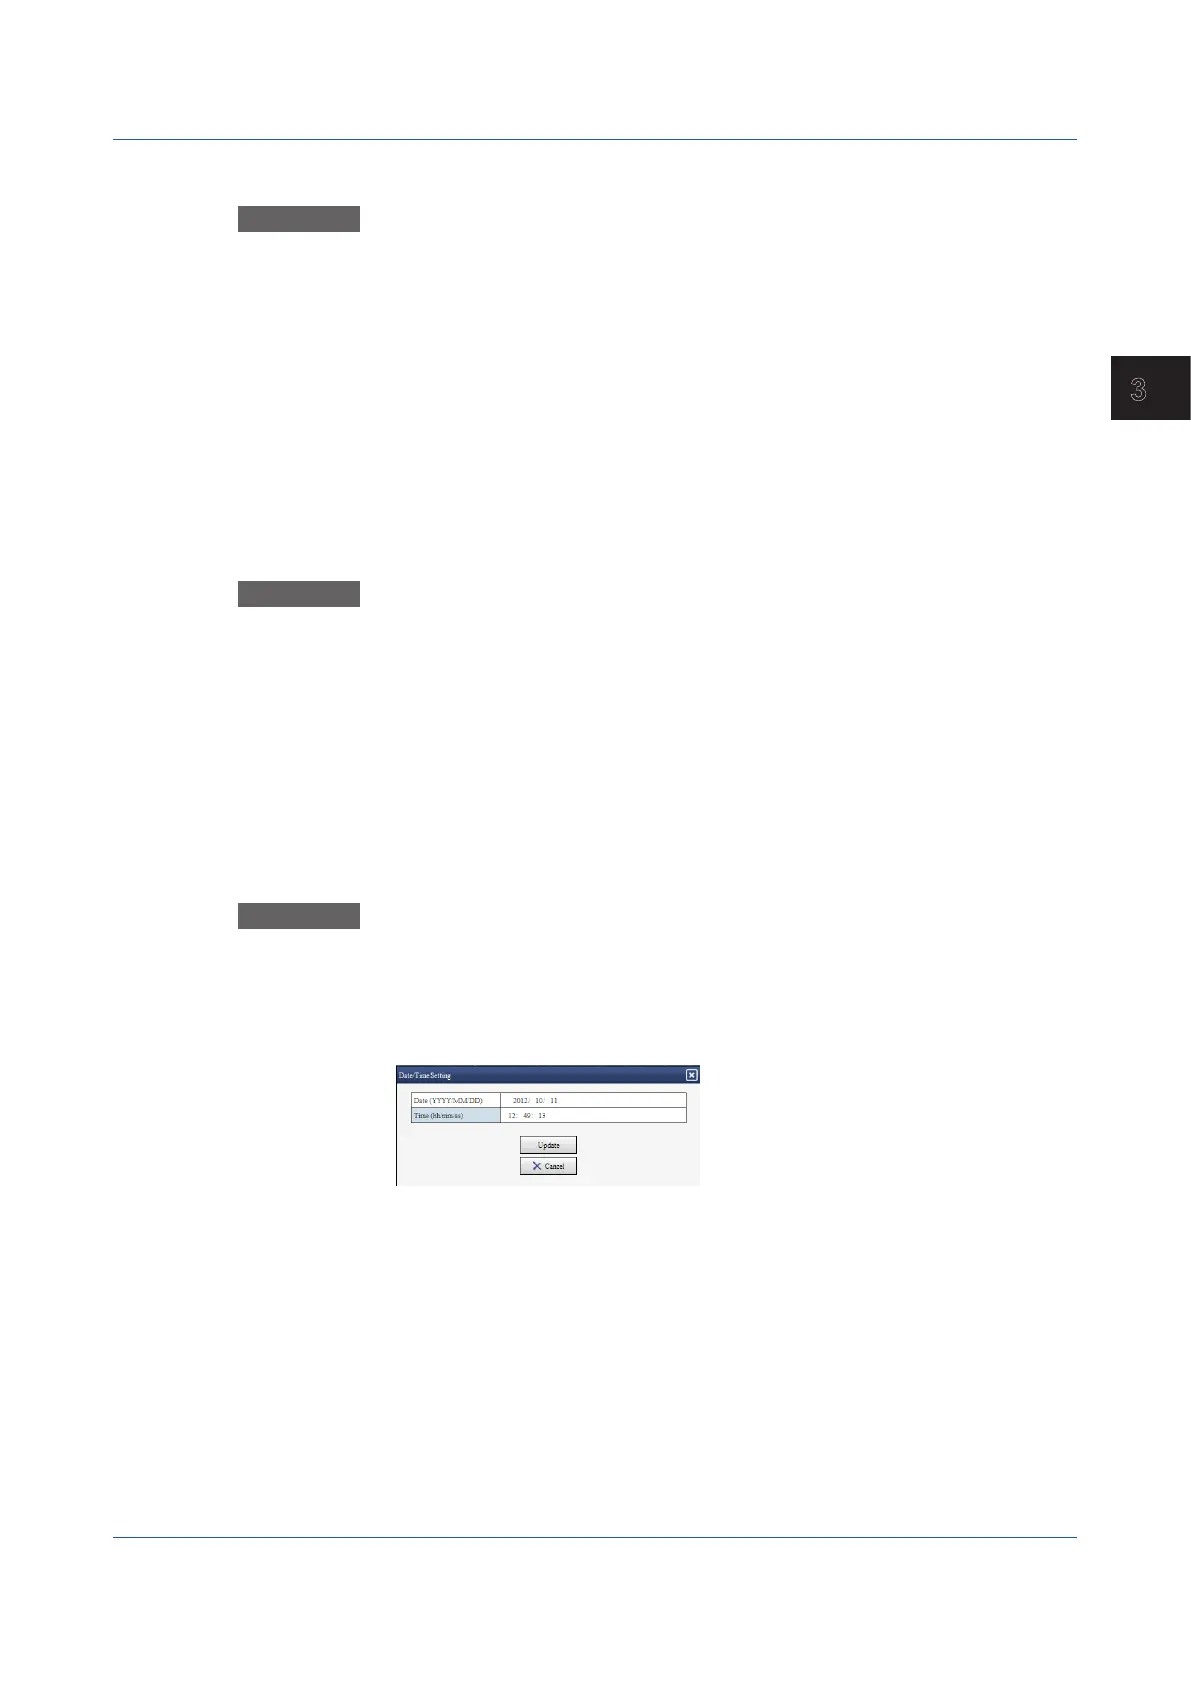
Setting the Date and Time
Follow the procedure below to set the GX/GP’s date and time.
Procedure
1
On the Operation tab, click Date/Time Settings.
The Date/Time settings dialog box appears.
2
Enter the date and time, and click Update.
The GX/GP’s date and time are changed.
You may not be able to change the time depending on the GX/GP settings or
condition. Follow the instructions in the message to handle it.
3.1 Using the Web Application to Change the GX/GP Settings, Monitor Data, and Control the GX/GP (Web server function)
 Loading...