IM 01C50B01-01E
4-1
4. INSTALLATION
4. INSTALLATION
IMPORTANT
• When performing on-site pipe fitting work that
involves welding, use care to prevent outflow
of the welding current into the transmitter.
• Do not use the transmitter as a foothold for
installation.
• For details of choosing the installation location, refer
to the guidelines outlined in Section 2.4, “Choosing
the installation location”.
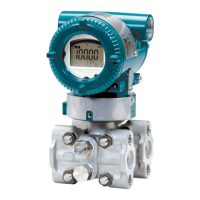
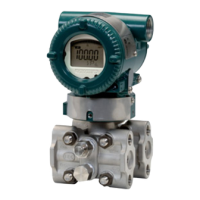
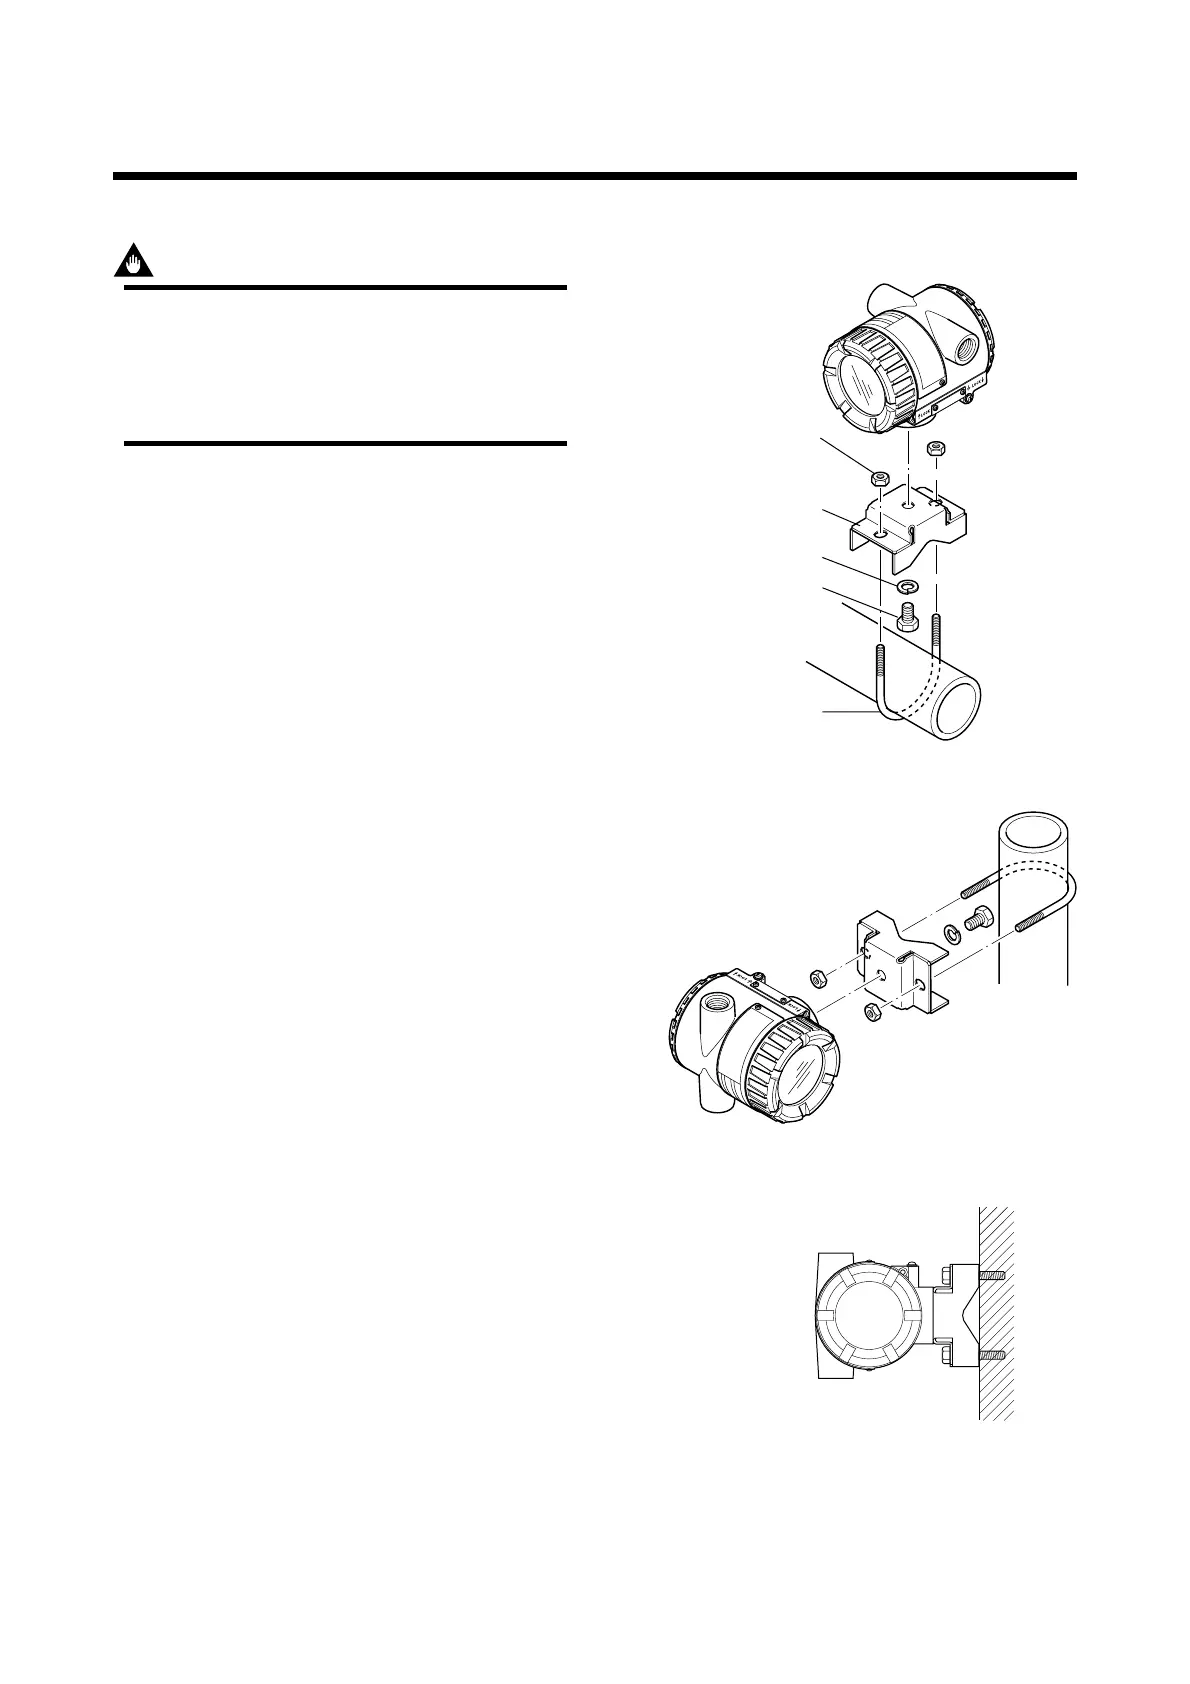
• The mounting bracket shown in Figure 4.1 is used
for the transmitter and is installed on 50A (2B) pipe.
It can be installed either on a horizontal pipe and a
vertical pipe or on a wall.
• To install the mounting bracket on the transmitter,
torque the transmitter lock screw (1) to about 20 to
30N⭈m.
F0401.EPS
Horizontal Pipe Mounting
Vertical Pipe Mounting
Wall Mounting
U-bolt nut
Mounting bracket
Spring washer
Transmitter lock scraps
2B pipe
(60.5dia.)
U-bolt
Note: Wall mounting bolts are user-
supplied.
Figure 4.1 Mounting the Transmitter

 Loading...