Chapter 5 Client Mode
WAP6806 User’s Guide
28
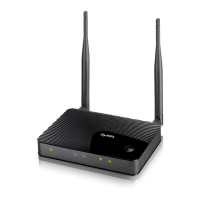
5.4 Setting your WAP6806 to Client Mode
1 Connect your computer to the LAN port of the WAP6806.
2 The default IP address of the WAP6806 is “192.168.1.2”. In this case, your computer must have an
IP address in the range between “192.168.1.3” and “192.168.1.254”.
3 Click Start > Run on your computer in Windows. Type “cmd” in the dialog box. Enter “ipconfig” to
show your computer’s IP address. If your computer’s IP address is not in the correct range then see
Appendix B on page 94 for information on changing your computer’s IP address.
4 After you’ve set your computer’s IP address, open a web browser such as Internet Explorer and
type “ http://zyxelsetup” or “http://192.168.1.2” as the web address in your web browser.
5 Enter “1234” (default) as the password and click Login.
6 Type a new password and retype it to confirm, then click Change. Otherwise, click Skip.
Note: You have to log in to the Web Configurator again when you change modes. As soon
as you do, your WAP6806 is already in Client mode.
Note: The client mode IP address is always the same as the access point mode IP
address. If you changed the IP address of your WAP6806 while in access point
mode, use this IP address in client mode.
5.5 Client Mode Status Screen
Click to open the status screen.
Figure 12 Status: Client Mode
 Loading...

