Warning
Remember to tighten all the four corner screws to fix the loudspeaker
seal after electric installation to avoid water in-leak! A cross-head PZ1
screwdriver is recommended.
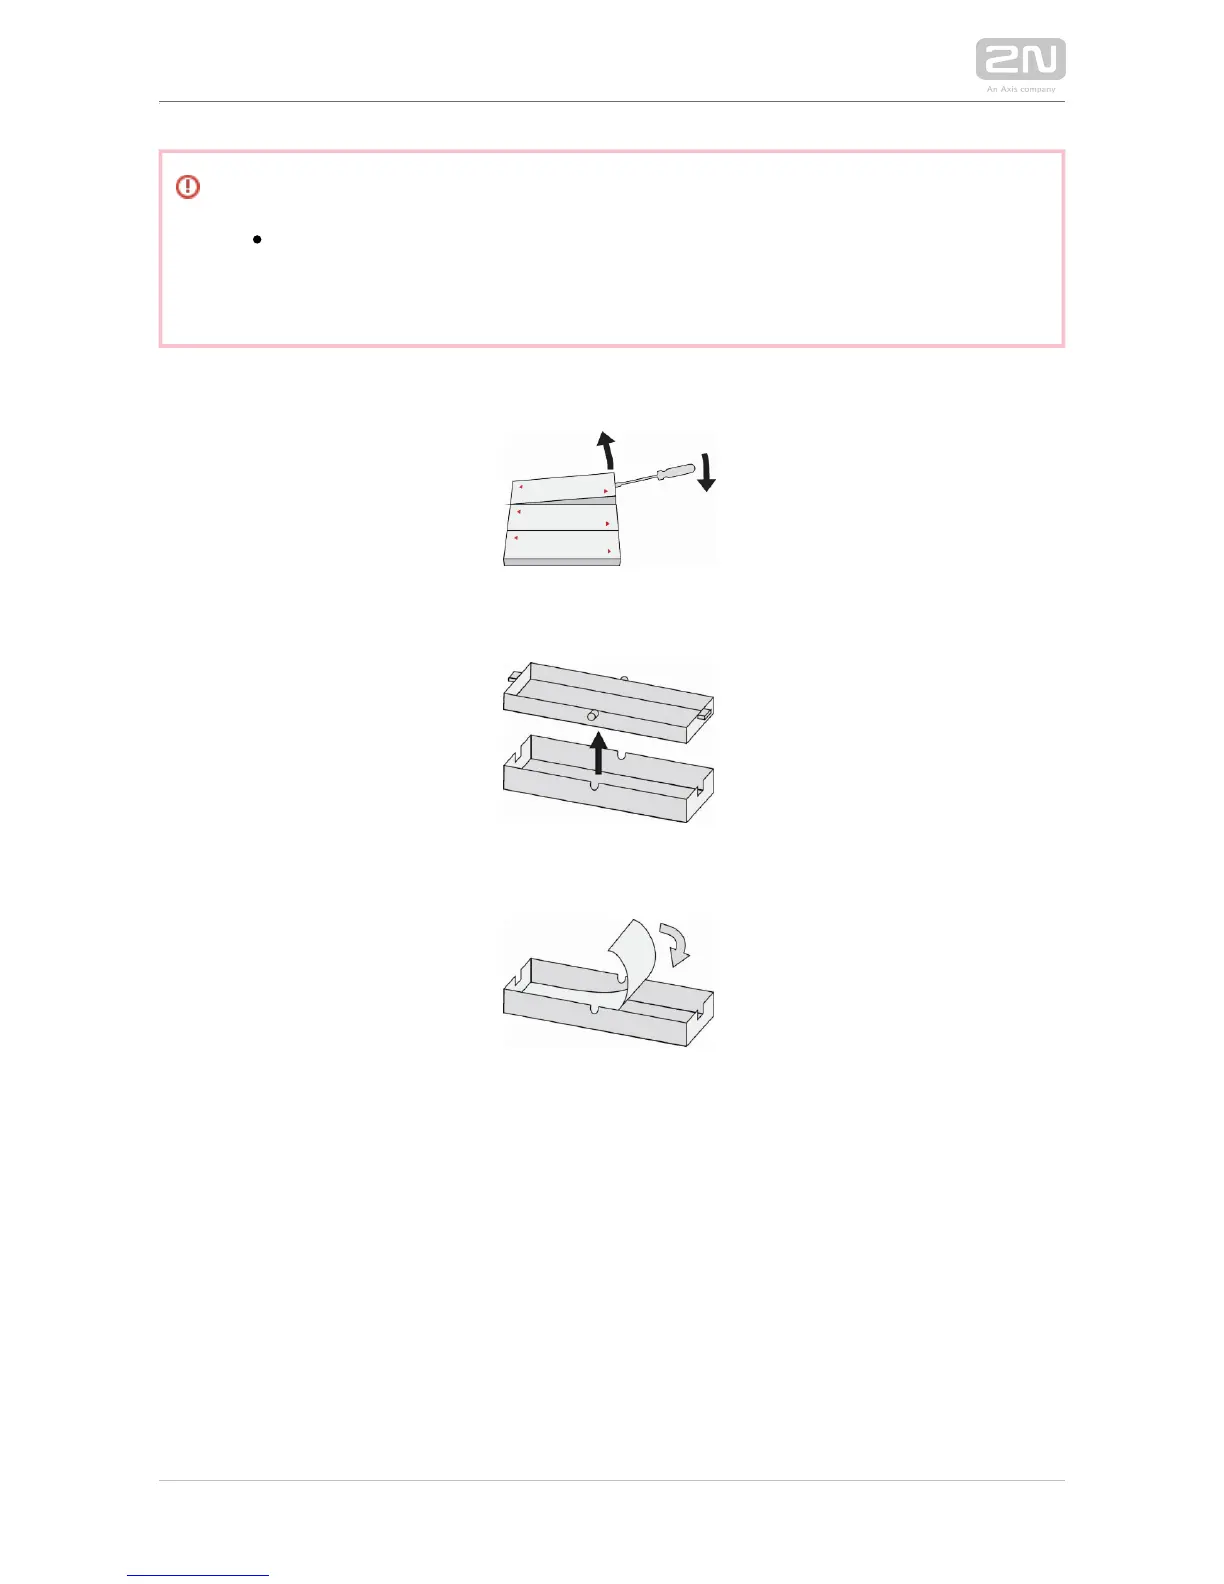
14. Take out the name plates from the plastic cover. Use a flat-bladed screwdriver, for
example.
15. Remove the inserts from the name plates.
16. Insert the printed foil labels.
17. Put the inserts back in the name plates.
18. Replace the name plates, clicking them into position. The name plates hold the
matt foil inserted underneath.
19. Check whether a silicone seal is inserted in the top groove of the plastic cover. A
spare seal package is included.
20. Close the metal cover and fix it with screws.