ProJet
®
x60Pro Series User Guide Setup And Print The Build
3dscentral.3dsystems.com 20 All Rights Reserved
5/12/13
• Cross-section view (2D) of the current build
• Part orientation of the current build as it is printing, in the X-Z Axis (side view)
2.7 Dry The Part
When your part is finished printing, the printer runs a drying cycle. A timer on the LCD menu will count
down the time remaining to dry the part. Drying the part gives it added strength, so you should not handle
parts before they have adequately dried.
You can leave the part in the Build Bed after the drying cycle ends and it will continue to increase in
strength. The longer a part is dried the stronger it becomes, although until it is infiltrated, it will still be frag-
ile and should be handled with care.
2.8 Clean the Part
Once your part has dried, you will need to clean it to remove any remaining loose Core material. Cleaning
is done in two stages: coarse cleaning, which removes the Core material around the part in the Build Bed;
and fine cleaning, which removes any Core still clinging to the part itself.
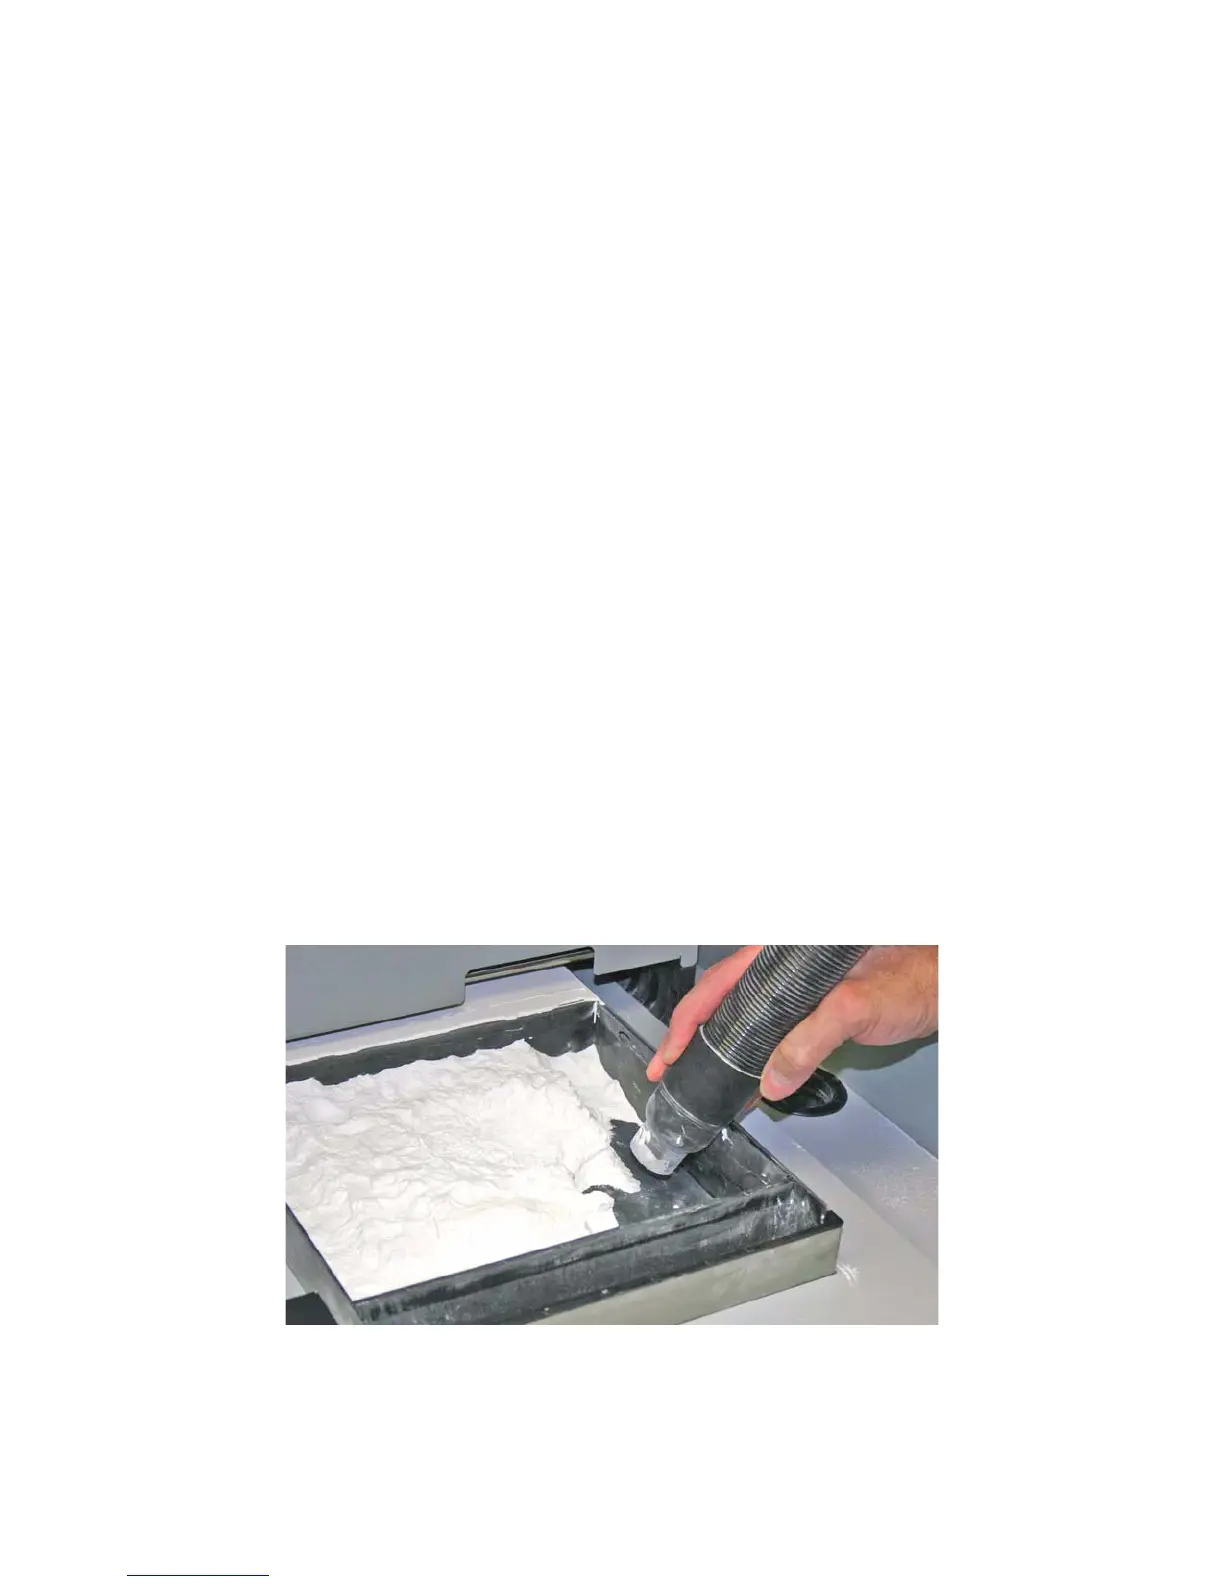
2.8.1 Coarse Cleaning
Your part prints and dries in the Build Bed surrounded by unused, loose Core. You will need to remove
unused Core from the Build Bed after the drying cycle is finished.
1. Before you begin vacuuming, check the part orientation in 3DPrint to avoid damage to your part.
2. Close the printer top cover.
3. On the LCD Display, select
VACUUM.
4. Open the printer top cover. The vacuum starts. Use the Control Knob to move the Build Platform up as
you vacuum. Unused Core that is vacuumed from the Build Bed is recycled back into the printer
Feeder so it can be used for future builds.
Important: For delicate parts, or parts with especially delicate features, it is recommended that you
build the part with a Fixture. Refer to the 3DPrint User Manual for details on adding a Fixture.
2.8.2 Fine Cleaning