3.3.2 Scanning
Once the preparation steps have been completed, you can start scanning.
The scanning toolbar is described in the help chapter
General Scanning Tools.
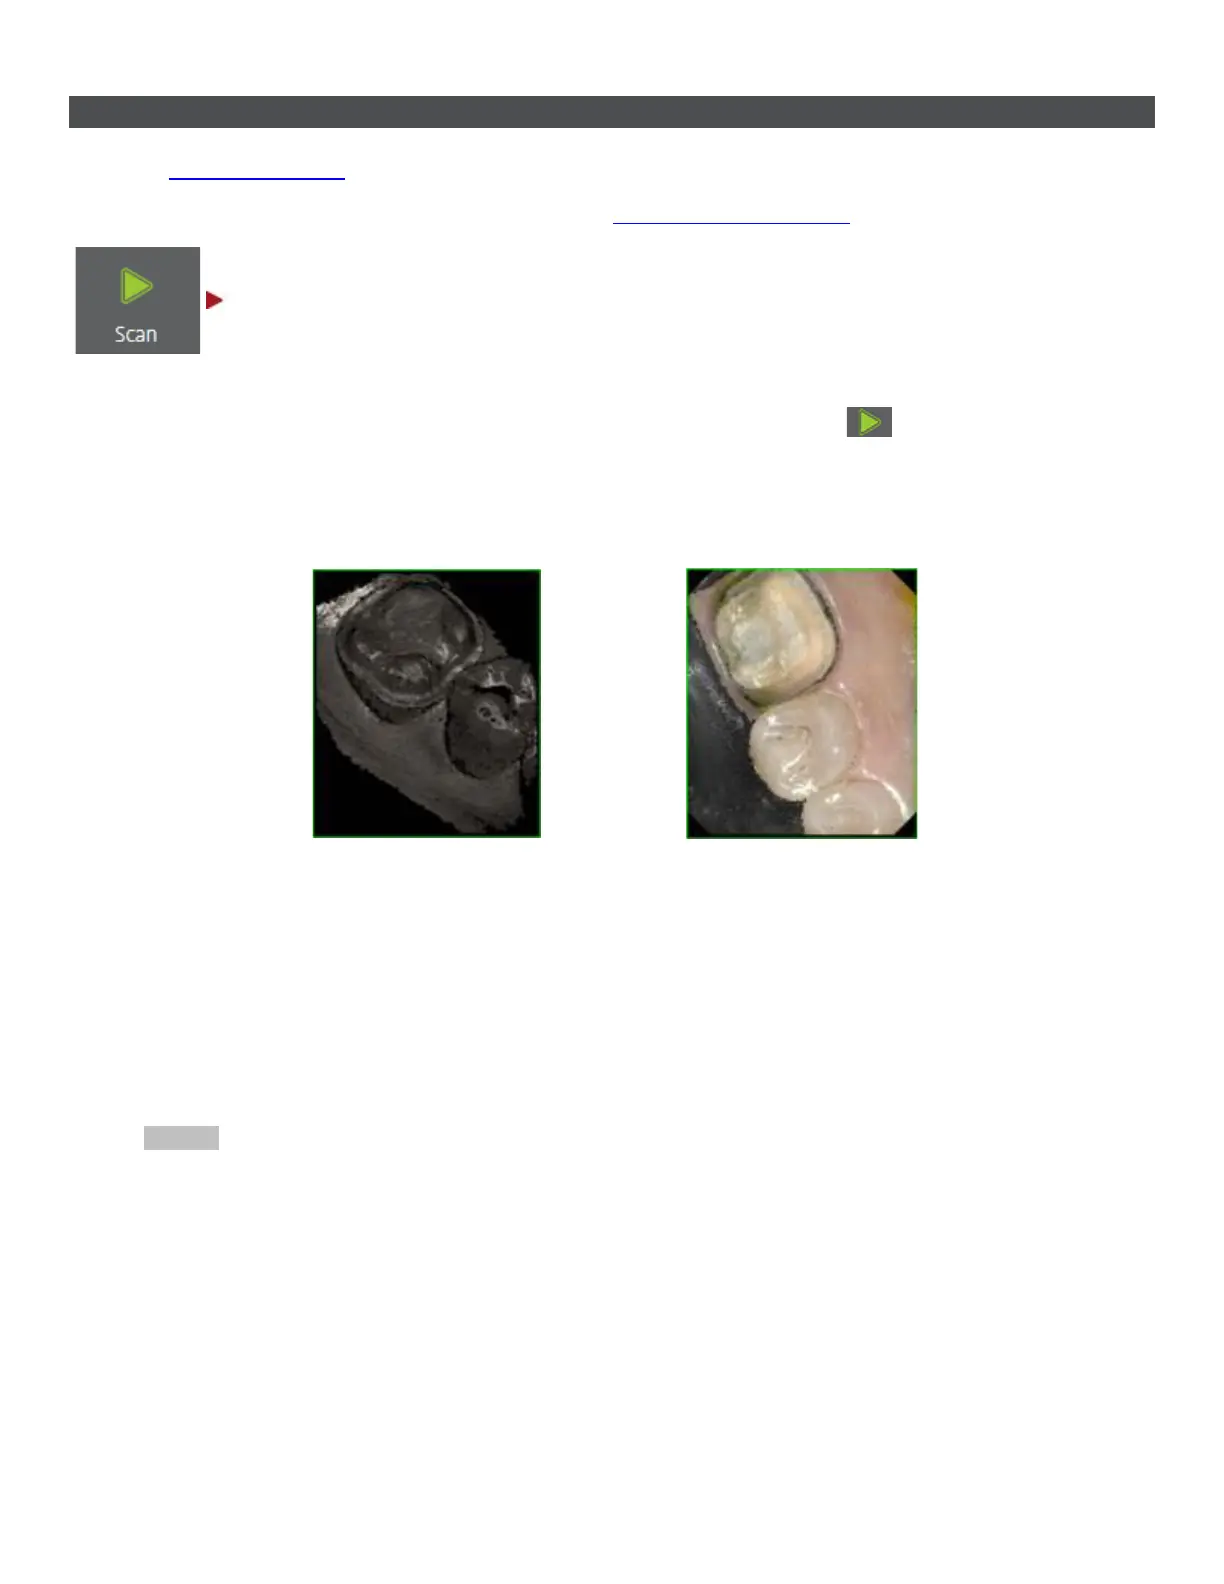
Step 1: Start scanning
1. Insert the scanner tip into the patient’s mouth and point at the area to scan.
2. Press the Scan Activation button on the scanner or press the Scan button at the bottom of
the screen to initiate the scanning process.
Either a color or monochrome 2D image on the right indicates the scanner's field of view:
Monochrome scanning Color scanning
A 3D model appears in the center of the window when the scanning process starts.
The colored frame outlines the scanner's field of view with the color indicating the current capture quality.
When the frame is:
• Green - the capture is optimal.
• Yellow - the capture is less than optimal e.g., due to the scanner being moved too fast.
• Red - there is no capture at all.
The images below illustrate possible colors of the rectangle during scanning:
21