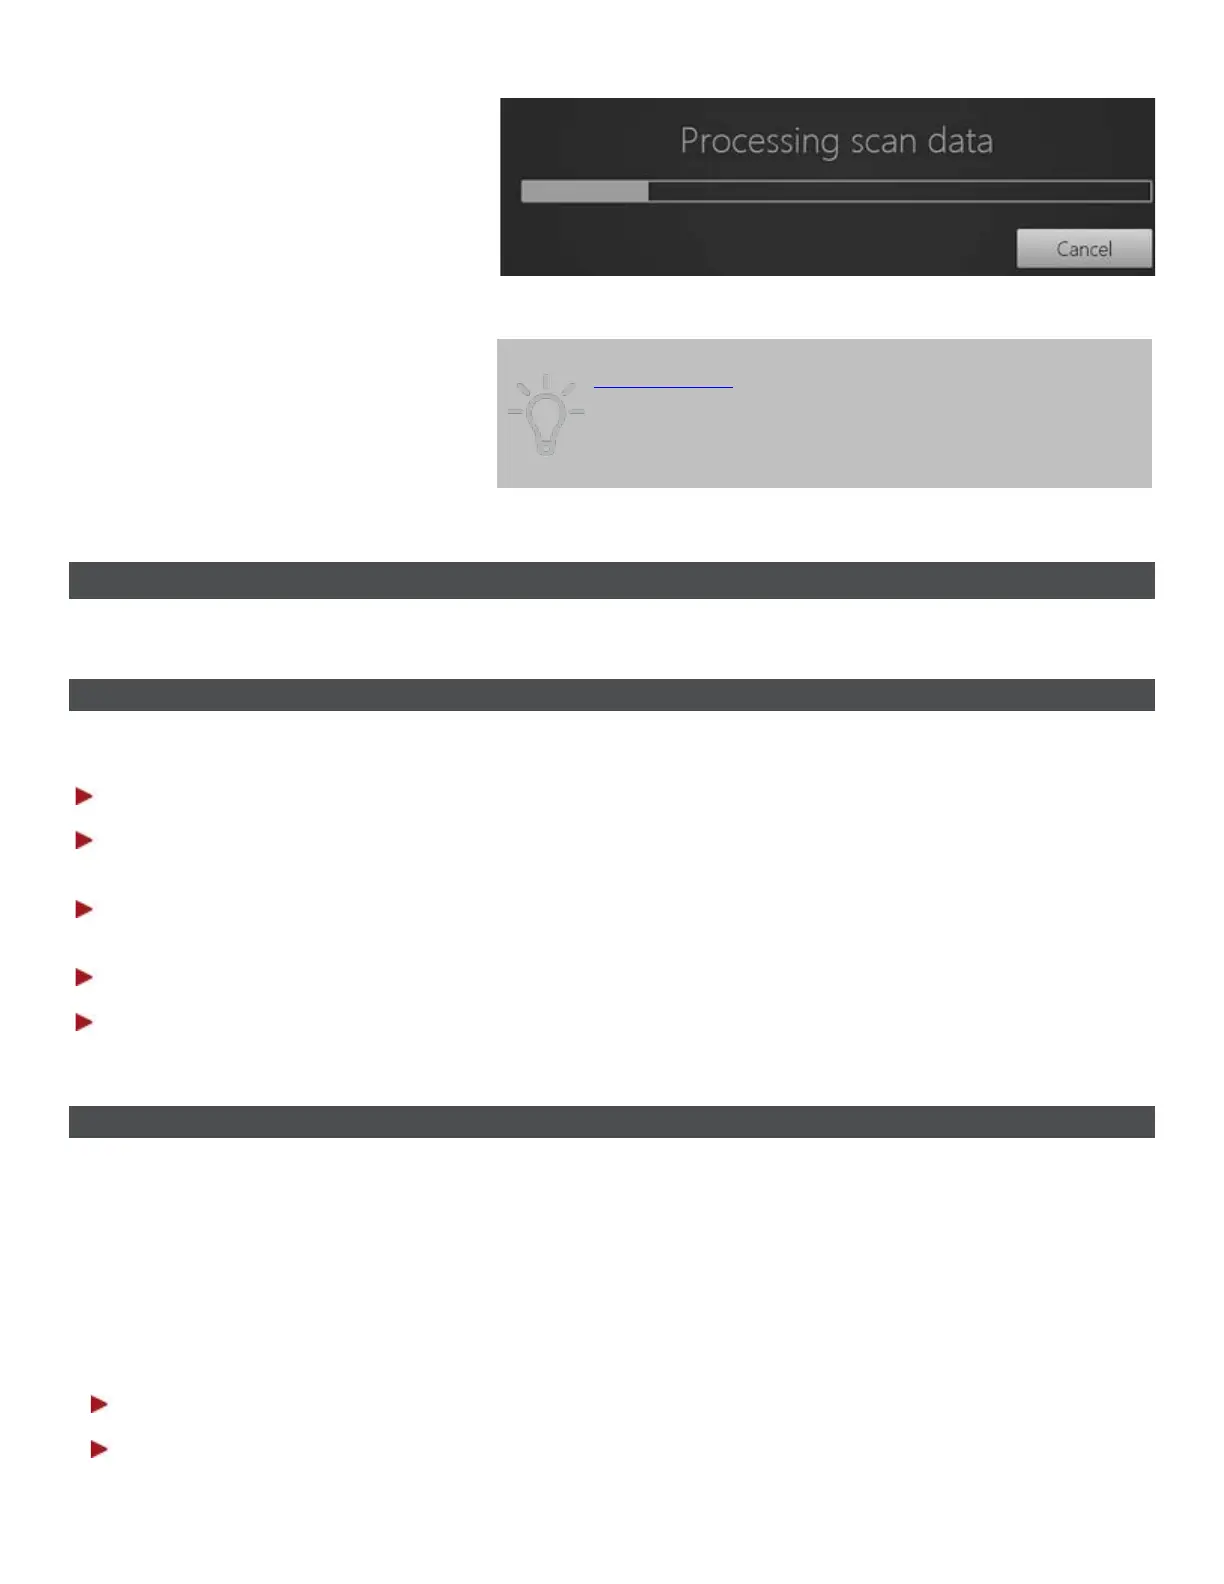
Post-processing might take a couple of minutes to complete.
Tip! Post-processing will be done automatically during
order sending if the post-process button was not
activated by the operator. However, it is
recommended to do post-processing at the Analyzing
step and inspect the result in order to avoid the risk of
overlooking changes introduced by post-processing.
3.4 Specific Scanning Workflows
3.4.1 How Do I Scan One or More Preparations
Dentist should perform the following operations when scanning preparations:
Step 1: Prepare patient's teeth.
Step 2: Retract the gingiva around the preparation for the preparation lines to stand out clearly by
using at least 1 gingival retraction cord to retract the gingiva (3Shape recommends using 2 cords).
Step 3: Dry the teeth lightly using compressed air. Be sure to reach the narrow regions between teeth.
Consider using saliva ejector and/or tampons.
Step 4: Scan preparation.
Step 5: Send your preparation order to the lab.
3.4.2 How Do I Make a Pre-preparation Scan
An order can include a pre-preparation scan as a reference when designing the new restoration, so that
the new and the old tooth look alike. Pre-preparation scans are allowed for all restorations except Post and
Core, and Abutments.
There is a choice of two options to follow when performing a pre-preparation scan:
Option 1
Step 1: Mark the restoration tooth in the order form.
Step 2: Select the indication type.
34