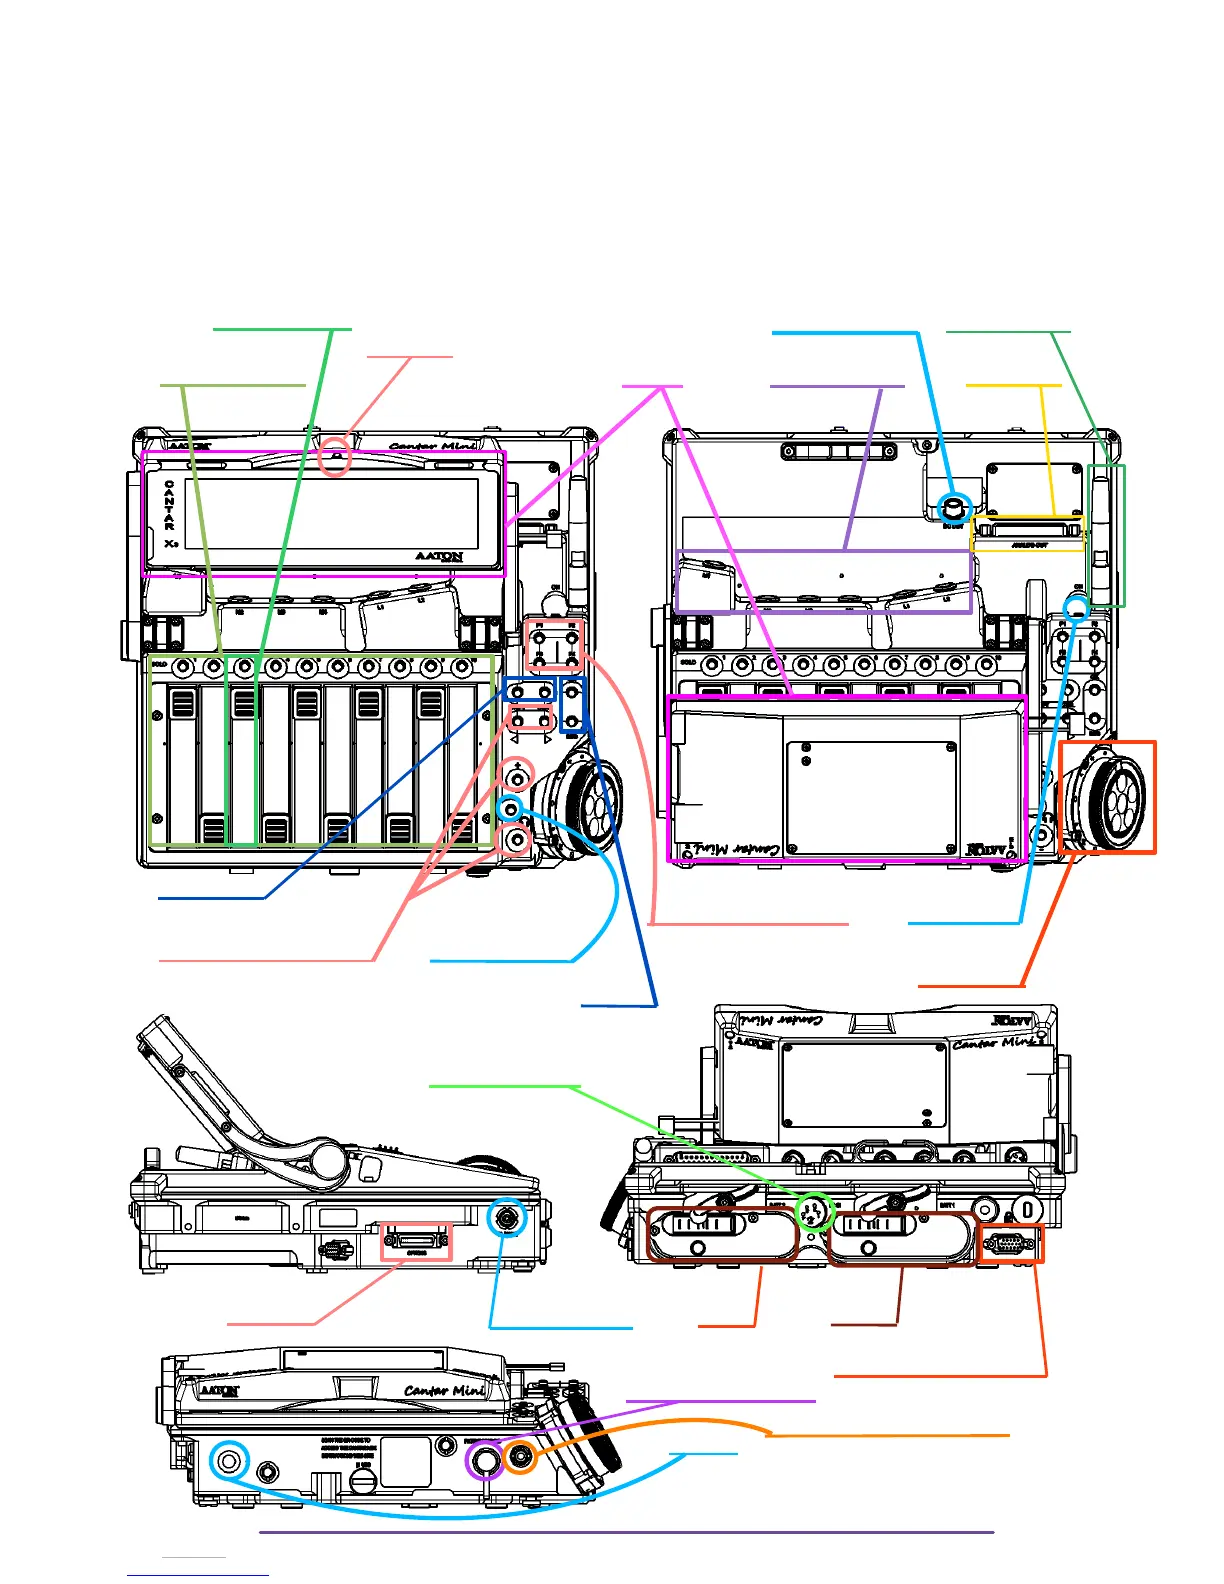
• The Right Side which gives access to Usb, Sd slots, and Ethernet port.
• The Left Side which gives access to the Timecode Lemo-4 and the option port.
On the left side, just underneath the Cantar is the Digital inputs/outputs connector (SubD
15 HD).
• The Back Side which gives access to the 2 batteries, an XLR-4 for DC in, and a
mechanical locking port.
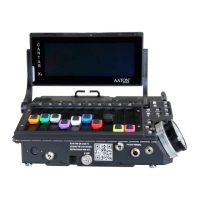
Fader +Solo button Power out (HiRose) Wifi Antenna
Light Sensor
Linear Actioner Panel Screen Mic & Line inputs Line Outputs
Power On/Off
Pot + Solo Button
Solo Line / Aes-42
Headphone Level
Shift
Shift / Control
Function buttons F1 to F3 Power On/Off
Directional Buttons (L/R/U/D) Headphone button
Main Selector
Ok /Esc
Ext Power IN (XLR-4)
Option port Timecode (Lemo 4) Batt 2 Batt 1
Aes42 Inputs / Aes Outputs
6,35 mm Headphone jack
3,5 mm Headphone + Slate jack
Slate mic
Cantar X3
15