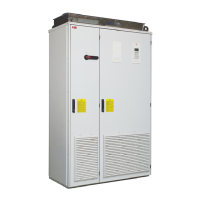
Mechanical installation
48
Installation procedure
See detailed instructions in the following few
pages.
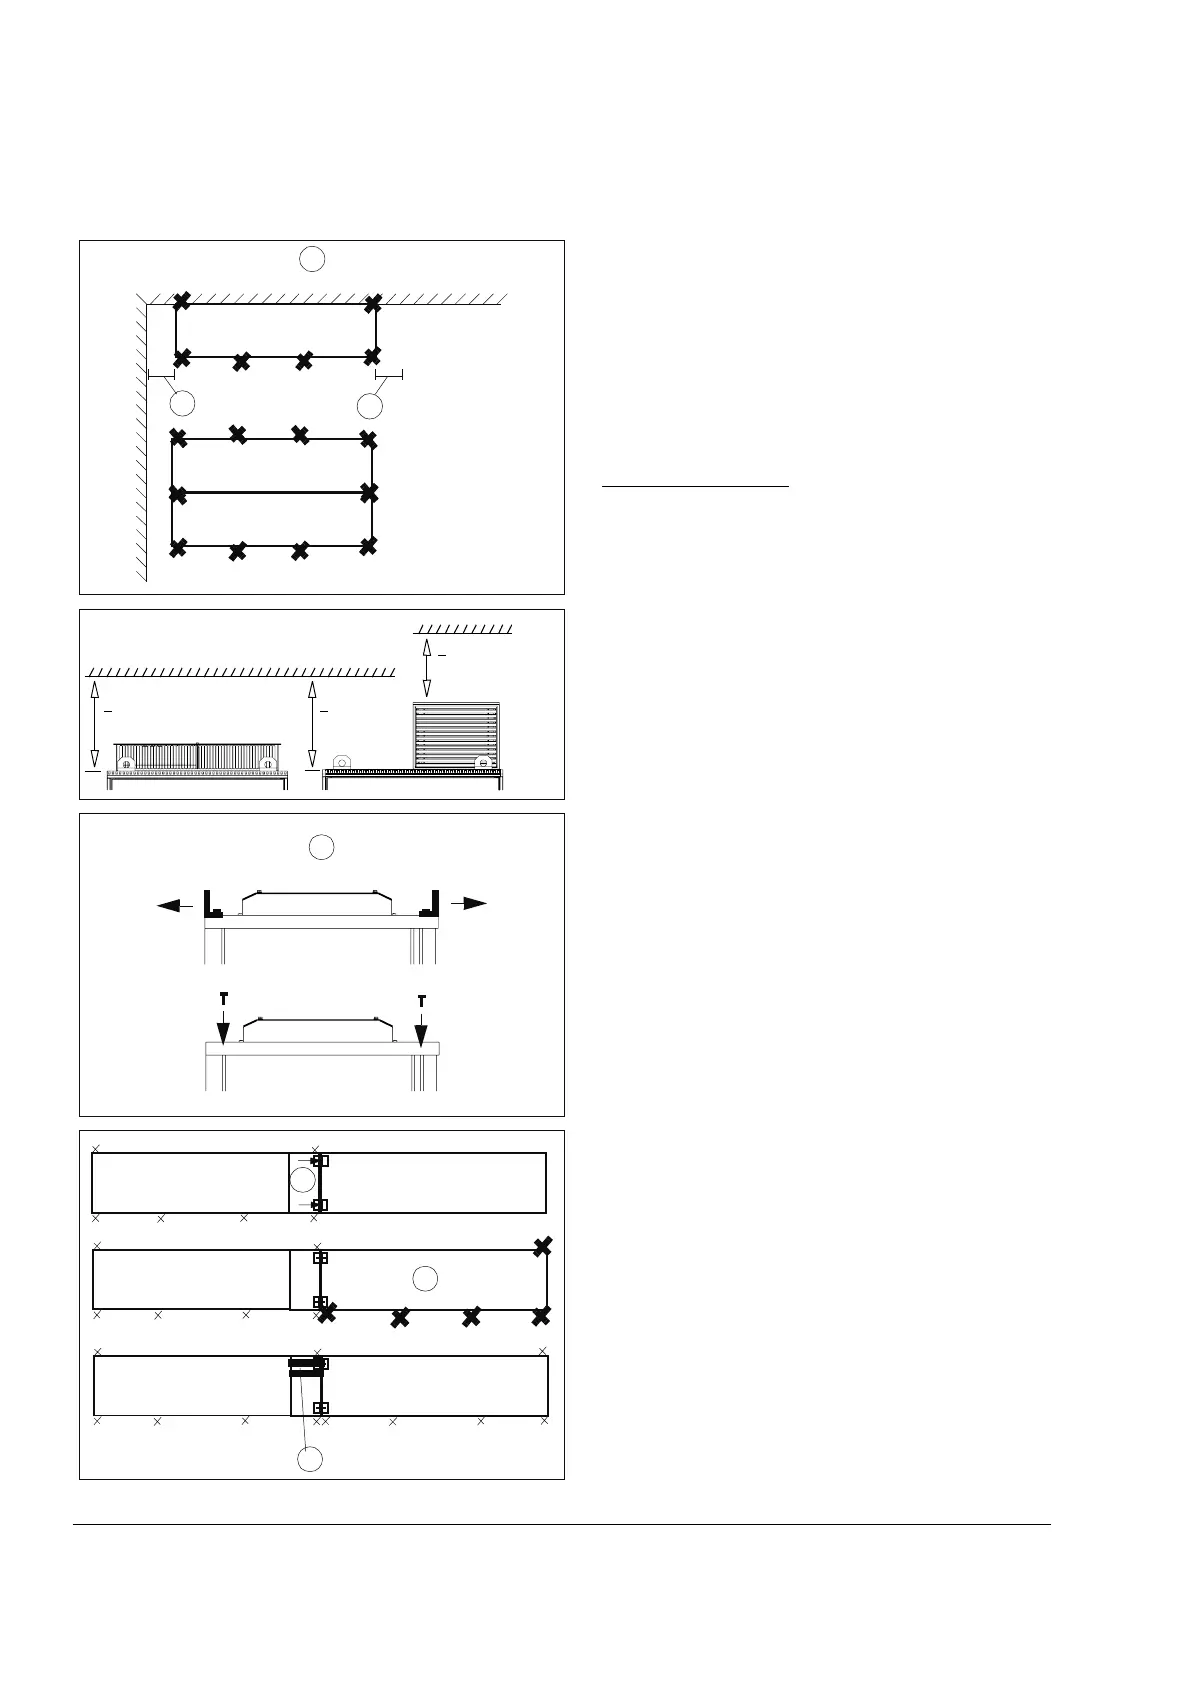
(1) The cabinet can be installed with its back
against a wall, or back-to-back with another unit.
Fasten the unit (or first shipping split) to the floor
with fastening clamps or through the holes inside
the cabinet. See section Fastening the cabinet to
the floor (Non-marine units).
With marine versions
, fasten the unit (or first
shipping split) to the floor and wall/roof as
described in section Fastening the unit to the floor
and wall (Marine units).
Note: A clearance of 600 mm minimum above the
basic roof level of the cabinet (see inset on left) is
required for cooling.
Note: Leave some space at the left-hand and
right-hand sides of the line-up (A) to allow the
doors to open sufficiently.
Note: Any height adjustment must be done before
fastening the units or shipping splits together.
Height adjustment can be done by using metal
shims between the bottom frame and floor.
(2) Remove the lifting bars (if present). In marine
units, also replace the lifting lugs with L-profiles
(see below). Use the original bolts to block any
unused holes.
(3) If the line-up consists of shipping splits, fasten
the first split to the second. Each shipping split
includes a joining cubicle where the busbars
connect to the next split.
(4) Fasten the second shipping split to the floor.
(5) Join the DC busbars and the PE busbars.
(6) Repeat steps (2) to (5) for the remaining
shipping splits.
1
4
5
3
2
A
A
IP22/42 IP54
> 400 mm
(15.75”)
> 400 mm
(15.75”)
> 320 mm (12.3”)
for fan replace-
ment
Top clearances
 Loading...