Electrical installation
84
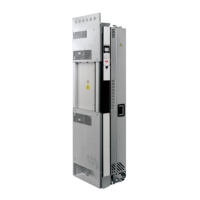
Motor connection – Frame R8i with option +E202 but without +H359
Output busbars
The motor cables are to be connected to the output busbars behind the inverter
module. For the location and dimensions of the busbars, see the chapter
Dimensions.
Connection diagram
Connection procedure
WARNING! The inverter module is heavy and has a high centre of gravity. Be careful when
manoeuvring the module. In order to minimise the danger of toppling over, keep the support legs
of the module extended whenever manoeuvring it outside the cabinet.
Extract the inverter module from the cubicle as follows (refer to the pictures below):
1. Open the door of the supply and inverter unit cubicle (see section Cabling direction starting on page 29).
2. Remove any shrouds that protect the busbars and cable entries.
3. Open the transparent cover on the front of the inverter module (the rightmost module) and disconnect
the fibre optic cables. Move the cables aside.
4. Remove the L-shaped DC busbars on top of the inverter module.
5. Disconnect the terminal block (X50) next to the DC busbars.
6. Remove the two module fastening screws (6a) at the top. At the base of the module, loosen the two
fastening screws (6b) but leave them in place; lift the bracket (6c) into the up position.
7. Insert the module pull-out ramp under the two screws at the base of the module and tighten.
8. Pull the module carefully out of the cubicle along the ramp. Make sure the wires do not catch.
9. Extend the support legs of the module. Keep the legs extended until the module is about to be inserted
back into the cubicle.
U2
V2
W2
PE
M
3~
U1
W1
V1
PE
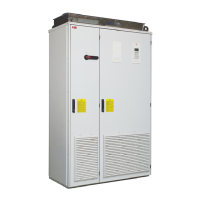
Inverter unit cubicle
 Loading...