Operation Manual / Power2 340-H / High-pressure stage
9 Disassembly and assembly / 9.9 Installing the compressor casing
© Copyright 2022 ABB. All rights reserved. HZTL4054_EN Rev.F March 2022
9.9 Installing the compressor casing
u Always replace the O-rings(42012 and 77005) with new ones (see Ordering spare parts
→97).
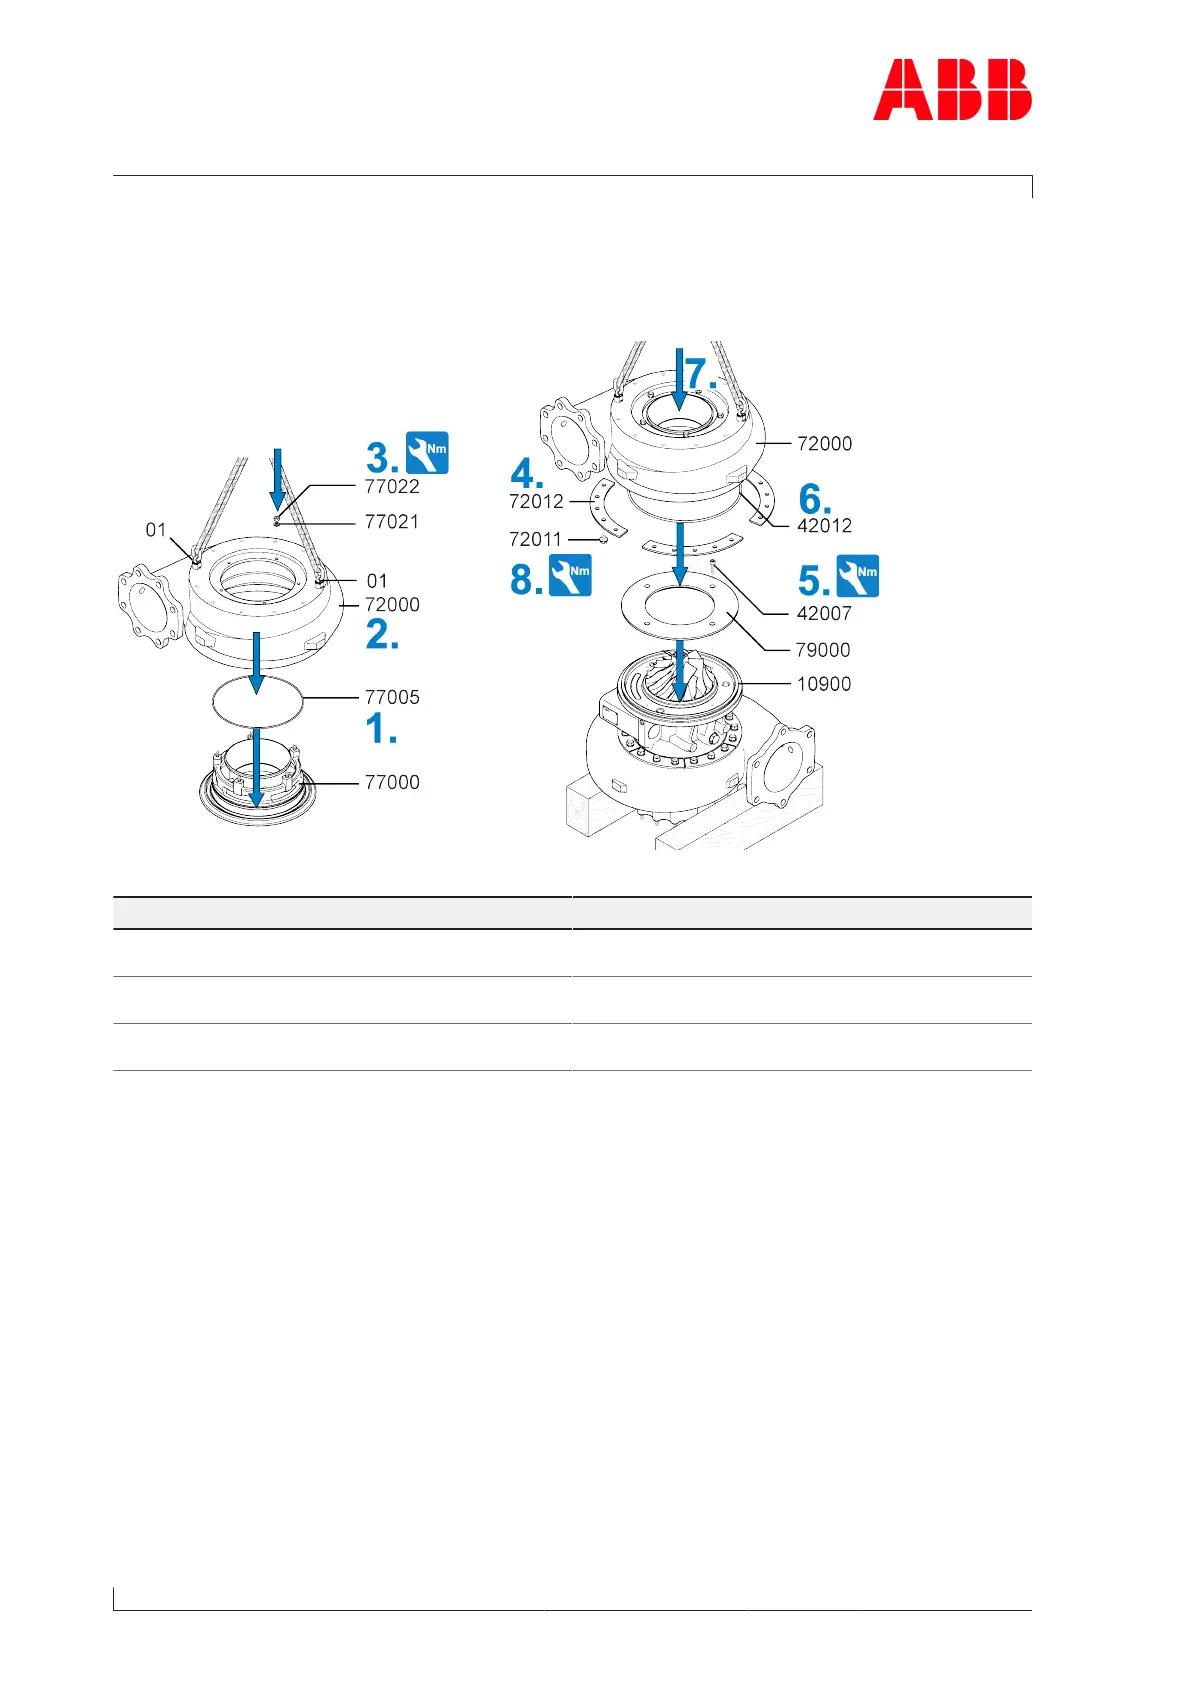
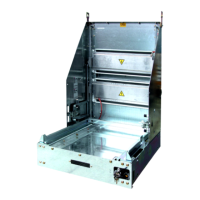
Fig.37: Installing the compressor casing
Part number Tightening torque
42007 M8
25Nm
72011 M10
75Nm
77022 M8
40Nm
Table45: Tightening torques (42007, 72011, 77022)
1. Fit new O-ring(77005) into wall insert(77000).
2. Screw two swivel lifting eyes(01) into compressor casing(72000) and secure lifting gear.
3. Lower compressor casing(72000) onto wall insert(77000) and fit with washer(77021)
and nuts(77022).
4. Thoroughly clean the fastening strips(72012) before assembly.
5. Fit the diffuser(79000) with screw(42007).
6. Insert new O-ring(42012).
7. Position compressor casing(72000) on cartridge group(10900).
8. Fit the fastening strips(72012) with screws(72011) and tighten.
Page 82 / 114