Do you have a question about the Ackuretta SOL and is the answer not in the manual?
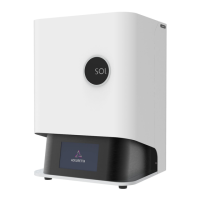
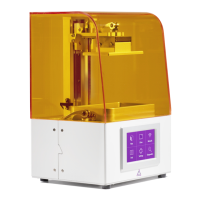
Technical specifications of the SOL 3D printer, including dimensions and resolution.
Key features and benefits of the SOL 3D printer.
List of items included in the SOL printer package.
Critical safety precautions for operating the printer and handling materials.
Step-by-step instructions for safely unboxing and preparing the SOL printer.
Essential items required for operating the SOL printer, including computer specs and safety gear.
Guides on connecting the printer to a network via wired or wireless connections.
Introduction to the printer's user interface, including the Home screen and its functions.
Details the Home screen layout and the function of its primary buttons (Print, Clean Vat, Settings).
Details the Print screen, its tabs (Queue, History, USB), and how to load print files.
Explains the purpose and usage of the Clean Vat function for removing failed print pieces.
Introduces the Settings screen for accessing system-wide configurations and information.
Explains how to access and use the printer's web console for remote operation.
Guidelines for choosing an optimal environment for printer setup, including temperature, lighting, and ventilation.
Guides on connecting the printer to a network via wired or wireless connections.
Instructions on correctly installing and securing the resin vat onto the printer.
Guides users on the proper procedure for filling the resin vat.
Steps for securely attaching the build platform to the printer's mechanism.
Details the steps for initiating a print job, either via USB or the web console.
Explains the stages of the print process, including pausing, resuming, and canceling.
Information on checking and updating the printer's firmware and material settings.
Access to various system configurations like Network, System, Update, Language, and Diagnostics.
Detailed configuration options for network connectivity, including IP address and DNS settings.
Accessing printer information, naming the device, and managing diagnostic data sharing.
Instructions for updating the printer firmware and material settings.
Setting the preferred language for the printer's user interface.
Accessing diagnostic tools to troubleshoot common printer issues, including logs, fans, and hardware tests.
Step-by-step guide on using the Clean Vat function to remove failed print parts.
Detailed instructions on how to thoroughly clean the resin vat.
Procedures for updating the printer's firmware to the latest version.
| Technology | DLP |
|---|---|
| Light Source | 405 nm UV LED |
| Software | Alpha 3D |
| Power Requirements | 100-240V, 50/60 Hz |
| Build Volume | 128 x 80 x 140 mm |
| Layer Thickness | 25-100 microns |
| Connectivity | USB |
| Compatible Materials | Castable, Flexible |
| Print Speed | Up to 20 mm/hour |