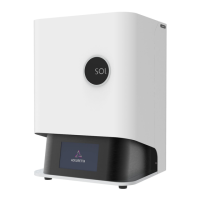
24
Step 9 Confirm your print details, and press Print to start
your print process.
Step outcome: A dialog box appears.
More info: If you are using an resin profile from
Alpha 3D or Omega 3D, the software automatically
sets your resin profile
More info: If your resin profile is incorrect, press the
Material button to change the resin settings.
More info: If you are using a third-party resin, you
may need to adjust your resin settings. For more
information, see “Material settings” on page 32.
Step 10 Make sure the settings shown in the dialog box are
correct and click Print.
Result of this task: The print process begins.
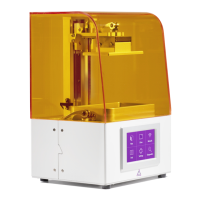
4.2 The print process
• You can pause or stop the print process at any time via the
printer console or the web console.
• The printer automatically shows the Printing Process screen
when you start a print job. You can always see print informa-
tion, such as the duration and time remaining, and activate spe-
cific print options.
• You can open the Printing Process screen any time by going to
Print > Printing Process.
• The Cancel button is available when you start a print job and
the printer is moving into position. You can only cancel the
print job before any resin is cured. This option is made available