(13) BACK
Moves to the previous menu from the “Settings” menu or “Set Up” menu during a
call and deletes characters when entering information.
(14) MY CONTENT Future enhancement
(15) UP NAVIGATION
Up navigation button.
(16) OK
Use to enter selections and save settings in the “Settings” menu.
(17) DOWN NAVIGATION
Down navigation button.
(18) LEFT NAVIGATION Left navigation button.
(19) RIGHT NAVIGATION Right navigation button.
(20) STATUS
Lists information needed for technical support i.e. configuration and software
version
(21) CAPS
Allows you to enter capital letters and selects the type of letters or characters to
enter. Switches between numeric, lower-case letters and upper-case letters.
(22) My Application Future enhancement
(23) REDIAL Makes a call to the last number dialled.
(24) SPEAKER Activates/deactivates the speakerphone.
(25) CALL Makes a call to the dialled number.
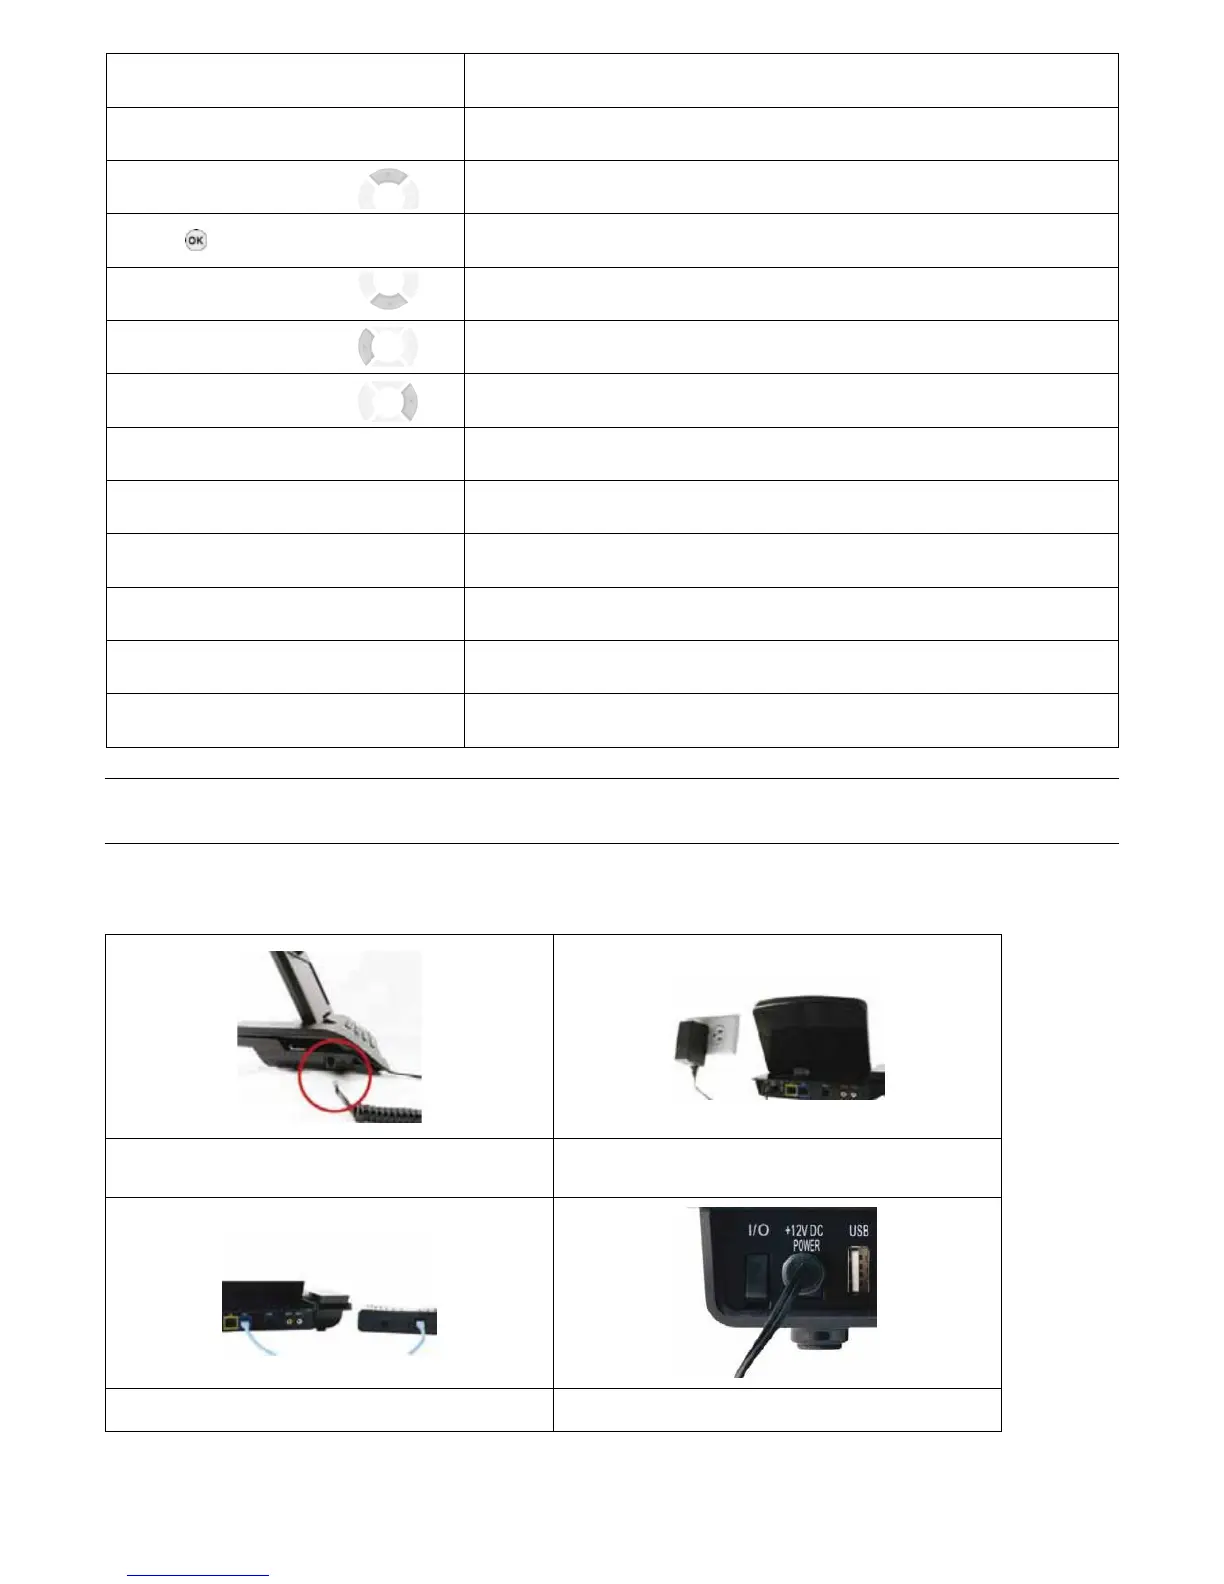
1-4. Installing your Videophone
Please check to ensure you have the following components before installing your Videophone. For optimal results, please follow the
installation procedures provided in the Quick Installation Guide, which is included with your Videophone.
Connect the handset to the connection point located on
the side of your ACN Videophone.
Connect the power adaptor to the power port.
Connect the Ethernet cable to the WAN port. Turn the Power Switch on.
NOTE: Your Videophone may take up to 3 minutes before it is ready to use. During this time the system will perform an initial software
update and connect to ACN’s Digital Phone Service. The LCD screen will display a status as it moves through the process. When the
process is complete, the registration light will turn green.
8