10-1
SECTION 10
Creating Schedules
•••••••••••••••••••••••••••••••••••••••
About Schedules
The system provides up to 32 schedules, which can be used to control up to 12 types of system events at
pre-defined times. Sixteen schedules are intended for use by the end-user, and sixteen are reserved for
the installer. In addition, some events are reserved for the installer only (see “Enter Event” prompt).
NOTES:
• The master code can only access schedules 01-16 and events 00-07.
• System clock must be set before programming schedules.
• Programmed schedules do not take effect until the next scheduled “start” time. (e.g., if programming
a schedule time window for 8AM to 5PM, the schedule does not take effect until 8AM after the
schedule has been programmed.)
Start Scheduling mode by entering installer code + [#] + [6] [4] while in normal operating mode.
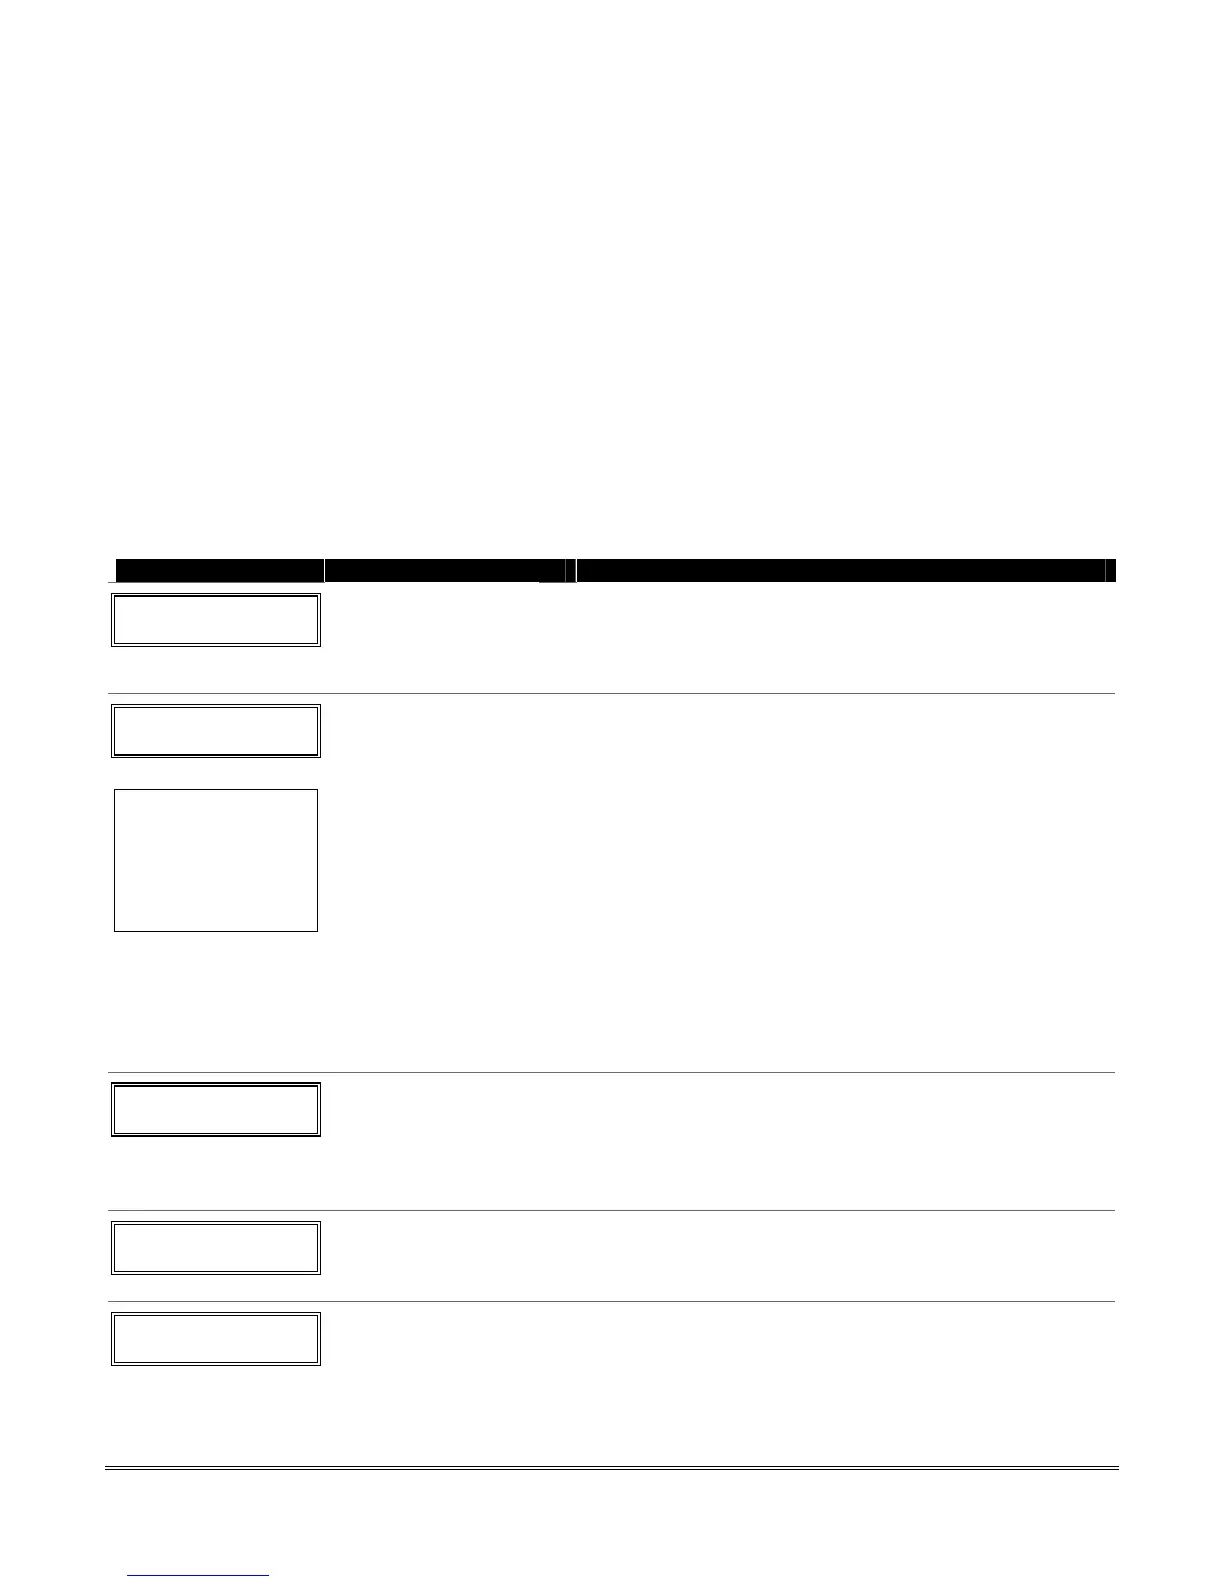
PROMPT
VALID ENTRIES EXPLANATION
ENTER SCHED NO.
00=QUIT 00
Schedule Number
01-16 = end-user schedules
17-32 = installer-only
schedules
[∗] to continue
Schedule numbers 01-16 can be programmed and changed by
the end user or installer. Schedules 17-32 can only be
programmed or changed by the installer.
ENTER EVENT
NOTE: Events 07 and
10 cause the touchpad
to beep every 30
seconds when messages
are displayed. Stop the
beeps by pressing any
key.
Enter Event
00 = clear event
01 = Relay On/Off
02 = User Access
03 = Latch Key Report to
Pager
04 = Forced Stay Arming
†
05 = Forced Away Arming
†
06 = Auto Disarm
07 = Display “Reminder”
10 = Display custom words
††
11 = Periodic Test Report
†††
12 = Up and About
††††
[∗] to continue
Enter the desired event number for event you want to occur at
a specified time.
Events 10-12 are reserved for the installer only.
Latch key report (option 03) is sent to all pagers in the user’s
partition and is active only when the system is armed
(message sent is 777-7777). User must be enabled for paging
(see User Attributes in System Operation section).
† Forced bypass must be enabled in field *23.
†† if selected, system displays custom words 8, 9, and 10 at
defined time. Can be used as installer’s reminder message to
the end user.
††† See key commands in Test Report Code data field *64
section to quickly set periodic test reporting intervals.
††††This selection defines the large time window within
which the time window selected in data field *175 will be
monitored.
DEVICE NUMBER
XX
Device Number
01-18 = device number
[∗] to continue
This prompt appears if event “01” (relay on/off) was selected,
otherwise it is skipped.
Enter the physical device number as programmed in ∗79
Menu Mode, then press [*] to continue to the “Start” prompt.
Device numbers 17 and 18 designate built-in triggers 1 and 2
respectively.
GROUP NUMBER
X
Group Number
1-8 = group number
[∗] to continue
This prompt appears if event “02” (user access) was selected.
Otherwise it is skipped.
Press [*] to continue to the “Start” prompt.
PARTITION
X
Partition
0 = all partitions
1 = partition 1
2 = partition 2
3 = common
[∗] to continue
This prompt appears if events “03-07,10,12” were selected.
Otherwise it is skipped.
Press [*] to continue to the “Start” prompt.
 Loading...