- The 1 key enables you to generate the characters: . , _ @ : % 1
- The 2 key enables you to generate the characters: a b c 2
- The 3 key enables you to generate the characters: d e f 3
- The 4 key enables you to generate the characters: g h i 4
- The 5 key enables you to generate the characters: j k l 5
- The 6 key enables you to generate the characters: m n o 6
- The 7 key enables you to generate the characters: p q r s 7
- The 8 key enables you to generate the characters: t u v 8
- The 9 key enables you to generate the characters: w x y z 9
- The 0 key enables you to generate the space character and 0.
- The * key lets you switch between lower and upper case and only numbers.
- The # key enables you to generate the characters: . , _ @ #
While you are creating any name, number or IP identifier, you will be able to use four options
associated with the four contextual buttons. These same options are repeated in numerous
menus in the PHOENIX STRATOS with the same functionalities:
- DEL: deletes the character placed on the left side of the cursor (except when the cursor
is placed at the beggining of the identifier: in that case it deletes the character placed on
the right side of the cursor).
- <: lets you move the writing cursor to the left.
- >: lets you move the writing cursor to the right.
- OK: validates the identifier created.
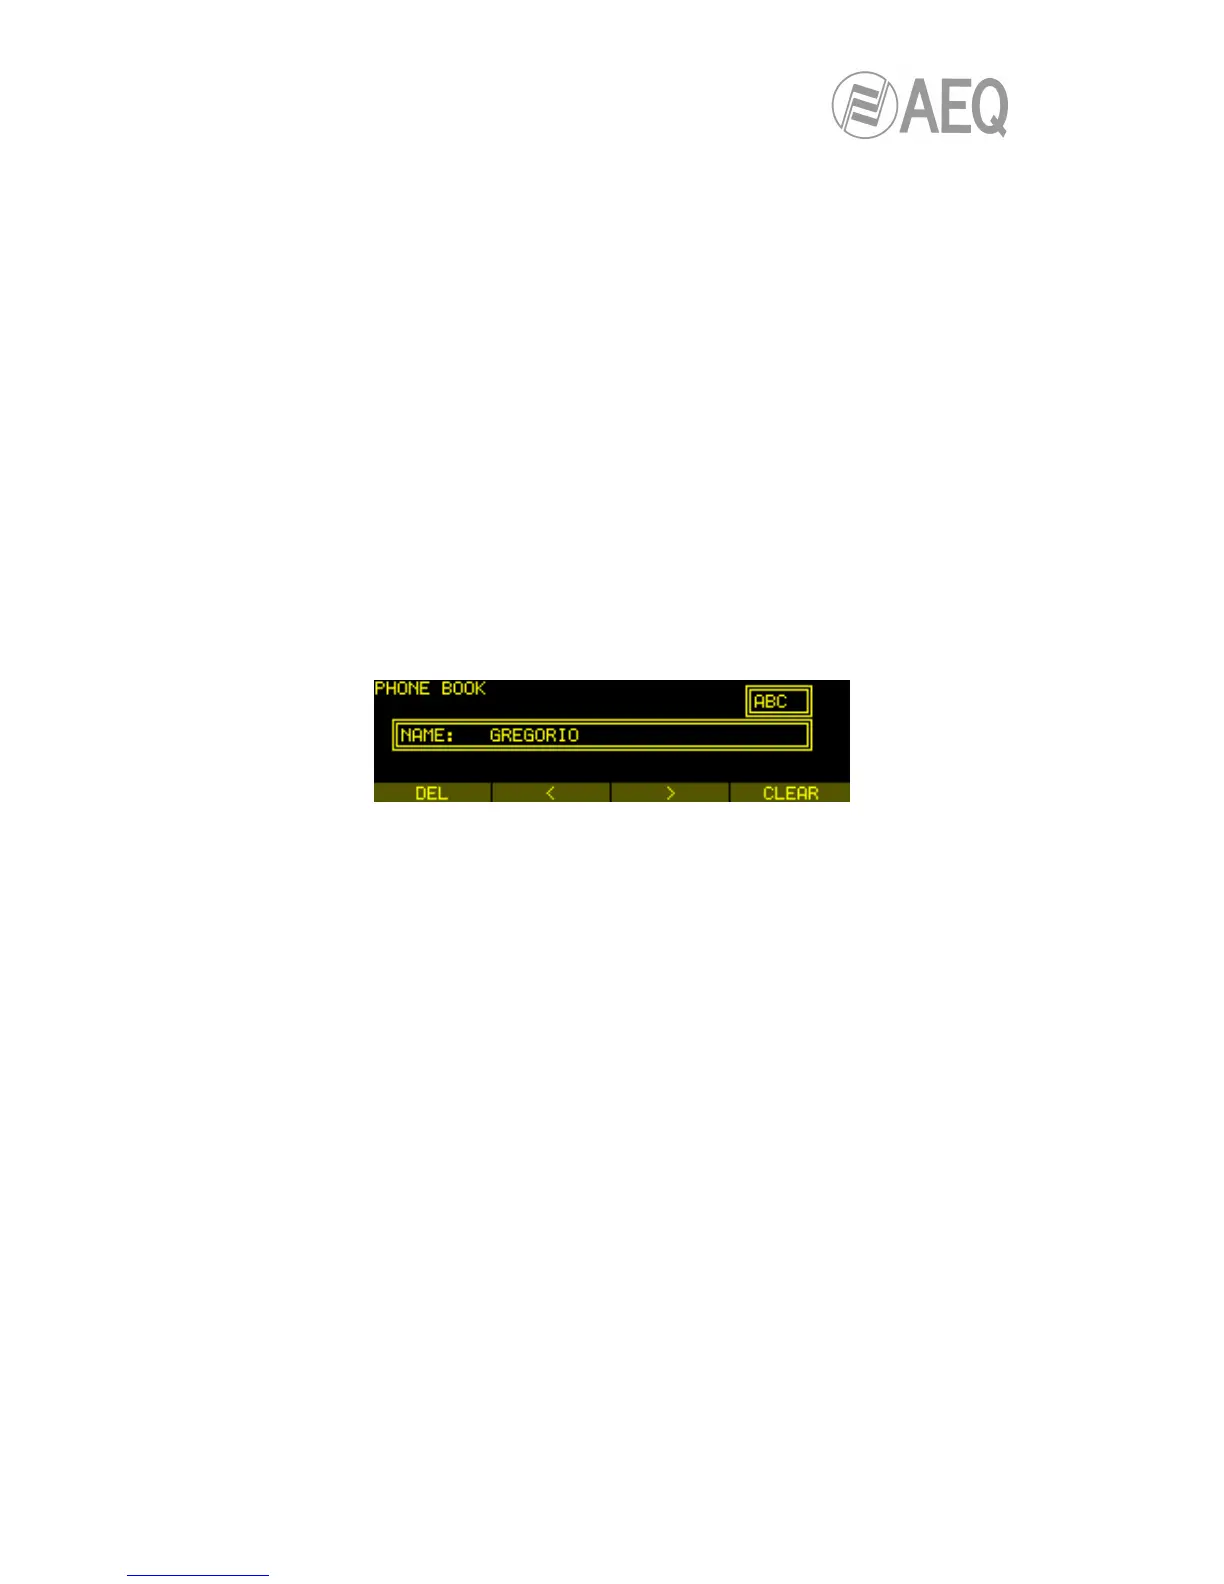
Detail of the creation of the alphanumeric identifier in phonebook
By pressing the rotary encoder, you can also validate the identifier created, or you can turn it to
perform the same functions as the < and > contextual buttons.
To quit this menu and return to the immediately previous one, simply press the ESC button.
Depending on the time of its activation, it may be that no change made in the last access to this
menu will be validated and stored in memory.
The second part in the task of creating a new phone book entry is the ISDN number or IP
identifier that needs to be assigned to the contact. You will access automatically this second
step immediately after validating the name.
First you can insert the ISDN number (“TLF”), then a second number (“TLF2”) for the case of an
ISDN link with two B channels (a 128Kbps bit rate).
Finally, you can insert the IP identifier (“URI”): several syntax are allowed depending on the
selected communication mode, following the standard rules.
• When the selected working mode for the contact is “PROXY SIP”, the valid formats
are:
o <unit_name>, “phstr_231” for instance.
o <unit_name>@<SIP_ server_domain >:
“phstr_231@sip.aeq.es” for instance.
o <unit_name>@<SIP_ server_IP_address>:
“phstr_231@232.168.1.2” for instance.
o <unit_name>@<SIP_ server>:<Port >, when the SIP port is not 5060 (the
one by default in SIP SERVER mode): “phstr_231@sip.aeq.es:5061” for
instance.
 Loading...