Leaks 4
Agilent 7697A Troubleshooting 53
To Run the Cross Port Leak Test
Run cross port leak test immediately after the HS passes the
restriction and pressure decay test. See “To Run the
Restriction and Pressure Decay Test”. These instructions
assume that the HS is already prepared and that the GC is
leak- free.
The built- in cross port leak test sequentially checks for leaks
across the six port valve, from the carrier side to the vial
pressurization side.
The test consists of two parts. If one part fails, the test
reports the failure and stops before attempting any
subsequent parts. Correct the problem, then re- run the test.
Continue correcting problems and retesting until the test
completes successfully.
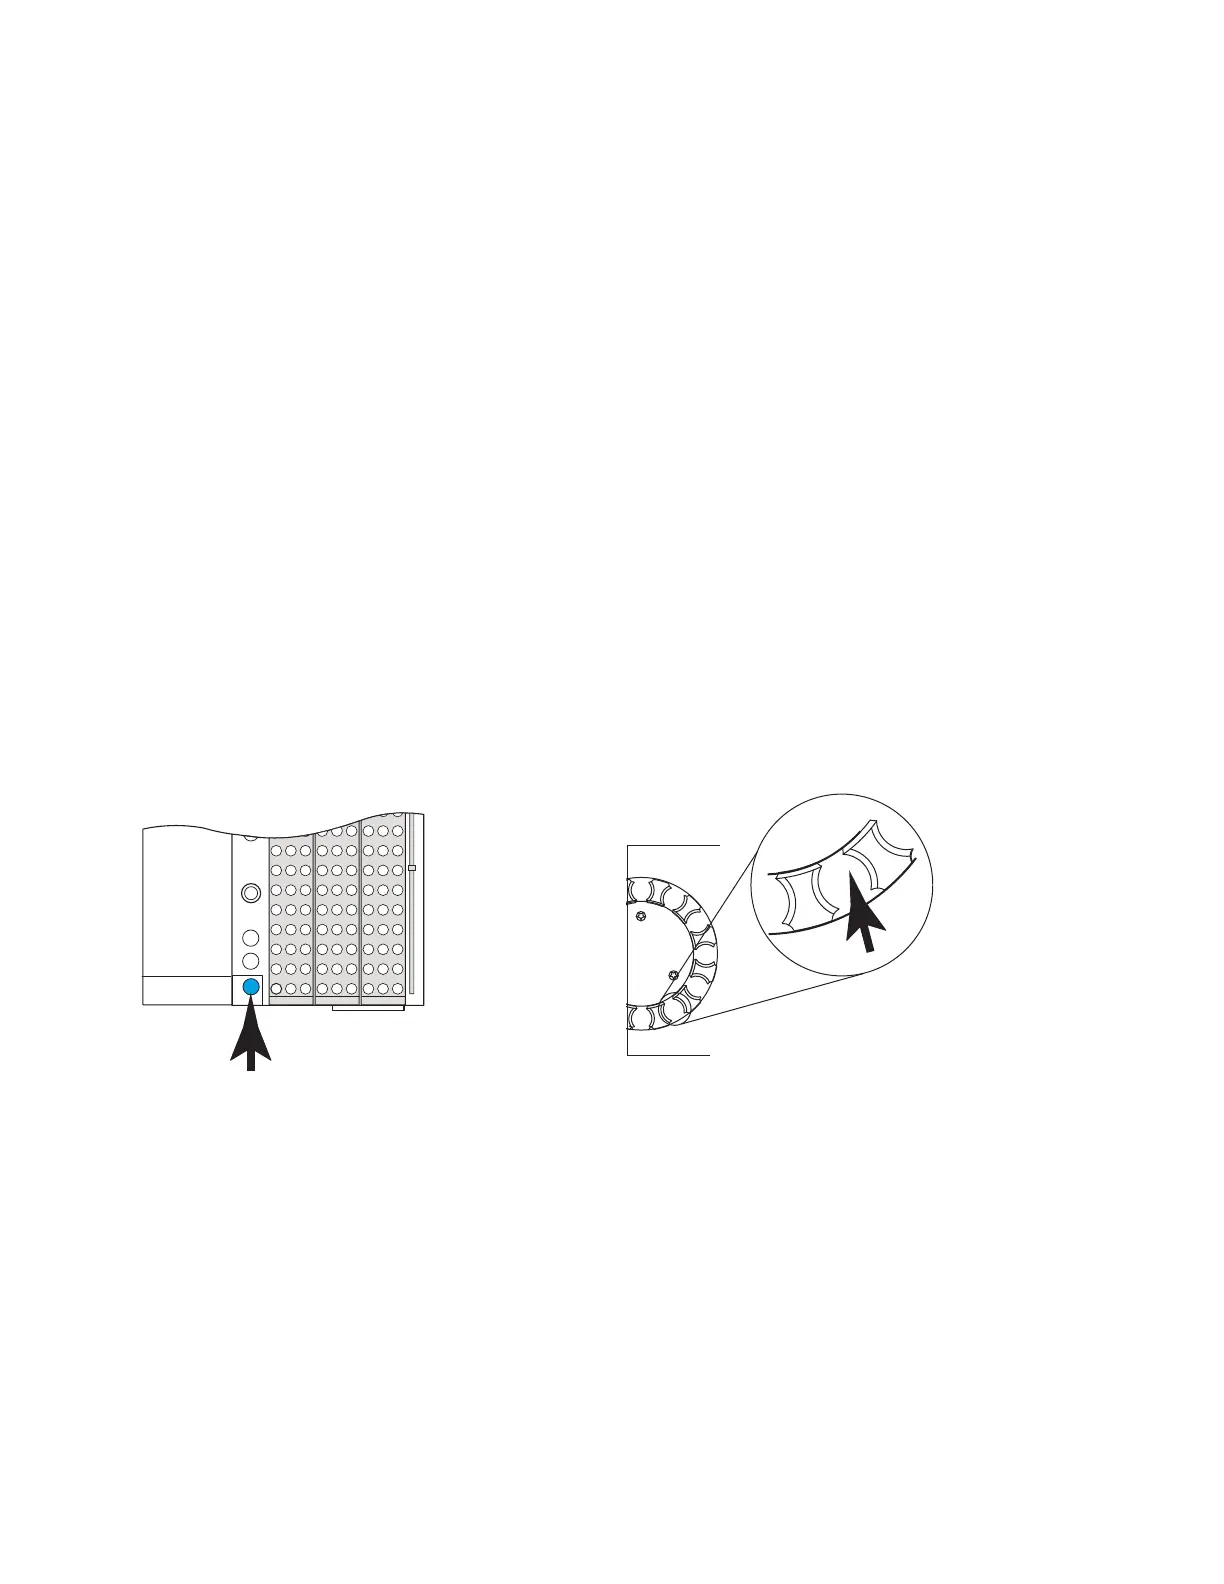
1 Install a new septum into the blue leak test vial.
2 Place the blue leak test vial into priority position 1 (111
vial model) or into tray position 1 (12 vial model).
3 Set the carrier pressure to 172 kPa (25 psi).
If using GC + HS Control:
• Press [Carrier], then increase the flow setpoint until the
carrier pressure is 172 kPa (25 psi).
• Leave the GC carrier pressure or flow unchanged.
4 Start the test. Press [Service Mode], select Cross port leak
test, then press [Enter].
The test begins.

 Loading...


