Maintaining the Instrument
Leak Testing a G1290/G1883 to GC Interface
110
Leak Testing a G1290/G1883 to GC Interface
For the G1290/G1883, you can check the carrier gas flow system for leaks by
performing a pressure decay test.
WARNING The heated zones of the unit can burn your skin. Allow the zones to cool off
before performing the test.
Prepare the Sampler
1. Set the three heated zones to ambient temperature.
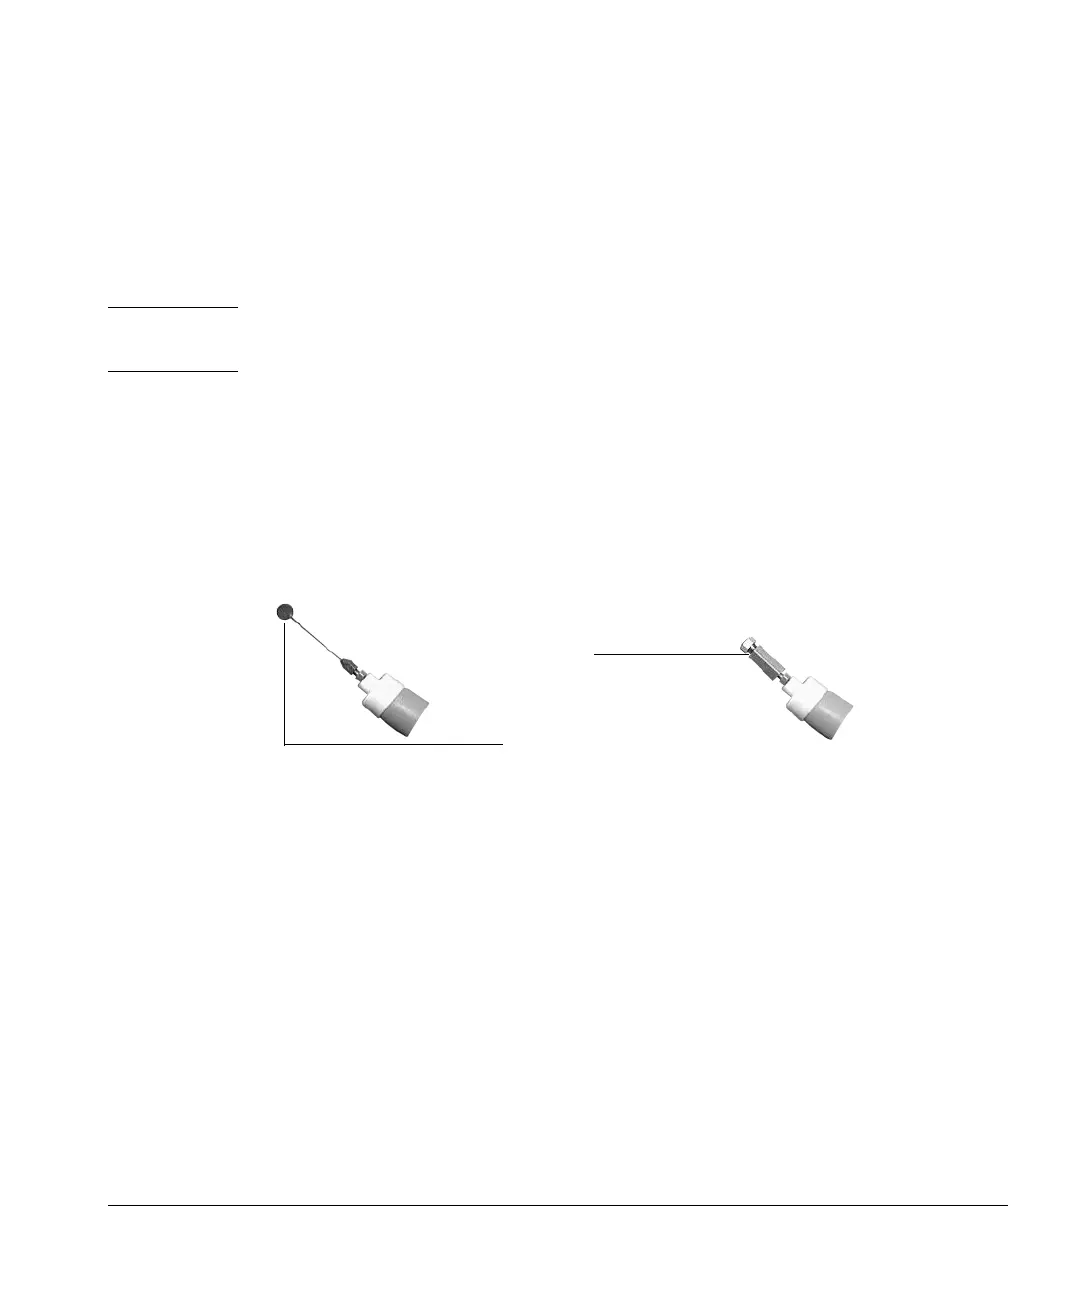
2. Detach the transfer line from the inlet or interface and plug it with either a
new inlet septum or a leak test fitting as shown in Figure 29.
Figure 29. Plug the transfer line
3. Remove the pneumatics cover and loop oven cover to give you access to
all of the tubing, valve, and manifold connections.
Carrier Gas Flow Path
1. Open the Mass flow controller full counter-clockwise (CCW) until the
carrier flow path pressurizes to line pressure. The carrier pressure should
read between 40 to 60 psi, about 4 bar.
2. Shut off the ball valve installed between the source and the headspace
sampler. An alternative would be to turn the Mass Flow Controller full
clockwise (CW).
A new inlet septum
Leak test fitting
325-0050010-HSP
or

 Loading...


