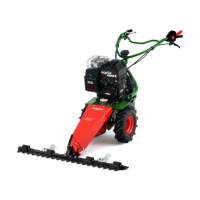
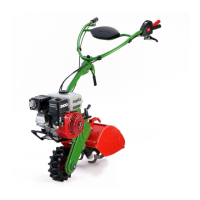
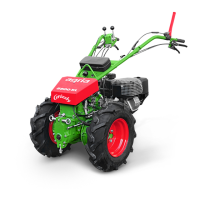
28 agria Multi-Purpose Machine 400P
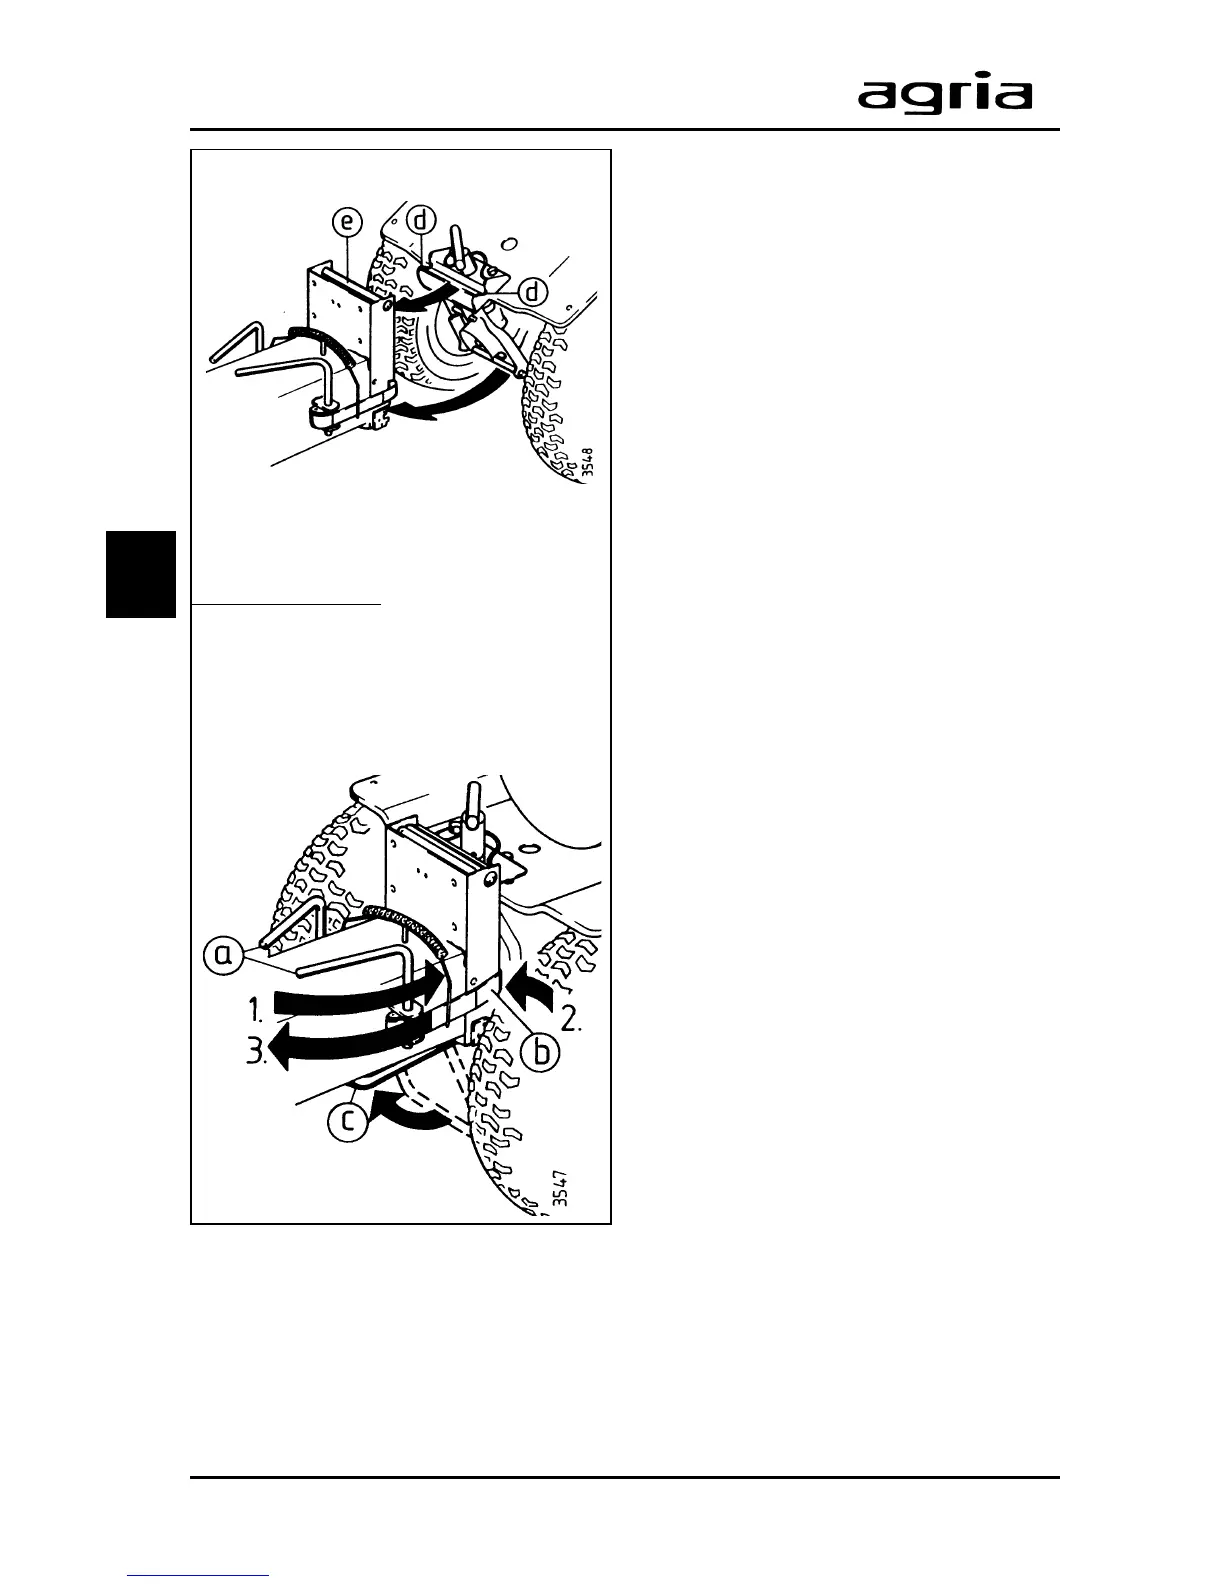
a Tensioning lever
b Tensioning band
c Stand
d Linkage point
e Linkage pin
f Cap
3. Devices and Operating Elements
3
l
Move the base machine to the at-
tachment. Hook the machine up to the
pin (e) on the attachment.
l
Couple the attachment with
tensioning system:
1. Move both tensioning levers (a)
to the rear,
2. until tensioning bands (b) lock
into the slots of the attachment
linkage point,
3. move both tensioning levers
back to the front to a stop.
l
Move the stand (c) back up and lock.
It will be easier to move the springs of
the tension levers back to their original
position, if the wheels are in position
“NEUTRAL” (see chapter “Wheel drive”
on page 21)
Decoupling
To decouple the attachment reverse the
above process.
Fit the cap onto the pto shaft of the base
machine.
W
Warning
Only drive pto-driven attach-
ments at speed “I” (slow).
Only operate attachments only with
all guards in place.
Observe the operating instructions of
the respective attachments!
 Loading...