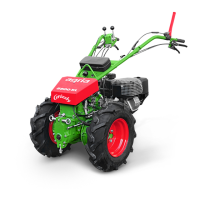
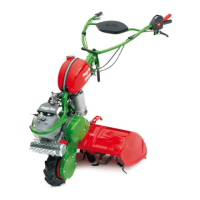
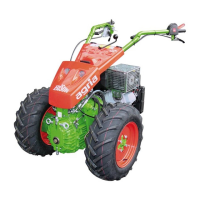
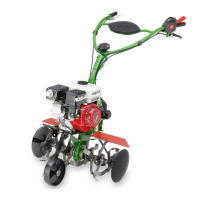
30 agria Multi-Purpose Machine 400P
3. Devices and Operating Elements
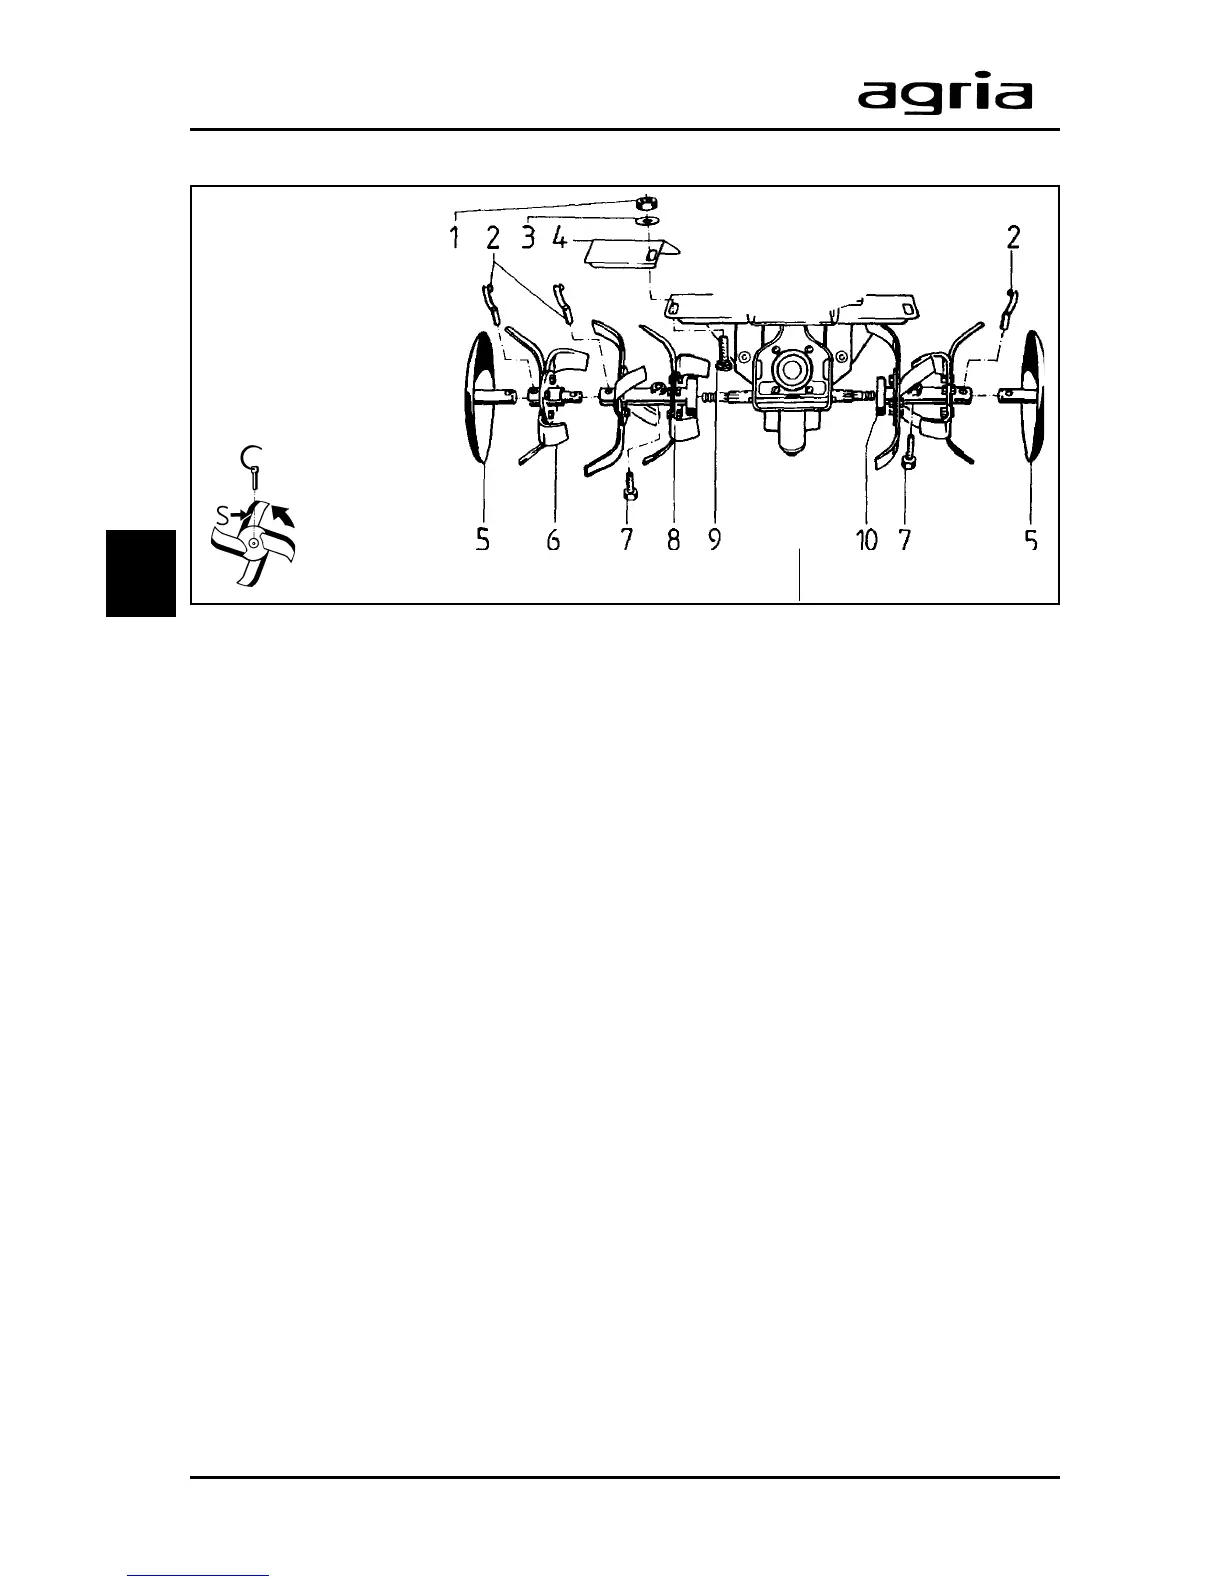
Example: working width 45 cmExample: working width 65 cm
1 Hex nut
2 R-clip
3 Star washer
4 Extension guard
5 Guard discs
6 Add-on hoeing tool
7 Hex bolt
8 Base hoeing tool, right
9 Countersunk bolt
10 Base hoeing tool, right
S = cutting edge
3
Hoeing tools
Hoeing width:
Base hoeing tools:
approx. ...................................... 45 cm
Base and add-on hoeing tools
approx. ...................................... 65 cm
Fitting the hoeing tools
W
Only fit/remove the hoeing tools
while the engine is shut off and
the spark-plug connector is re-
moved! Wear safety gloves!
45 cm working width:
l
Fit one hoeing tool (8 and 10) on
each end of the hoeing shaft. Ensure
that the blades point into travel direc-
tion. When fitting a second hoeing tool
(either on the left or right side), make
sure the knives pointing to the housing
are fitted in a staggered way to the
knives fitted on the opposite end of the
shaft.
l
Bolt down hoeing tools with hex bolts
(7) through the borings of the
hub/hoeing shaft.
65 cm working width:
l
Fit the base hoeing tools in the same
way as described in 45 cm working
width.
l
Fit the add-on hoeing tools (acces-
sory No. 1008 111) (6) in the hubs of
the base tools.
l
Insert R-clips (2) in hub/shaft borings
to secure them.
l
Attach the extension guards (4) us-
ing the attachment bolts (9, 3 +1).
Guard discs
The discs are to prevent shrubs and
bushes from being damaged by the hoe
and to prevent young plants from being
covered with soil. In addition, they offer
protection for the operator, when hoe-
ing along field edges or fences.
l
Fit the guard discs (5) in the outer
hubs on the hoeing tools.
l
Insert R-clips (2) in hub/shaft borings
to secure them.