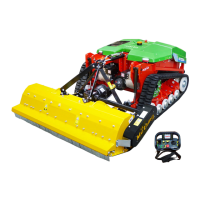
The mounted implement on/off switch is used to switch the mounted implement on and off. Keep the
lever depressed for two seconds to switch on the PTO shaft.
(9) Hydraulic control circuits
The selector lever (B/8) is used to switch the mounted implement on or off.
The selector lever (B/9) is used to select the hydraulic control circuit.
A: Moving the upper link
B: Moving the lower links
C: Optional additional function
Use the analogue lever to move the links (B/7).
(10) Green LED, radio connection
Quick flashing of the LED indicates that the radio connection is interrupted or is being restored, slow
flashing indicates that the radio connection is present.
(11) EMERGENCY STOP switch
The machine is switched off when the EMERGENCY STOP switch is pressed.
(12) Red LED, function of the transmission unit and battery condition
Illumination of the red LED indicates insufficient battery charge of the remote control or another error
within the remote control.
(13) Cruise control
To activate the cruise control, accelerate the machine to the desired speed. Press the cruise control
button on the left side of the remote control. Hold the joystick in any travel position; the machine will
continue to travel at your desired speed. As soon as you release the joystick or hold it in neutral, the
cruise control is deactivated.
(14) Drift
With the help of drift it is possible to make one crawler track run faster than the other. Thus, the influ-
ence of the mounted implement can be compensated on slopes.
(15) Warning lamps
The warning lamps light up in case of errors.
(16) Escape
Switch on the backlight.
(17) Menu
Page change.
(18) "up"
Moves the cursor upwards, increases values.
(19) "down"
Moves the cursor downwards, reduces values.
(20) Enter
Change settings.
(21) Floating position
As soon as you have lifted the mounted implement, you can activate the floating position with this
button.
(22) Not assigned