MPC2500 Operator’s Manual rev 1.0
52
Chapter 10: Using the MPC2500 with external devices
Chapter 10 :
Using the MPC2500 with external devices
In this section, you will learn how to sync the MPC2500 to the other MIDI devices using MIDI clock. MIDI clock is a
function of the MIDI standard and allows several MIDI devices to synchronize. If your MIDI device supports MIDI
clock, you can use the device and the MPC2500 in sync. If you are not sure if your MIDI device supports MIDI clock or
not, refer to the device’s operation manual.
Sync with the MPC2500 as
the master
When you play the MPC2500’s sequence, the connected
MIDI device will follow. MIDI clock data will be sent from
the MPC2500 to the connected MIDI device. In this case, the
MPC2500 is called the “master”, and the connected MIDI
device the “slave”.
01. Connect the MIDI OUT of the MPC2500 to MIDI IN
of the external MIDI device using a MIDI cable.
The MPC2500 has four MIDI OUTs: MIDI OUT A,
MIDI OUT B, MIDI OUT C, and MIDI OUT D. You
can connect to any MIDI output, but for this ex-
ample connect to the MIDI OUT B.
02. Select the MIDI/SYNC mode by pressing the [MODE]
key and hitting the [PAD 9] (MIDI/SYNC).
03. Press the [F2] (SYNC) key.
The SYNC page will be displayed.
04. Select the Sync out field and then select the output
of the MIDI clock.
You can send out MIDI clock from any of MIDI OUT
A or B or C or D. When you select “AB”, MIDI clock
is sent from both MIDI OUT A and B. In this ex-
ample, since you have connected the external MIDI
device to MIDI OUT B in step 1, select MIDI OUT B.
05. Press the [MAIN] key.
The main page, where you play back the sequence,
will be displayed.
06. Set the external MIDI device to receive the MIDI clock.
Refer to the device’s operation manual.
07. Press the [PLAY START] key.
The MPC2500 starts playback and the external
MIDI device should start playback at the same time.
Sync with the MPC2500 as
the slave
The external MIDI sequencer triggers the MPC2500. When
the external MIDI sequencer starts playback, the MPC2500
starts playback as well. The MIDI clock is sent from the ex-
ternal MIDI sequencer to the MPC2500. In this case, the ex-
ternal MIDI sequencer works as the master, and the
MPC2500 as the slave.
01. Connect the MIDI IN of the MPC2500 to MIDI OUT
of the external MIDI device using the MIDI cable.
The MPC2500 has two MIDI Ins: MIDI IN 1 and
MIDI IN 2. You can connect to either MIDI IN, but
here, connect to the MIDI IN 2.
02. Select the MIDI/SYNC mode by pressing the [MODE]
key and hitting the [PAD 9] (MIDI/SYNC).
03. Press the [F2] (SYNC) key.
The SYNC page will be displayed.
04. Select the "Sync in" field and select the input of the
MIDI clock.
You can receive the MIDI clock from both MIDI IN
1 and 2. In this example, as you have connected the
external MIDI device to MIDI IN 2 in step 1, select
MIDI OUT 2.
05. Press the [MAIN] key.
The main page, where you play back the sequence,
will be displayed.
06.
Set the external MIDI device to send out the MIDI clock.
Refer to the device’s operation manual.
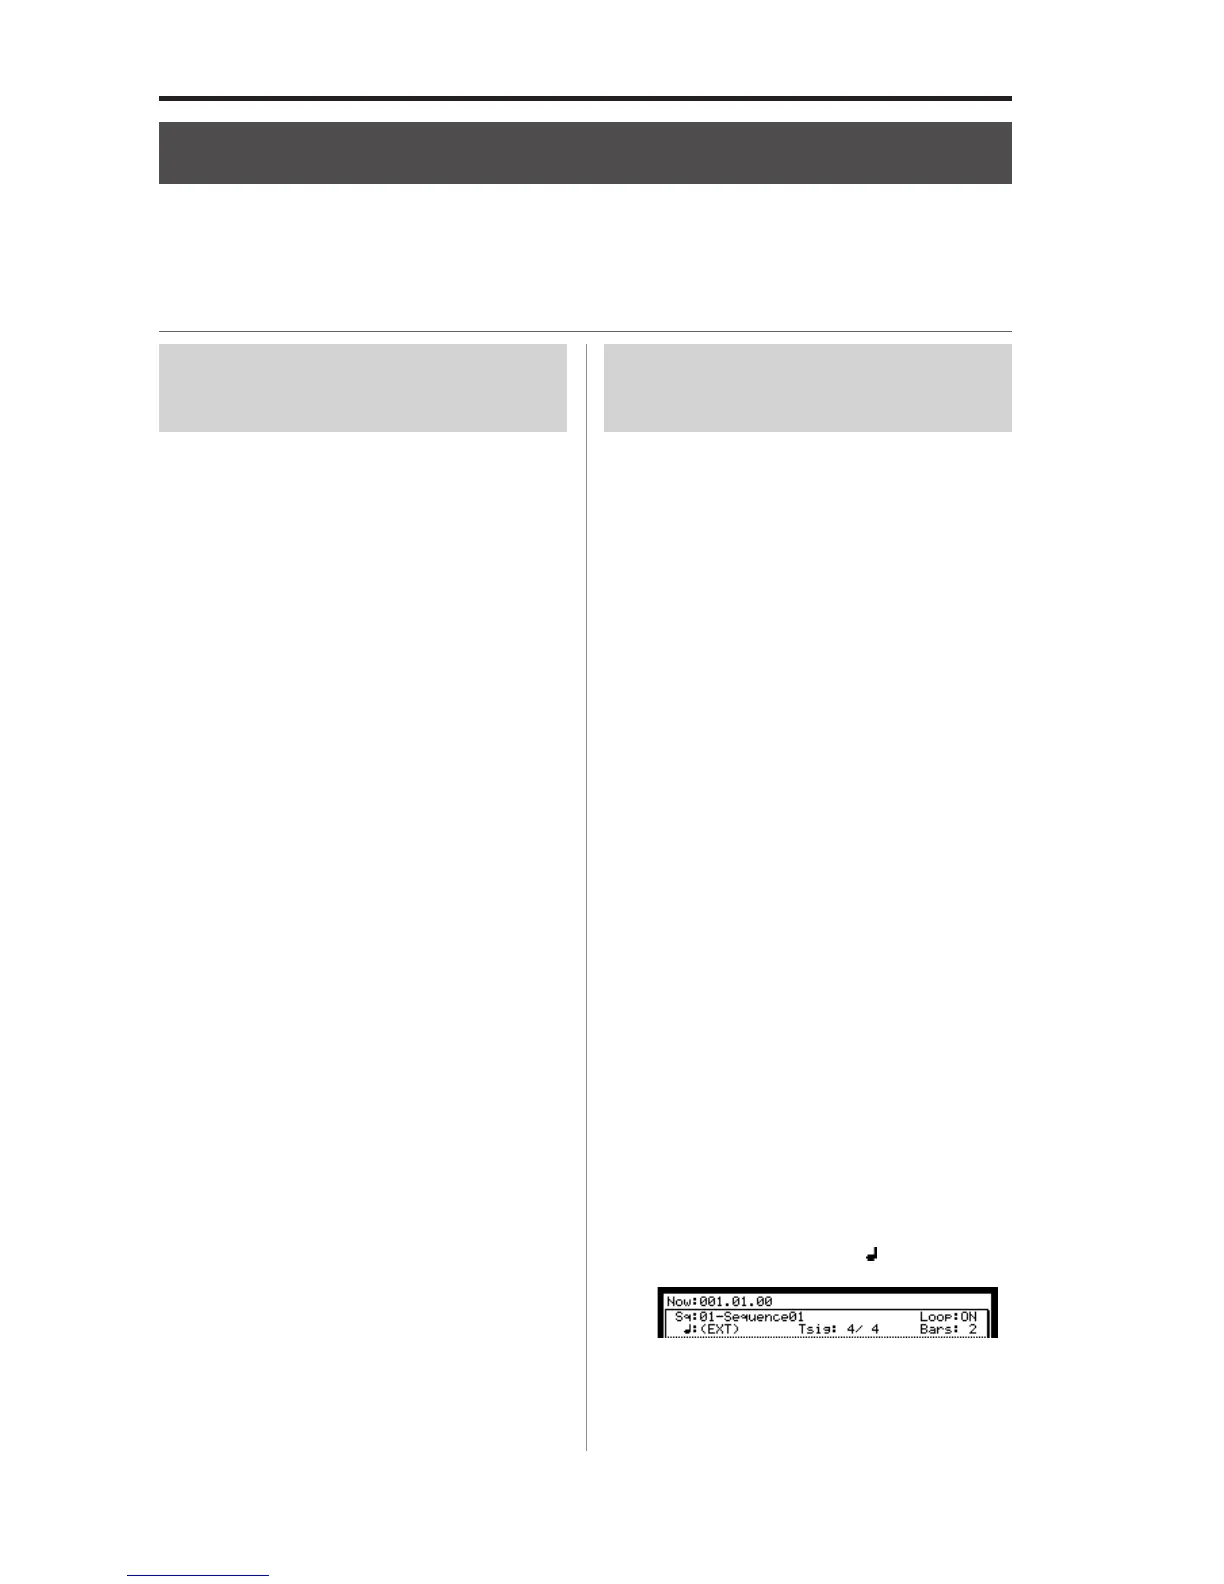
07. Start the playback of the external MIDI sequencer.
The MPC2500 starts the playback as well.
(EXT) will be displayed in the
(Tempo) field.
Note: The tempo being set in the sequence will be displayed dur-
ing stopping the sequence.

 Loading...