Installing the camera
189Alvium G1 User Guide V1.7.0
NOTICE
Damage to lens threads and fixing nut by excessive force
If the fixing nut is screwed with too much force, threads are worn out and
the lens cannot be locked anymore.
Screw fixing nuts hand tight to keep the lens in a fixed position.
Locking focus
Pinch nose pliers are used to screw the fixing nut:
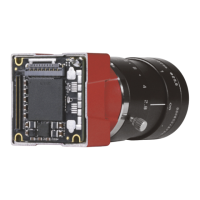
7. Holding the lens in position with one hand, screw the
fixing nut clockwise against the lens mount until you
feel the lens is locked.
•
Figure 67: Tightening the fixing nut
Checking focus is set and locked properly
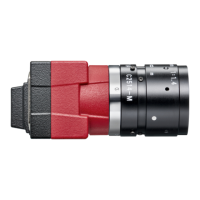
8. Check No.1: Try to rotate the lens with little strength
in both directions to ensure the lens is safely locked
in position.
Figure 68: Checking lens is safely locked
9. Check No. 2: S-Mount thread allows a slightly tilted lens position. In this case, focus for a common
object plane varies over the image plane.
If focus is constant over the image plane, you are done.
If focus varies over the image plane, the lens is tilted. Continue with 10.
10. Loosen the fixing nut.
11. Continue with 6.
The lens is locked in focus and ready for operation.

 Loading...