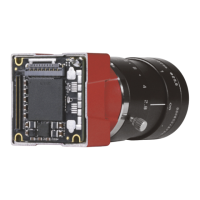
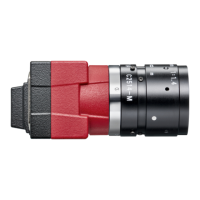
Installing the camera
191Alvium G1 User Guide V1.7.0
Linux: Updating the driver manually
Follow the instructions by the NIC manufacturer.
Windows: Updating the driver manually
1. Open the Device Manager with administrator permission.
2. Under Network Adapters, locate the Ethernet network adapter, right-click the
entry, and select Update Driver Software in the menu.
3. Select the Search automatically for updated driver software or Browse my
computer for driver software.
4. Click Close after the driver has been installed.
Modifying the NIC IP address
This step is optional.
After the initial NIC hardware installation, connect the NIC directly to the camera.
The default configuration assigns an IP address automatically using the Link-Local
Address range of 169.254.xxx.xxx or an address defined by the DHCP server, if
present.
Users can fix the NIC address to minimize the time required for a camera to be
recognized by the host application.
To connect to the camera, edit the host computer’s adapter settings and configure
the following settings:
• IP Address: 169.254.100.1
• Subnet mask: 255.255.0.0
• Default gateway: blank
When systems employ multiple NICs connected to multiple cameras the address of
the NICs should be set. Each NIC or NIC card port requires a unique IP address.
For example:
NIC 1:
• IP Address: 169.254.100.1
• Subnet mask: 255.255.0.0
• Default gateway: blank
NIC 2:
• IP Address: 169.254.100.2
• Subnet mask: 255.255.0.0
• Default gateway: blank

 Loading...