Chapter 2
INSTALLATION
2.1 INSPECTION
Inspect the shipping carton for possible damage before unpacking the unit. Carefully
unpack the equipment. Save all packing materials until inspection is complete. Verify
that all items listed on the packing slips have been received. Visually inspect all exterior
surfaces for broken knobs, connectors, or meters. Inspect for dented or damaged
exterior surfaces. External damage may be an indication of internal damage. If any
damage is evident, immediately contact the carrier that delivered the unit and submit a
damage report. Failure to do so could invalidate future claims.
2.2 INPUT/OUTPUT CONNECTORS
Tables 2-1 and 2-2 list all external connections for the 2U, 3U and 6U High Series
models, respectively. Tables 2-3 and 2-4 provide input and output connector
descriptions.
For permanently connected equipment, a readily accessible disconnect device shall be
incorporated in the fixed wiring. For plugable equipment, the socket outlet shall be
installed near the equipment and shall be easily accessible.
Take precautions to ensure that the concentration of ozone is limited to a safe value.
The recommended long-term exposure limit for ozone is 0.1 PPM (0.2 mg/m3).
NOTICE
For proper connection to the mains, a
100 amp or less circuit breaker or fuse
is required.
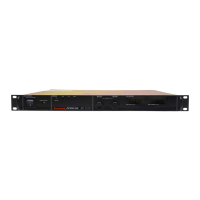
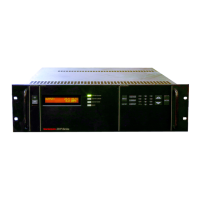
2.3 LOCATION AND MOUNTING
The DHP Series models are intended for mounting in a standard 19.0-inch equipment
rack. Four screws, two on each side of the front panel, should be used to secure the
unit in place.
NOTICE
The unit should be provided with
proper ventilation. The top, rear and
both sides of the unit should be free of
obstructions.
M550004-01
2-1
 Loading...