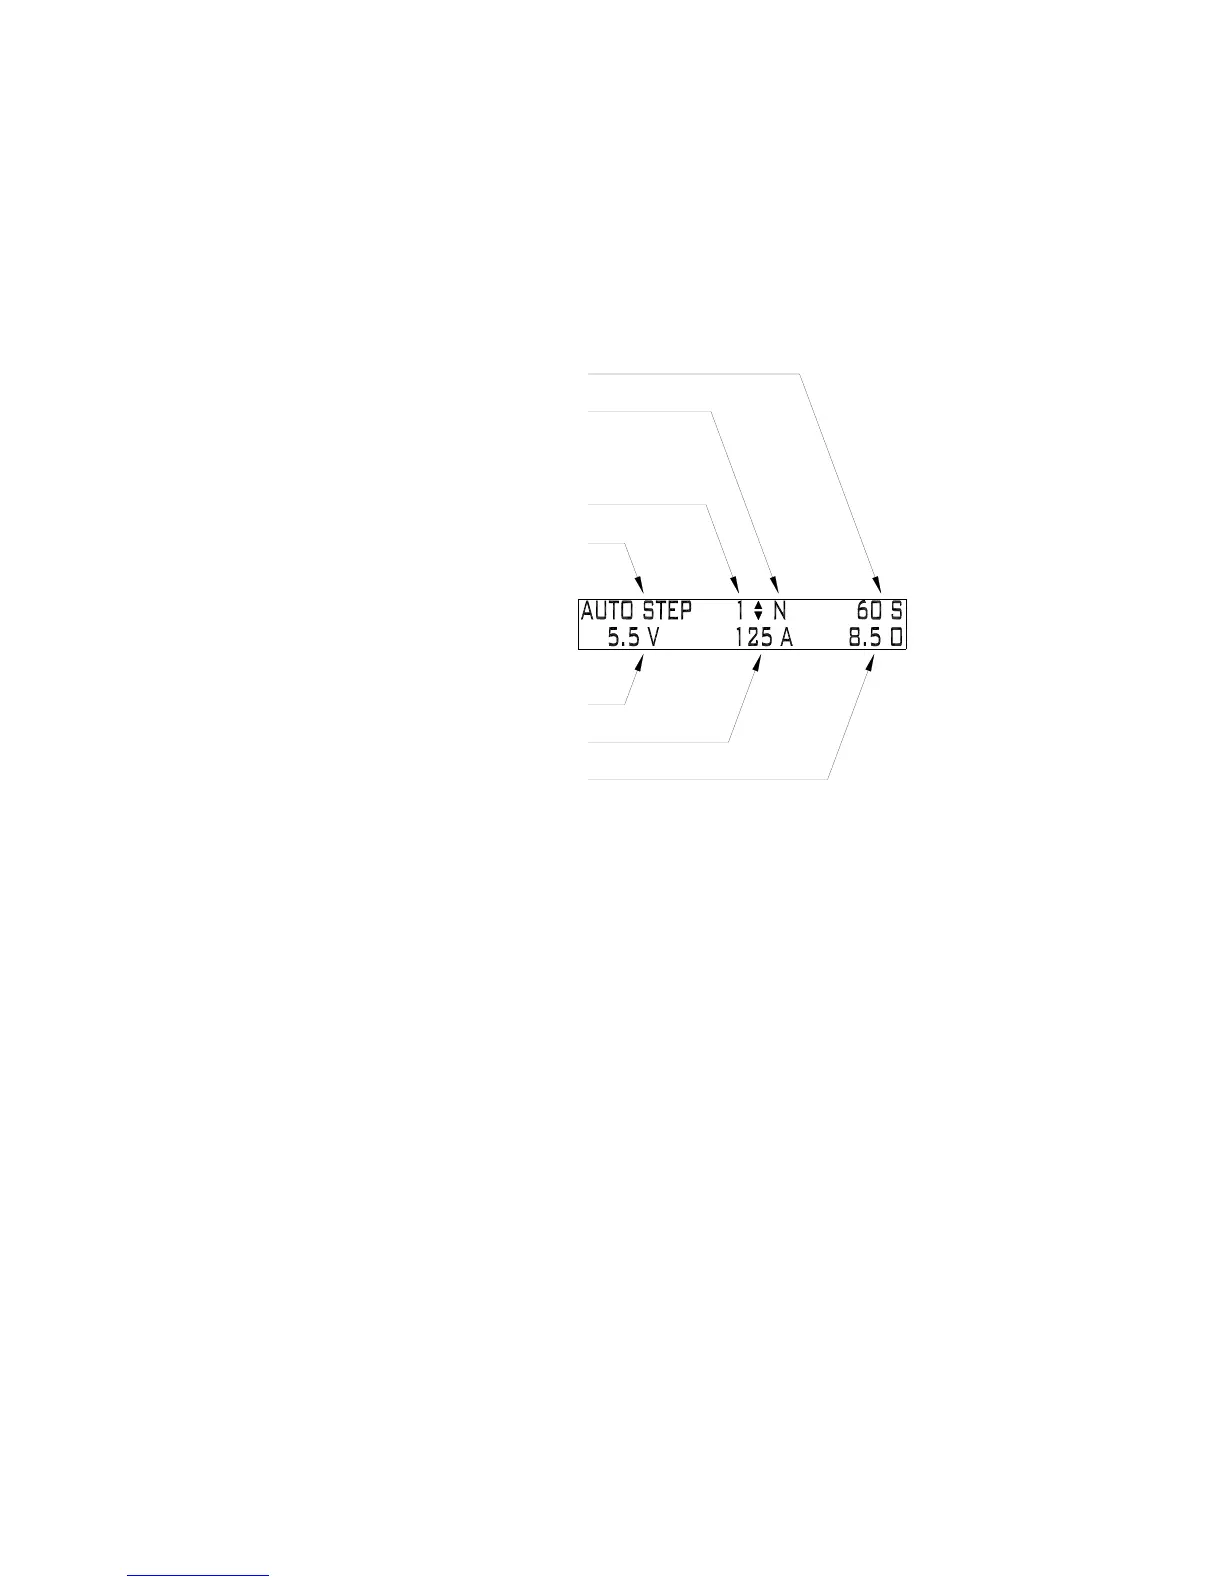
After entering the programming mode the Programming Start Screen is displayed. The
components of this screen are shown in Figure 4-3. This screen allows the user to
review the settings for each step that has been programmed and to choose a step to
change, if desired. To move between programmed steps use the (up) or the (down)
keys. If one or less steps have been programmed, only step one will be accessible.
Figure 4-3
Programming Start Screen
To program a step, use the following sequence after entering the Programming Start
Screen:
1. Choose the step to be programmed using the (up) or the (down) keys
(the program must start with step one). Press ENTER.
2. Use the keyboard or keys to enter the output voltage desired for the
current step. Press ENTER.
AUTO STEP PROGRAMMING MODE
STEP NUMBER
ACTION AFTER THIS STEP
DURATION OF STEP
N = GO TO NEXT STEP
R = REPEAT STEPS
S = OUTPUT OFF - STOP
CURRENT FOR THIS STEP
VOLTAGE FOR THIS STEP
OVP FOR THIS STEP
3. Use the keyboard or keys to enter the output current desired for the
current step. Press ENTER.
4. Use the keyboard or keys to enter the overvoltage protection setting
desired for the current step. Press ENTER.
5. Use the keyboard or keys to enter the time duration (in seconds)
desired for the current step. Press ENTER.
6. Choose the desired action to be taken after completion of the current
step. There are three choices for this:
7.
a. Proceed to the Next step.
b. Repeat all steps beginning with step one through this step forever.
c. Stop after this step and set the output to zero.
Press ENTER after this step and you will be returned to the Programming
Start Screen.
M550004-01
4-3
 Loading...