Ensure the patch is placed securely on the chest, powered on, and connect to the GUI.
Navigate to the ‘Temperature’ tab and enable ‘Temperature Sensors’.
To start a measurement, press Start. Stop an active temperature measurement by clicking Stop.
Temperature data is plotted on the ‘Temperature’ tab as well as in the ‘Plots’ tab under ‘Vital Signs’.
PC GUI Tabs
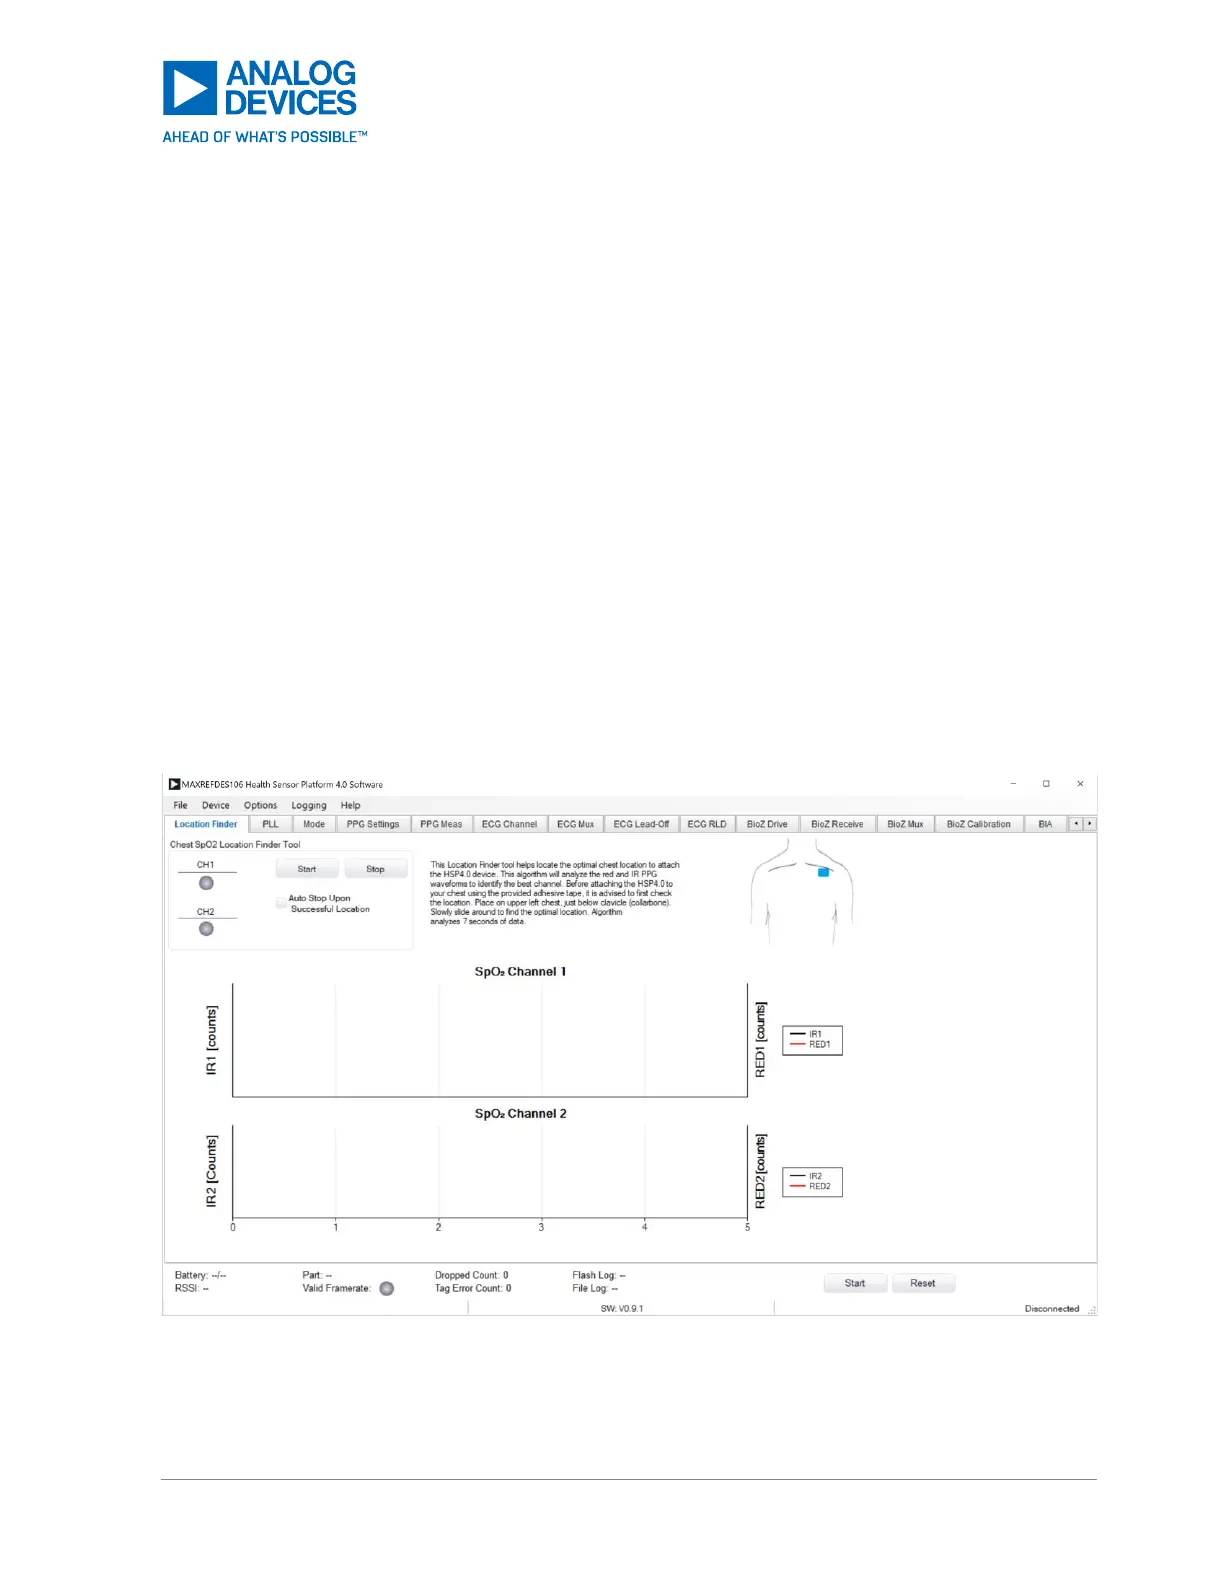
Location Finder Tab
This location finder tool helps locate the optimal chest location to attach the HSP4.0 patch. This algorithm
analyzes the Red and IR PPG waveforms to identify the best channel. Before attaching the HSP4.0 to the
chest using the provided adhesive tape, it is advised to first check the location. Place on upper left chest,
below the clavicle (collar bone). See Figure 51 for details.
Directions: Move the patch to the location shown in the GUI and press Start in the ‘Chest SpO2
Location Finder Tool’ window. The algorithm analyzes seven seconds of data and then indicates a score
on channel 1 and 2. Green is for great location, yellow is for an okay location, and red for a bad location.
If the GUI shows red, move the patch to a new spot and wait for the score indicator to update. Repeat
until a green location is found.
Figure 50. Location Finder Tab