• Highlight “Scan for upgrade” menu with “ ” or “
” keys and pres OK to commence upgrade.
• After the search progress is completed, the
message “ Completed searching for upgrade.
No new software was found” appears on the
screen if no new software is found.
• Do not forget to re enable the automatic OAD
function after you have made your recording
by repeating the above instructions but this
time selecting ENABLE.
Parental Control
Use “
” or “ ” buttons to go to Parental Lock
option. Press OK button to enter the menu. A
dialog box asking for the lock key will be displayed.
The key is set to “0000” initially. Enter lock key. If
it is incorrect, “Wrong Pin” OSD will be displayed.
If it is correct, the Parental Control menu will be
displayed:
Maturity Lock
(*) If you set Country option as UK in the rst
time installation, Maturity Lock option will not
be visible.
When set, this option gets the maturity information
from the broadcast and if this maturity level is
disabled, does not show video-audio.
Menu Lock
In menu lock you can set locking for all menus,
or the Installation Menu to restrict access to
these menus. If the menu lock is disabled, there
will be free access to the menu system. Use “
”
or “ ” buttons to go to Menu Lock option. Use “
” or “ ” buttons to choose Menu Lock Mode.
DISABLED : All menus are unlocked.
ALL MENUS : All Menus are accessible only
with the correct lock key. So the user cannot add,
delete, rename, channels, cannot set timers.
INSTALLATION MENU: Installation menu is locked.
So the user can’t add channels. Changes will be
updated after exiting ‘Conguration Menu’.
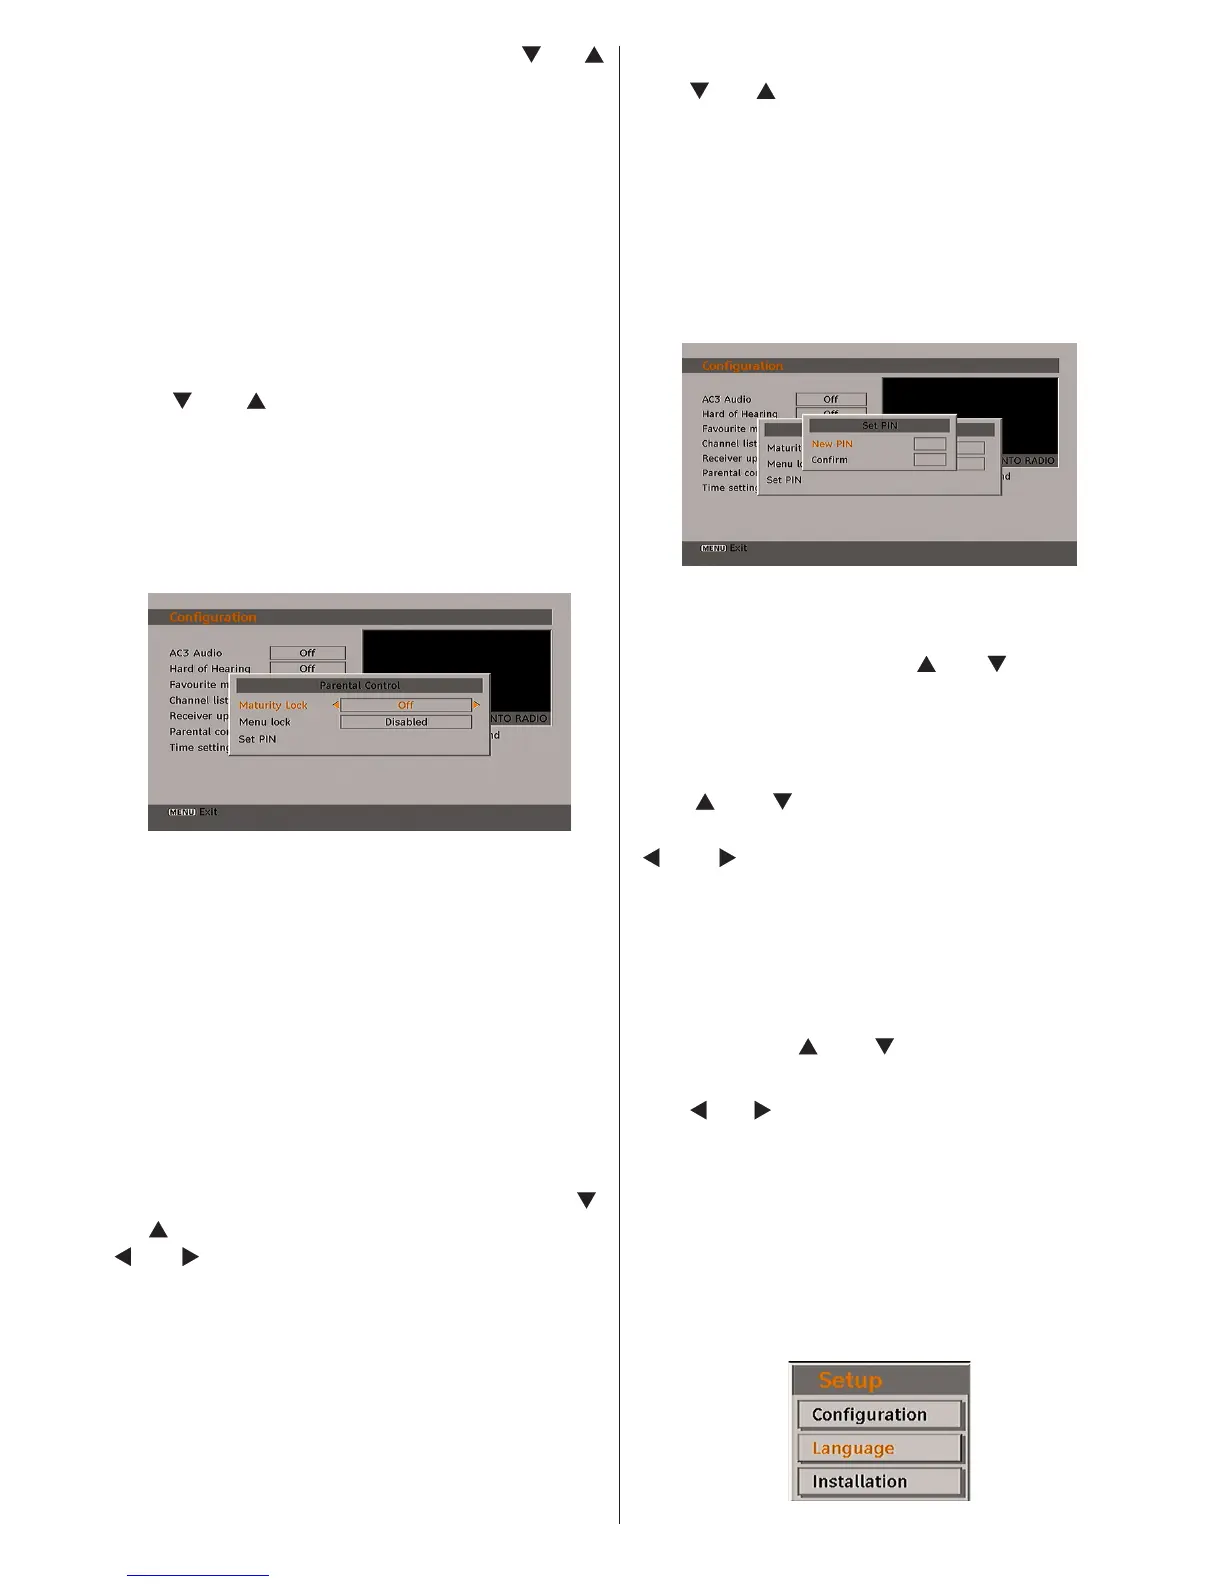
Set PIN
Use “
” or “ ” buttons to go to “Set PIN” option.
Press OK to display the “Set PIN” window. Use
numeric buttons to enter new pin number you
will need to input your new pin a second time
for verication purposes. If both pin numbers
are four digits long and the same, the pin will
be changed. The factory default pin number is
0000, if you change the pin number make sure
you write it down and keep it safe.
Time Settings
In the conguration menu, highlight the Time
Settings item by pressing “ ” or “ ” buttons.
Press OK and Time Settings sub menu will be
displayed on the screen. Current Time,Time
Zone Setting and Time Zone will be available.
Use “
” or “ ” buttons to highlight the Time
Zone Setting. Time Zone Setting is set using
“
” or “ ”buttons. It can be set to AUTO or
MANUAL.
When AUTO is selected, Current Time and Time
Zone options will not be available to be set. If
MANUAL option is selected as the Time Zone
Setting, Time Zone can be altered:
• By pressing “
” or “ ” buttons select Time
Zone.
Use “
” or “ ” buttons to change the Time Zone
between GMT-12 or GMT+12. Current Time
on the top of the menu list will then change
according to the selected Time Zone.
Language
In this menu the user can adjust the preferred
language. Language is changed by pressing
OK button.