4-8 RF Calibrator 50 MHz Frequency and 50 MHz/1 GHz Output Power Chapter 4 — Adjustment
4-6 PN: 13000-00164 Rev. K ML248xx, ML249xA MM
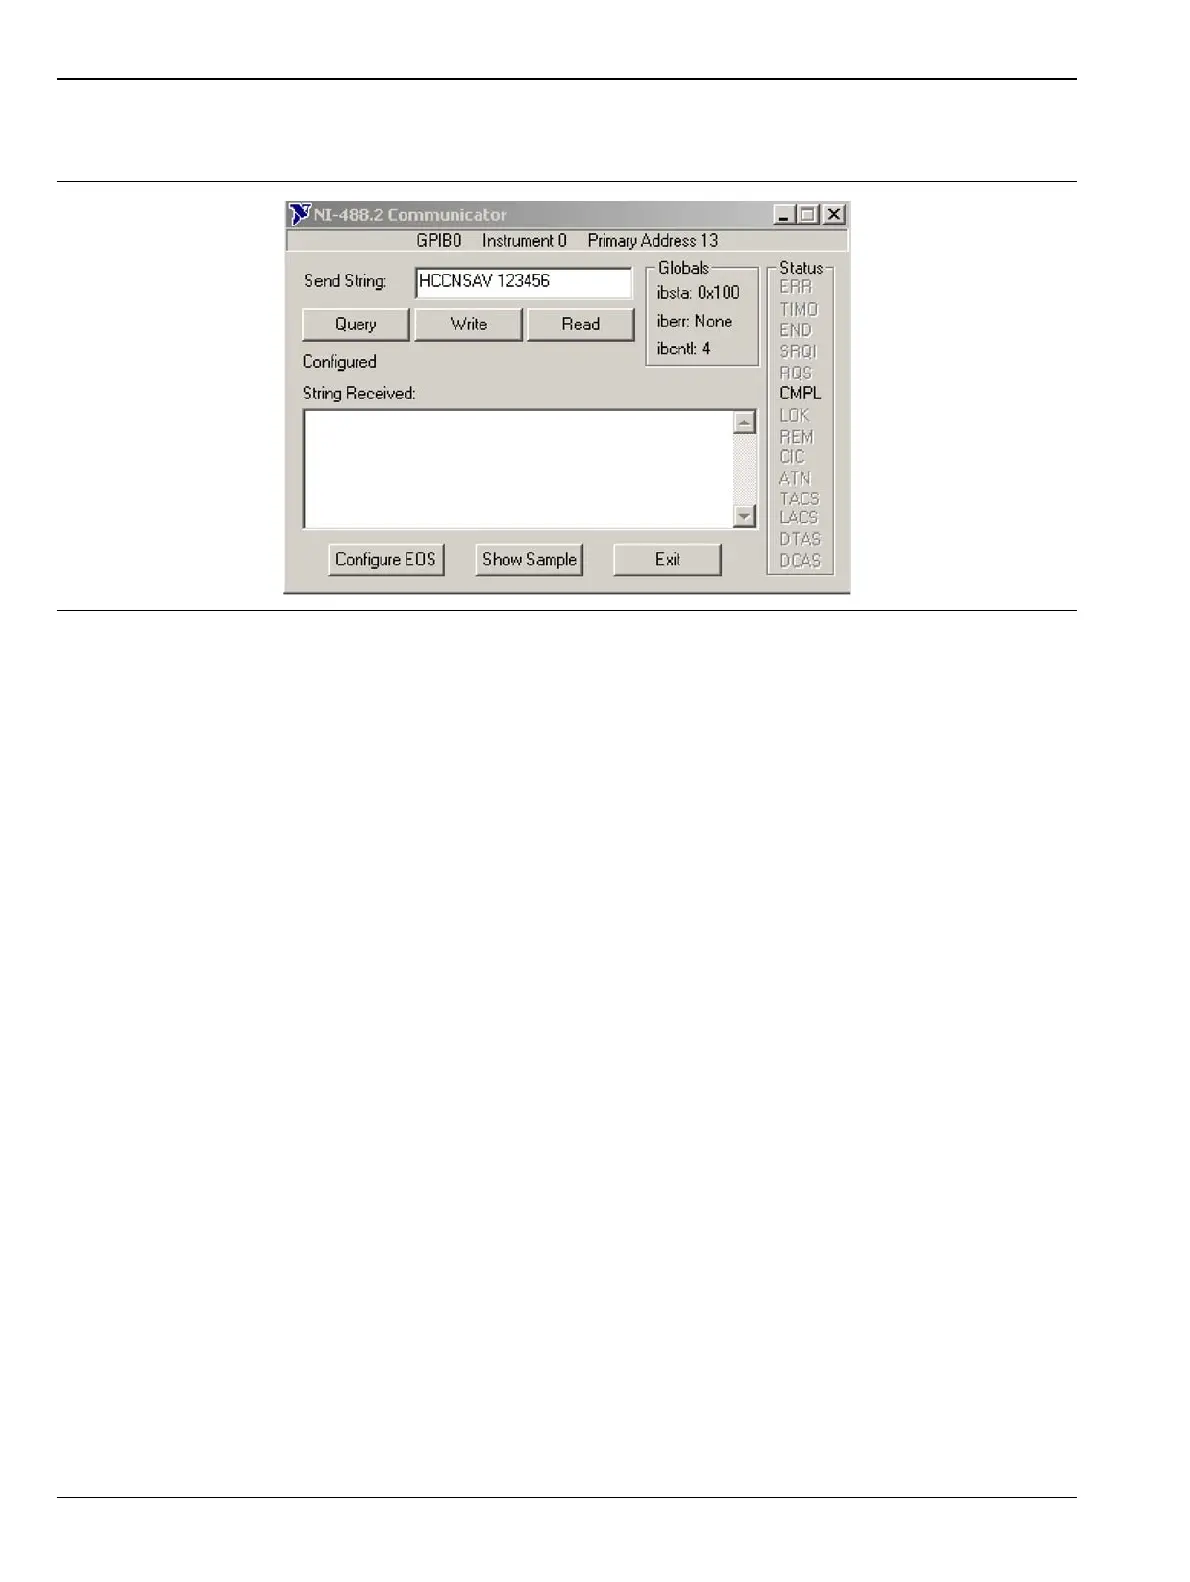
7. In the Send String box (Figure 4-4), type the commands listed below and use the Write or Query button to
send and receive data to and from the power meter.
Setting up the 50 MHz Frequency
1. Write SNRFCAL ON (turns RF on).
2. Query SNCALF? (Ensure the response is 50 MHZ, if not Write SNCALF 50MHZ ).
3. Query HCCFVAL? (Write down this value between 0 and 4095).
4. Note the frequency on the frequency counter and enter a new DAC value (higher than the original value
to raise the frequency, or lower than the original value to lower the frequency). Use the following
commands to write a new DAC value.
a. Write HCCFVAL <New Value>
Continue to adjust the DAC value until the frequency is within specification. Once the frequency is
within specification, save the DAC value using the following command:
b. Write HCCFSAV TRUE,<New Value>
5. To verify the frequency accuracy, repeat Section 3-5 “50 MHz Calibrator Frequency (All Models)” and
Section 3-6 “1 GHz Calibrator Frequency (ML248xx-Option 15, ML249xA)”.
Setting up the 50 MHz and 1 GHz Levels
1. Write SNRFCAL ON (turns RF on)
2. Write SNCALF 50MHZ (selects 50 MHz)
3. Query HCCVAL? (Write down this value between 0 and 4095)
4. Write HCCVAL VALUE (Enter value between 0 and 4095 to adjust the 0 dBm level, then write down the
new value).
(This value will adjust the 50 MHz Level O/P. Write this value down as you will use it later)
5. Write SNCALF 1GHz (Select 1 GHz)
6. Write HCCVAL VALUE (Enter value between 0 and 4095)
(This value will adjust the 1 GHz Level O/P. Note this value down as you will use it later)
Figure 4-4. Send-Receive Dialogue

 Loading...


