6-2 Power Meter Disassembly Chapter 6 — Removal and Replacement Procedures
6-4 PN: 13000-00164 Rev. K ML248xx, ML249xA MM
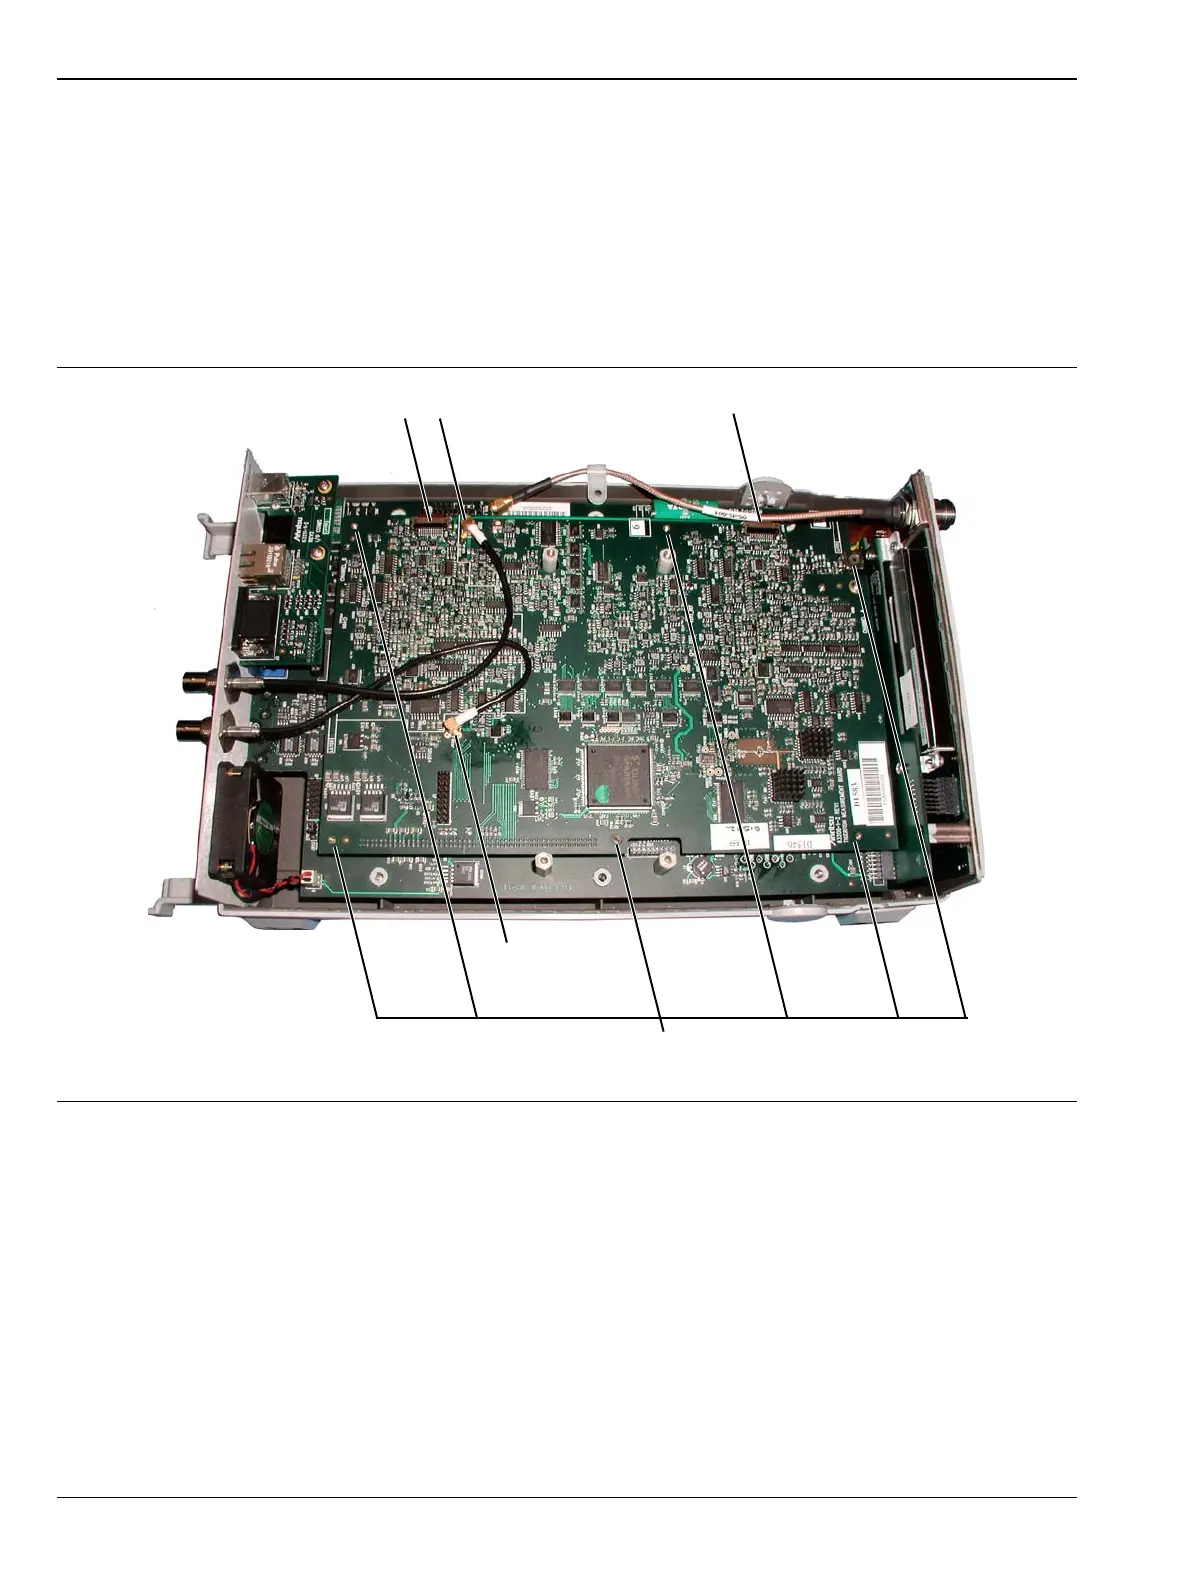
Measurement PCB Removal (ML248xB and ML249xA)
1. Remove the six screws and washers that mount the measurement PCB to its support standoffs as shown
in Figure 6-3.
2. Disconnect the MCX connectors from J302 and J666 on the measurement PCB.
3. Disconnect the flexi cable from J300 and J301 on the measurement PCB. Pull back the locking tabs first
to release the cable.
4. Remove the measurement PCB from the control PCB, by gently prying the two PCBs apart at the main
100-way PCB-PCB connector. Place the PCB in a safe location.
Figure 6-3. Measurement PCB Removal – ML248xB and ML249xA
J300
J666
Measurement PCB
Mounting Screws (6)
J302J301

 Loading...


