8 | LUME20 – Manual | AntecControls.com
MECHANICAL INSTALLATION
It is recommended to mount LUME20 at approximately 5 feet (1. 5 m) from the floor. This will allow the interface to be at an
appropriate height for use during setup and during normal operation.
Installation and Mounting Instructions
Touchscreen Installation Instructions
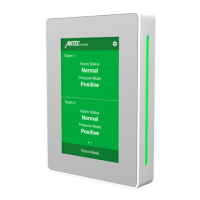
Option A
Mount LUME20 directly on dry wall.
STEP 1
Mark an appropriate mounting location for the monitor.
STEP 2
Using a jigsaw, cut four lines to cut-out a rectangle (minimum 2.0 in. W X 2.5 in. H,
50.8 mm W X 63.5 mm H).
NOTE: Ensure the cut-out sizes are not bigger than the size of the back plate (3.4
in. W x 4.9 in. H, 86.4 mm W X 124.5 mm H ).
STEP 3
Drill 4 mounting holes according to the provided template in Appendix A.
STEP 4
Make sure that the anchors are flush to the wall and then mount the backplate on
the drywall using four #6 drywall screws with anchors.
STEP 5
Attach LUME20 on the backplate installed on the dry wall.
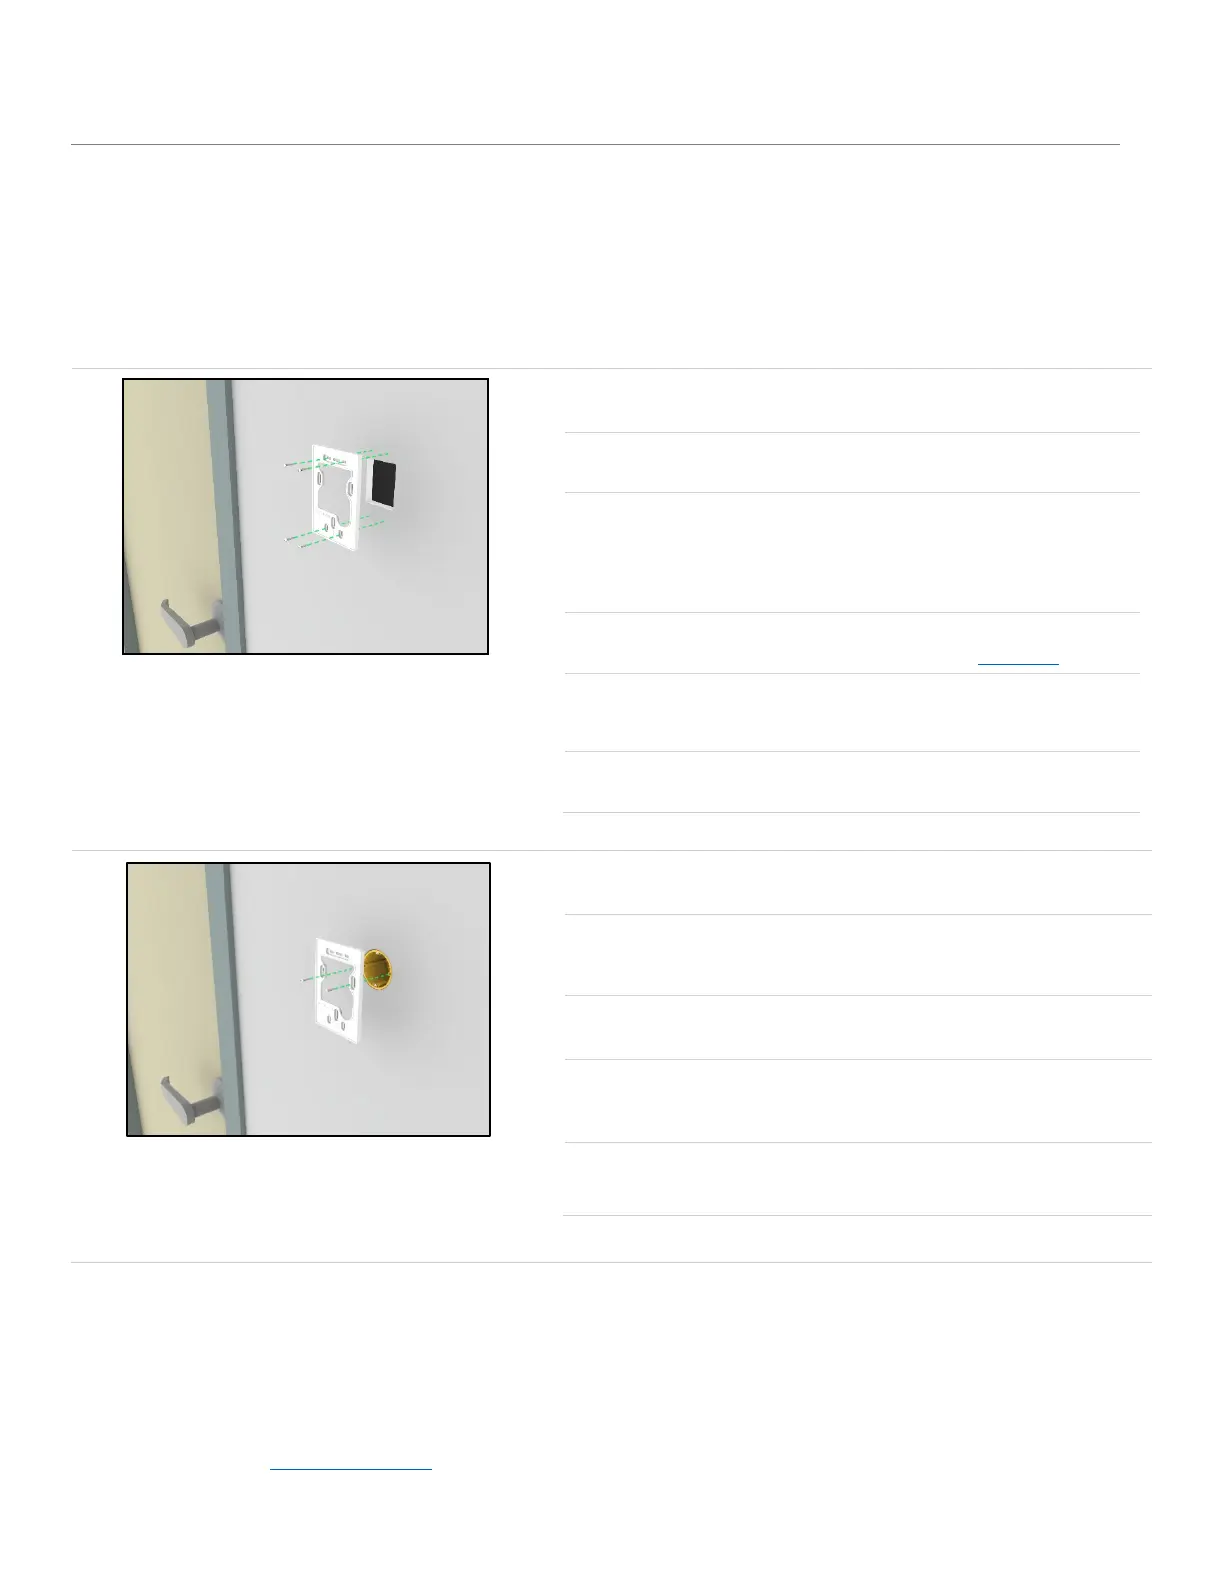
Option B
Mount LUME20 using an EU Wall box.
STEP 1
Using the provided instructions, mount the EU Wall box at the suggested height from
the floor.
STEP 2
Remove the two unused screws from both sides.
STEP 3
Mount the back plate on the wall box using the two screws removed from the wall
box in Step 2.
STEP 4
Attach LUME20 on the backplate that was installed in Step 3.