2 Overview and Controls
This section provides information about front panel and rear panel. When you install this series
DVR for the first time, please refer to this part first.
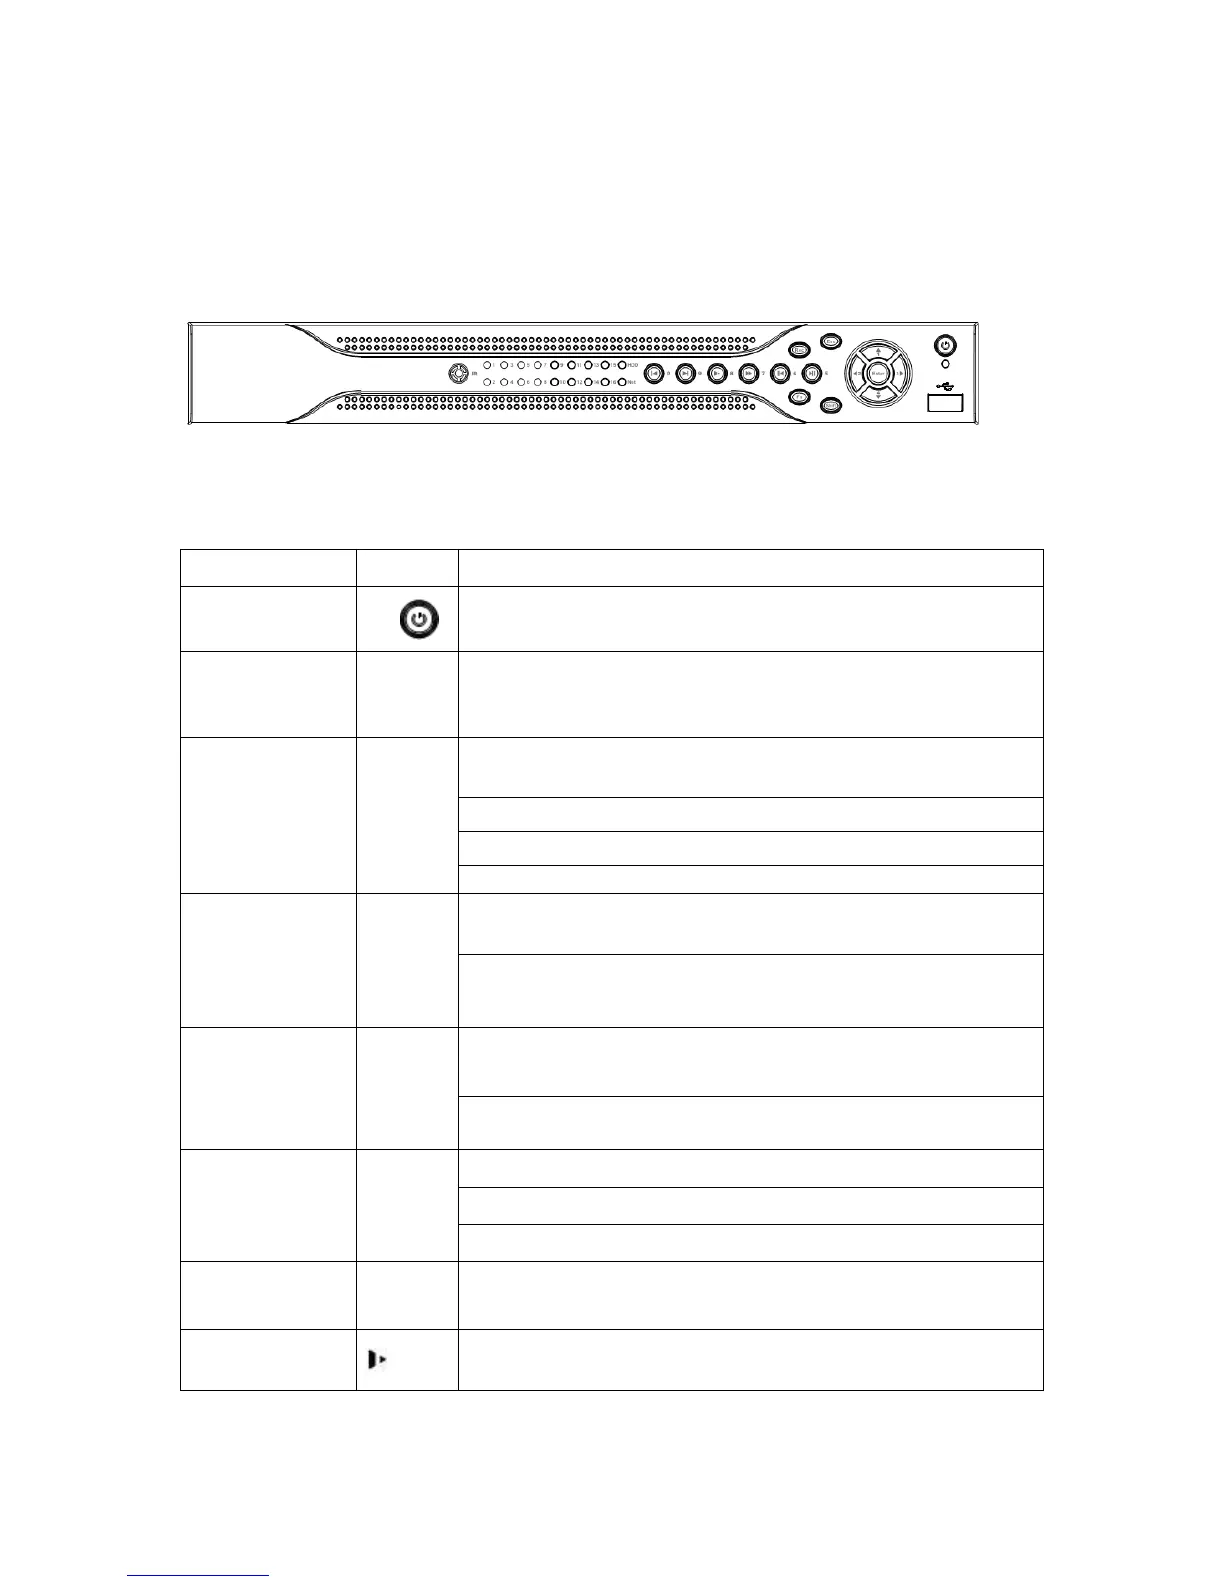
2.1 Front Panel
The front panel is shown as in Figure 2-1.
Figure 2-1
Please refer to the following sheet for front panel button information.
Name Icon Function
Power button
Power button, press this button for three seconds to boot up
or shut down DVR.
Shift Shift
In textbox, click
this button to switch between numeral,
English(Small/Capitalized),donation and etc.
Up/1
Down/4
、
Activate current control, modify setup, and then move up
Increase/decrease numeral.
Assistant function such as PTZ menu.
In text mode, input number 1/4.
Left/2
Right/3
Shift current activated control,
When playback, click these buttons to control playback bar.
In text mode, input number 2/3.
ESC ESC
Go to previous menu, or cancel current operation.
When playback, click it to restore real-time monitor mode.
Enter ENTER
Confirm current operation
Go to default button
Go to menu
Record REC
Manually stop/start recording, working with direction keys
or numeral keys to select the recording channel.
Slow play/8
Multiple slow play speeds or normal playback.
In text mode, input number 8.