Figure 5-14
5.3.5.6 DDNS Setup
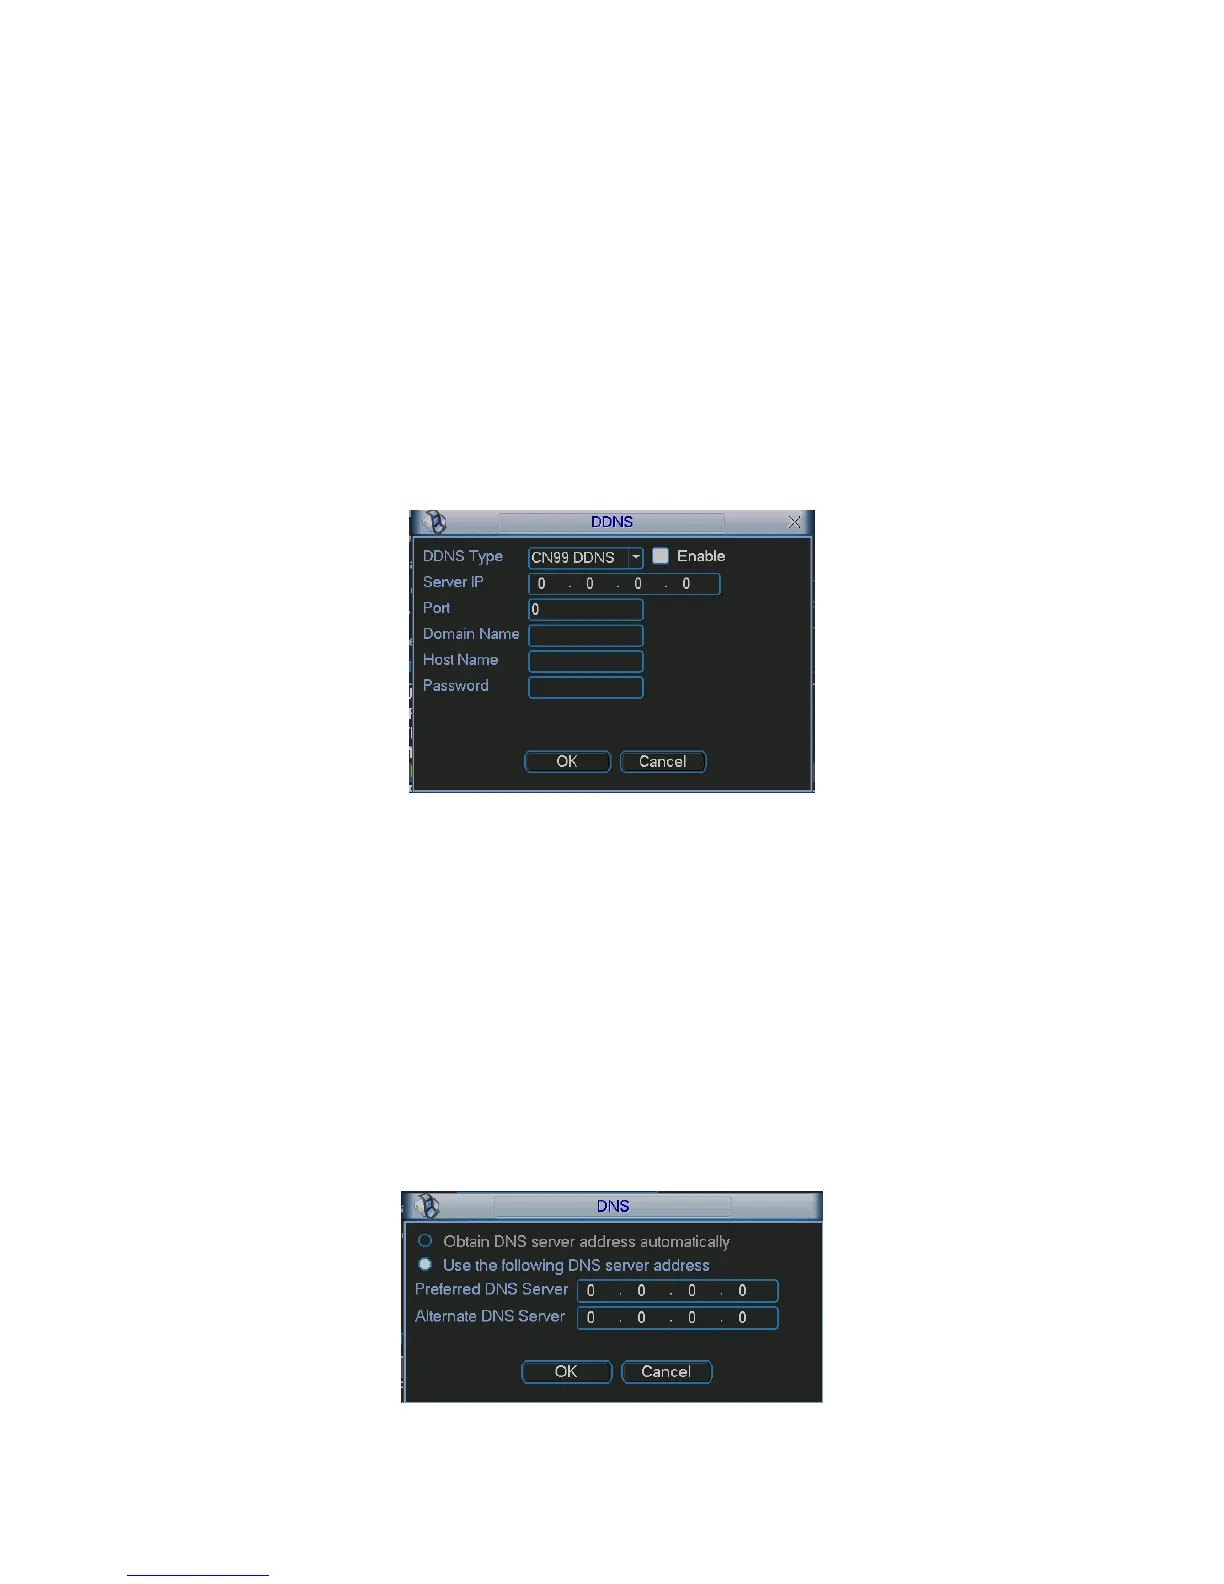
DDNS setup interface is shown as in Figure 5-15.
You need a PC of fixed IP in the internet and there is the DDNS software running in this PC. In
other words, this PC is a DNS (domain name server).
In network DDNS, please select DDNS type and highlight enable item. Them please input your
PPPoE name you get from you IPS and server IP (PC with DDNS ) . Click save button and then
reboot system.
Click save button, system prompts for rebooting to get all setup activated.
After rebooting, open IE and input as below:
http://(DDNS server IP)/(virtual directory name)/webtest.htm
e.g.: http://10.6.2.85/DVR _DDNS/webtest.htm.)
Now you can open DDNSServer web search page.
Figure 5-15
Please note NNDS type includes: CN99 DDNS、NO-IP DDNS、Private DDNS、Dyndns DDNS
and sysdns DDNS. All the DDNS can be valid at the same time, you can select as you
requirement.
Private DDNS function shall work with Dahua DDNS server and Dahua Professional Surveillance
Software (PSS).
5.3.5.7 DNS
There are two modes: Manual setup and auto setup
Manual Setup
You can double click DNS to set DNS address manually. See Figure 5-16.
Please input preferred DNS server IP and alternative DNS server IP.
Figure 5-16