NUMERICAL OC/EF PROTECTION RELAY ADR141C/241C
ASHIDA Electronics Pvt. Ltd.
Ref: Manual / ADR141C / 241C
Issue: 04D
Date : 10.07.2014
Page 35/86
8.3.5.2 To View – Relay Setting
Relay Setting
Relay Setting
Press the right arrow key () the relay will display as
follow.
Ip> Enable = Yes
Ip>> Enable = Yes
This window will show Relay setting done previously.
Press the right arrow key () the relay will display as
follows.
3Io> Enable = No
3Io>> Enable = No
This window will show Relay setting done previously.
Press the right arrow key () the relay will display as
follows.
IP> Normal Inv. 2
3Io> Normal Inv. 1
This window will show Relay setting done previously.
Press the right arrow key () the relay will display as
follows.
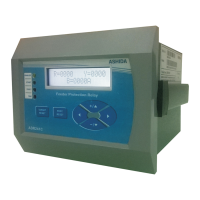
IP>200% t= X1.00
IP>>800%
This window will show Relay setting done previously.
Press the right arrow key () the relay will display as
follows.
3Io>020% t= X1.00
3Io>>200
This window will show Relay setting done previously.
Press the right arrow key () the relay will display as
follows.
IP>> Delay = 0.00
3Io>> Delay = 0.00
This window will show Relay setting done previously.
Press the right arrow key () the relay will display as
follows.
IP> C6 Delay = 04.0
3Io> C6 Delay = 00.0
This window will show Relay setting done previously.
Press the right arrow key () the relay will display the main
menu.