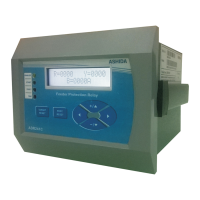
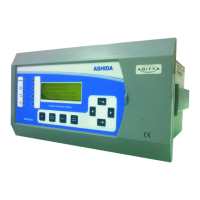
NUMERICAL OC/EF PROTECTION RELAY ADR141C/241C
ASHIDA Electronics Pvt. Ltd.
Ref: Manual / ADR141C / 241C
Issue: 04D
Date : 10.07.2014
Page 75/86
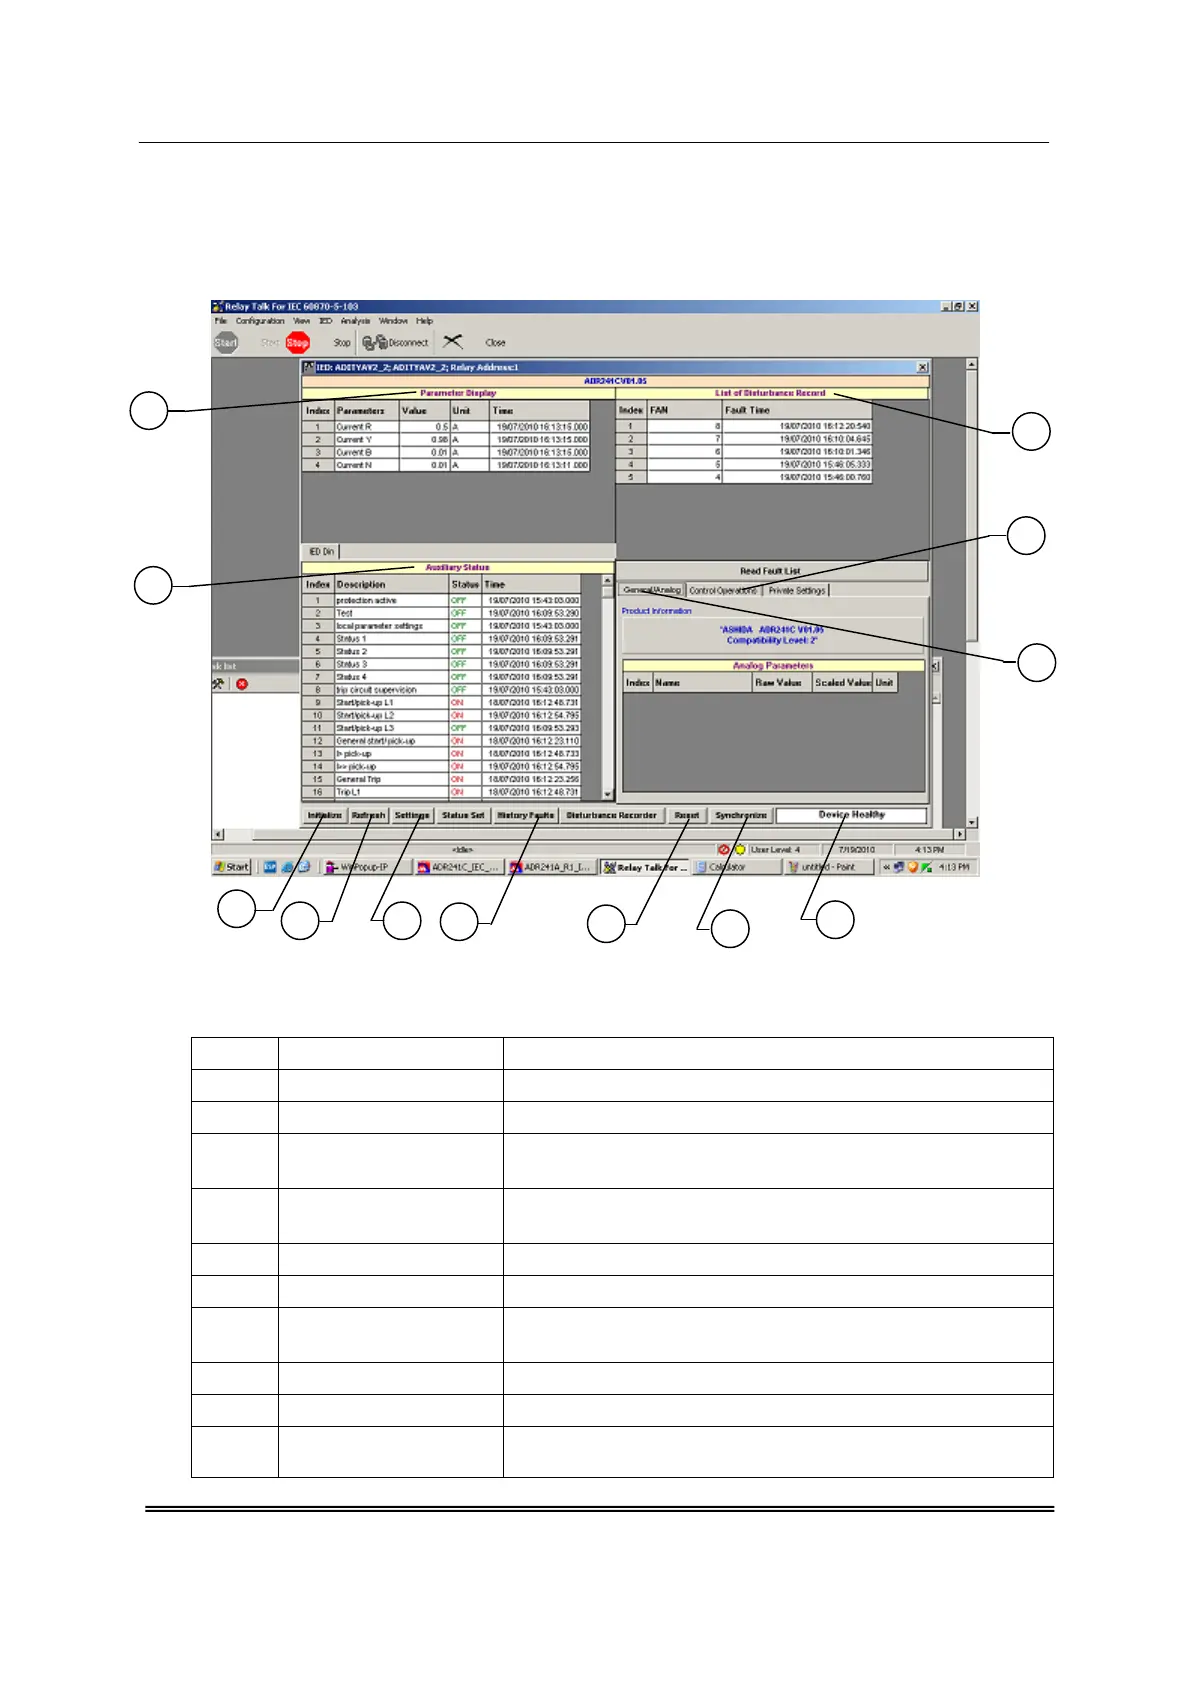
10.5. ADR241C IED Main Screen
After checking all settings and when the ADR241C is selected the following window will be
displayed on the PC screen.
Fig. 10.8
The windows/Buttons functions are as follows
Sr. No Name Description
1 Initialized This will initialize relay communication.
2 Refresh It will refresh all windows and parameters
3 Setting
This is used to view the settings of the relay and also edit
the settings of the relay.
4 History Faults
It will read all fault data (i.e. last 5 fault which is also
available on LCD display)
5 Reset This is used to reset the relay.
6 Synchronize This is used to synchronize the relay date and time with PC
7 Device Healthy
This window indicates the healthy condition of the relay
with software i.e. Successful communication indicator.
8 Auxiliary Status This is used to view the input status received by the relay
9 Parameter Display This is used to view the parameters of current and voltage
10
List of Disturbance
Recorder
This is used to view the last 5 faults saved in the relay with
fault number.
10
12
11
6
7
5
1
2
3
4
8
9