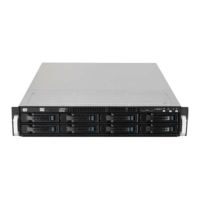
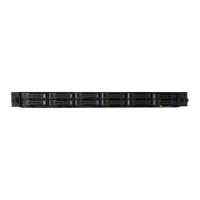
2-15
ASUS RS400-E8-PS2, RS400-E8-PS2-F
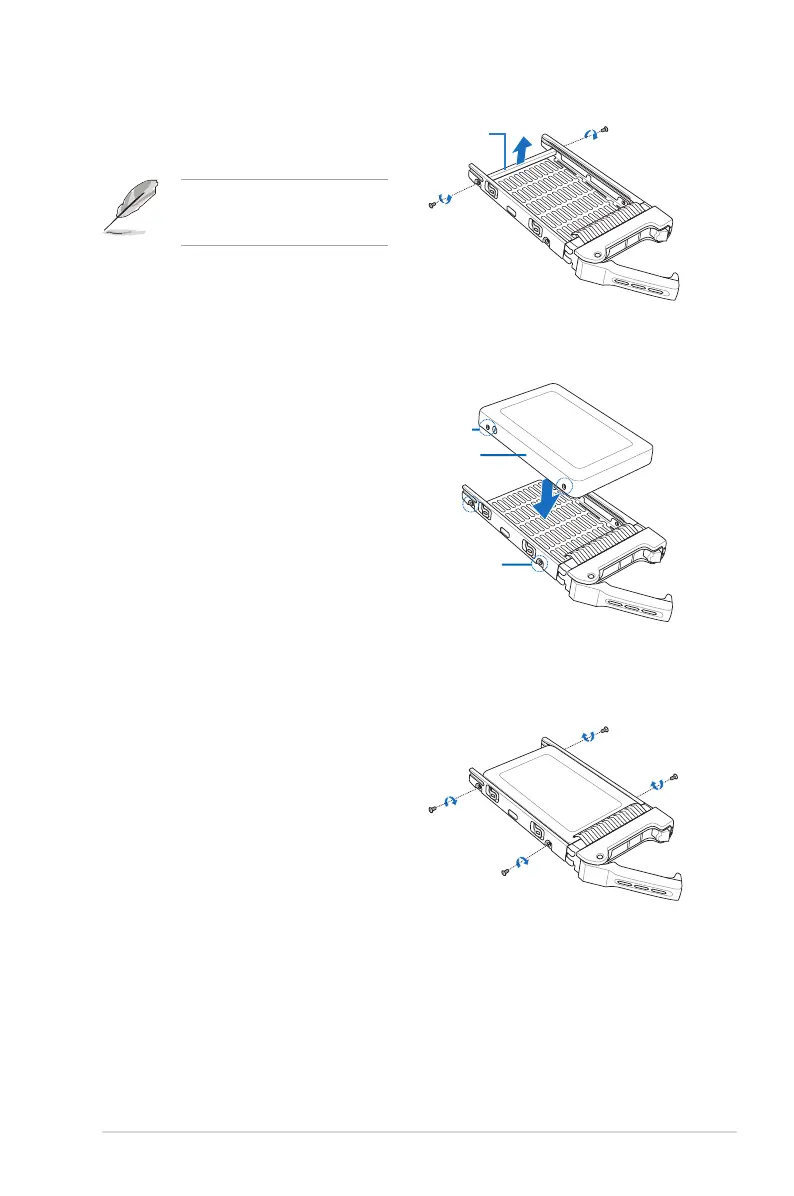
3. Remove two screws on the two sides of
the support bar at the back of the drive
tray.
Supportbar
The support bar supports the drive
tray horizontally to prevent the drive
tray from benting or deforming.
SSD screw hole
SSD
Drive tray screw hole
4. Place a SSD into the tray with the screw
holesontheSSDttheonesonthe
drive tray.
Ensuretotthefourscrewholeson
the SSD to the screw holes on the drive
tray.
4. Then secure it with four screws (2
screws on each side).