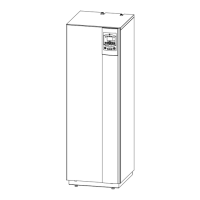
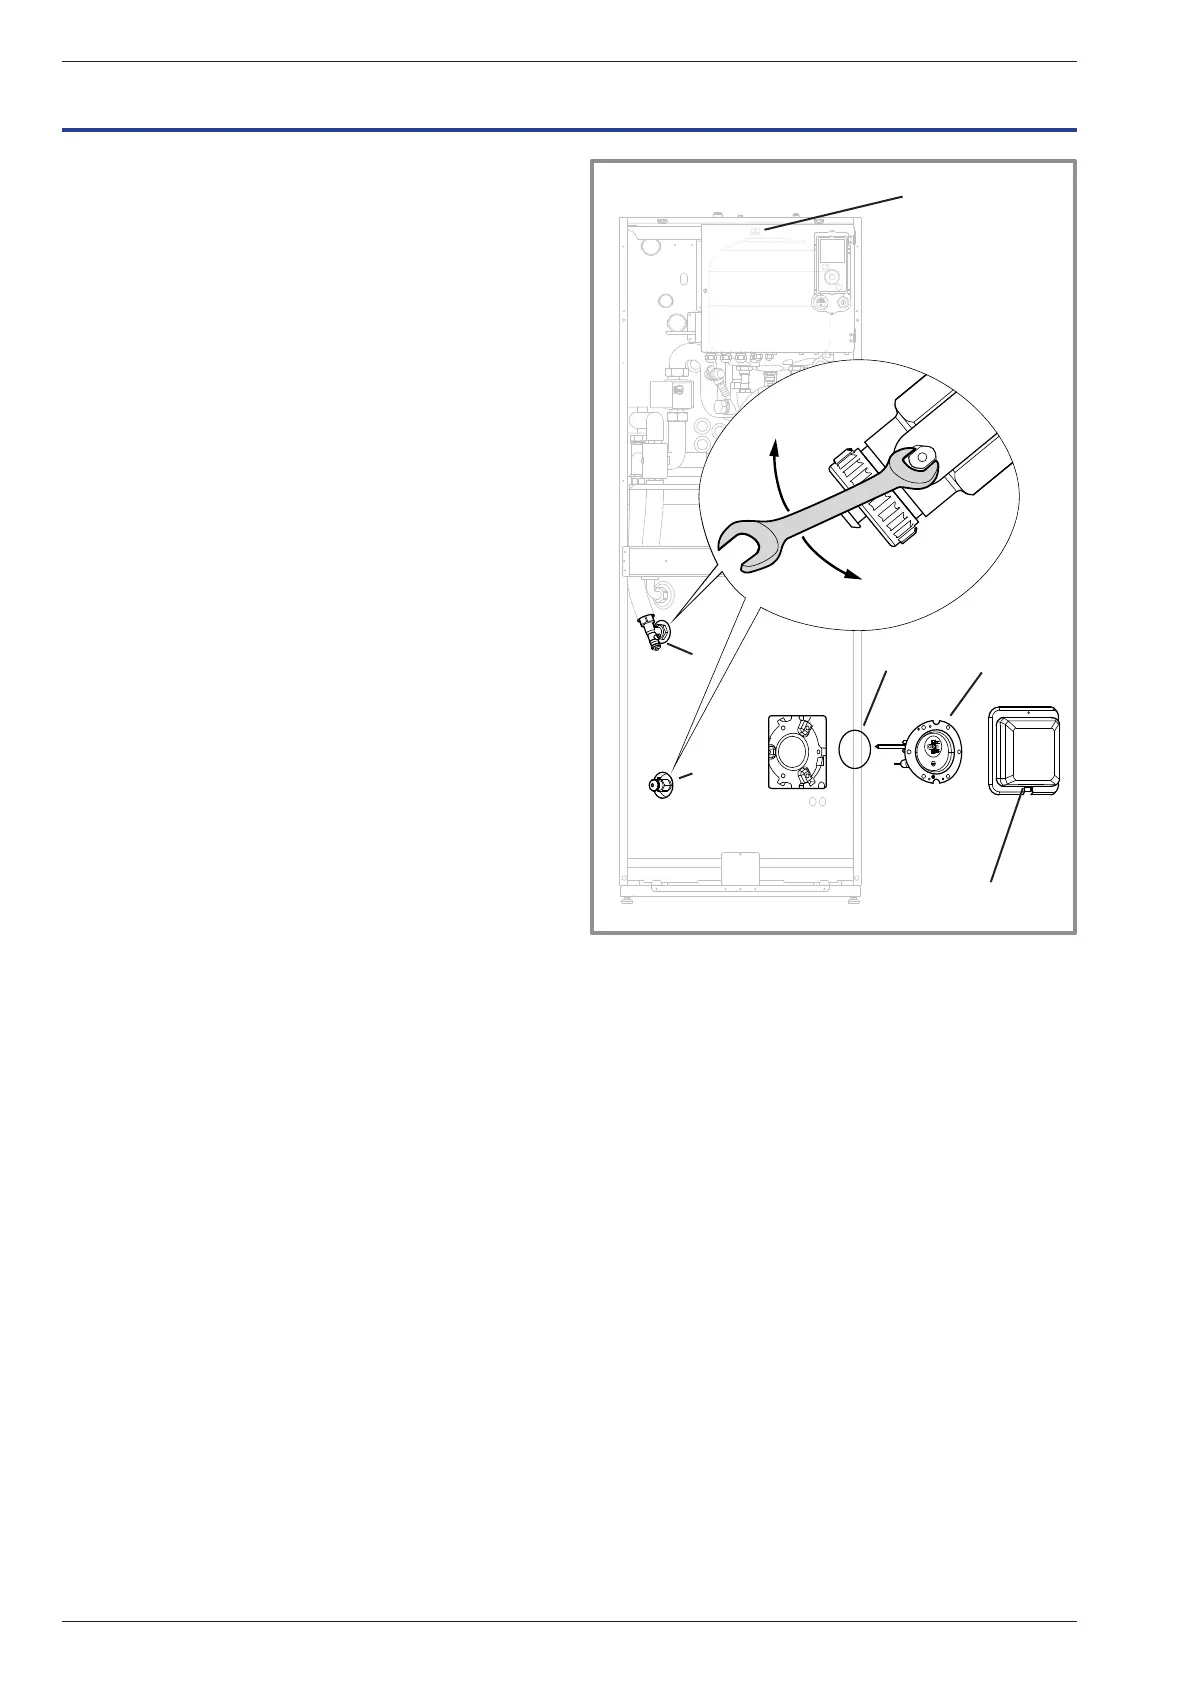
gure 49 - Draining the hydraulic unit
and/or hot water tank
1
5
6
2
4 3
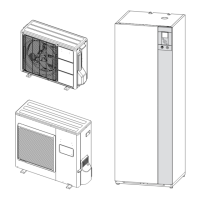
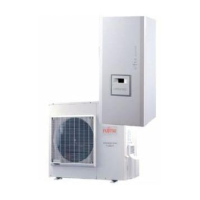
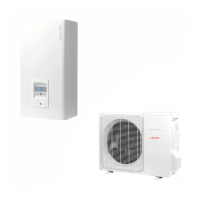
12.3 Checking the outdoor unit
- Remove any dust from the exchanger, if necessary,
while making sure not to damage the blades.
- Straighten the blades using a comb.
- Check that there is nothing blocking the air ow.
- Check the fan.
- Verify that condensate drain is not obstructed.
• Checking the refrigeration circuit :
If the amount of refrigerant in the system exceeds
2kg (models > 10kW), the refrigeration circuit must be
checked annually by an approved engineer (they must
have a certicate of competence for the handling of
refrigerants).
- Check there are no leaks (connections, valves…).
12.4 Checking the electrical circuit
- Check the connections and re-tighten if necessary.
- Check the state of the cables and plates.
" Before any maintenance operation, make sure
that the general power supply is switched o.
12.1 Checking the hydraulic circuit
" If frequent rells are required it is absolutely
essential that you check for any leaks. If relling
and a pressure reset are necessary, check what
type of uid was used initially.
Recommended lling pressure: between 1 and 2 bar
(the exact lling pressure is determined by the water
pressure in the installation).
Every year,
- Check the expansion circuit pressure (pre-ination to
1 bar) and the correct operation of the safety valve.
- Check the safety valve on the cold water supply inlet.
Make it operate as advised by the manufacturer.
- Check the shut-o.
- Check the correct operation of the distribution valve.
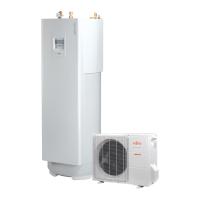
12.2 Maintenance of the DHW tank
Maintenance on the tank must be carried out annually
(frequency may vary according to water hardness).
12.2.1 Emptying the hot water tank
- Remove the front panel from the HP.
- Close the cold water inlet into the tank.
- Open a hot water tap and open the water tank drain
valve (ref. 1).
12.2.2 Descaling
- Empty the water tank.
- Remove the cowl from the electrical backup (ref. 2).
- Disconnect the electrical backup.
- Disconnect the ACI.
- Remove the electrical backup (ref. 3).
- Descale the exchanger to maintain performance.
- Remove any scale deposits that may have accumulated
in the tank. It is best to leave any scale sticking to the
sides of the tank: this forms a protective layer.
- Gently remove any scale deposits on the thermowell.
Do not use any metal objects or chemical or abrasive
products.
- Replace the electrical backup's gasket (ref. 4) each
time it is dismantled.
- Reinstall the electrical backup and tighten alternate
nuts in rotation.
- Reconnect the electrical backup.
- Reconnect the ACI.
- Replace the cowl on the electrical backup.
Close
Open
12 Maintenance of the installation
Installation and Operating Manual "1821- EN"
Alféa Extensa Duo A.I. Heat Pump
- 76 -