88
19
TX Blue Pocket
Transmitterr
○○○ ○○○○○○○○○○○○○○○○○○○○○
Setting up the TX Blue
To set up the TX Blue in conjunction with a CX
iR
:
• Fit the battery.
• Set the transmitter and receiver to the same
operating frequency.
• Connect the antenna.
• Switch on.
• Connect the microphone.
• Check that the receiver’s red, no signal indicator is
not illuminated.
• Set the microphone gain.
These steps are explained below:
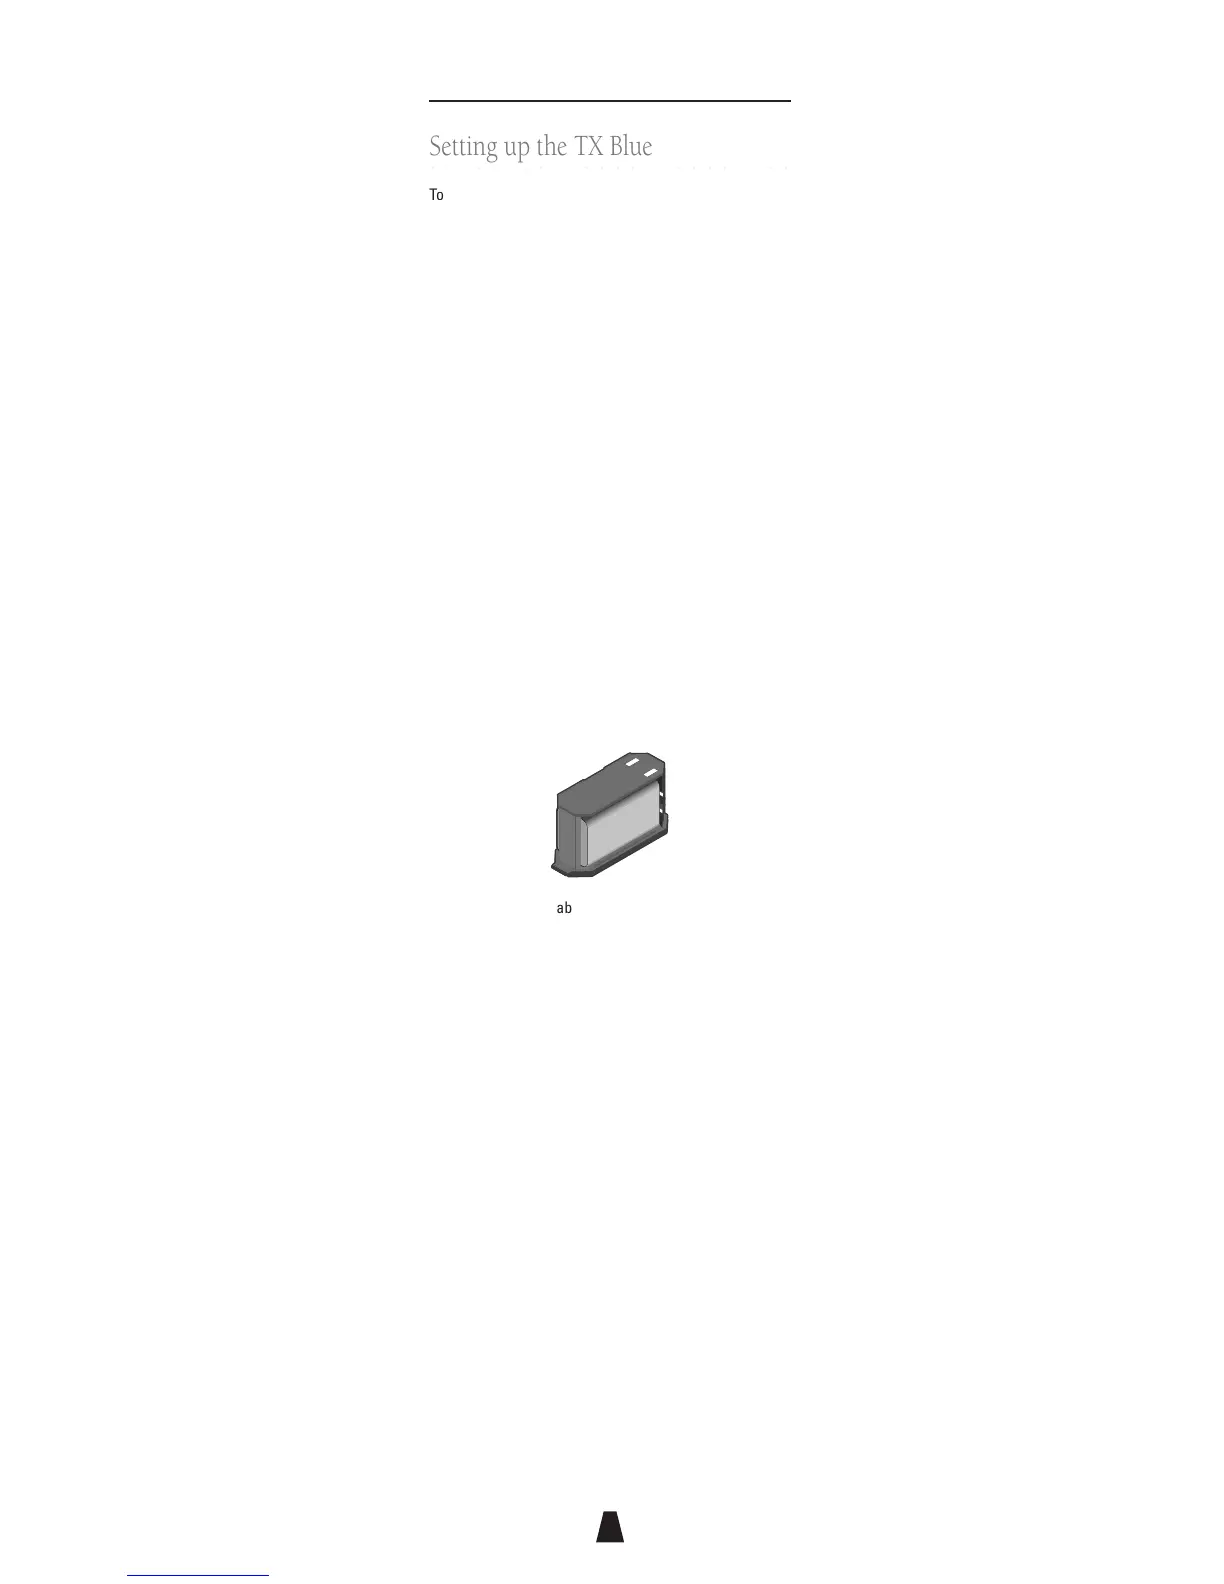
Fitting the battery
To open the battery compartment press the release
buttons at each end of the battery tray and slide out the
tray. Insert a 9V 6LR61 type alkaline battery, observing
the polarity as shown on the inside of the tray, and
replace the tray. Do not use excessive force:
+
_
+
_
An electronic resettable fuse protects the transmitter
from reverse powering. A low transmitter battery
indicator is provided on the CX
iR
Receiver.
External powering
The transmitter can also be externally powered by a
number of different cables available from Audio Limited.
The external DC power must not exceed 12V or damage
will occur.
Selecting the operating frequency
Select the operating frequency you want to use from the
label on the side of the TX Blue. Set the F1/F2 switch to
F1 (first column of frequencies) or F2 (second column of
frequencies). Rotate the switch inside the TX Blue
battery compartment using a small screwdriver to select
the frequency, 1 to 16.
Switch the TX Blue off and back on again to enable the
change in frequency.