Copyright © 2006-2009 AudioNote Kits
www.AudioNoteKits.com
audionotekits@rogers.com
Page 45
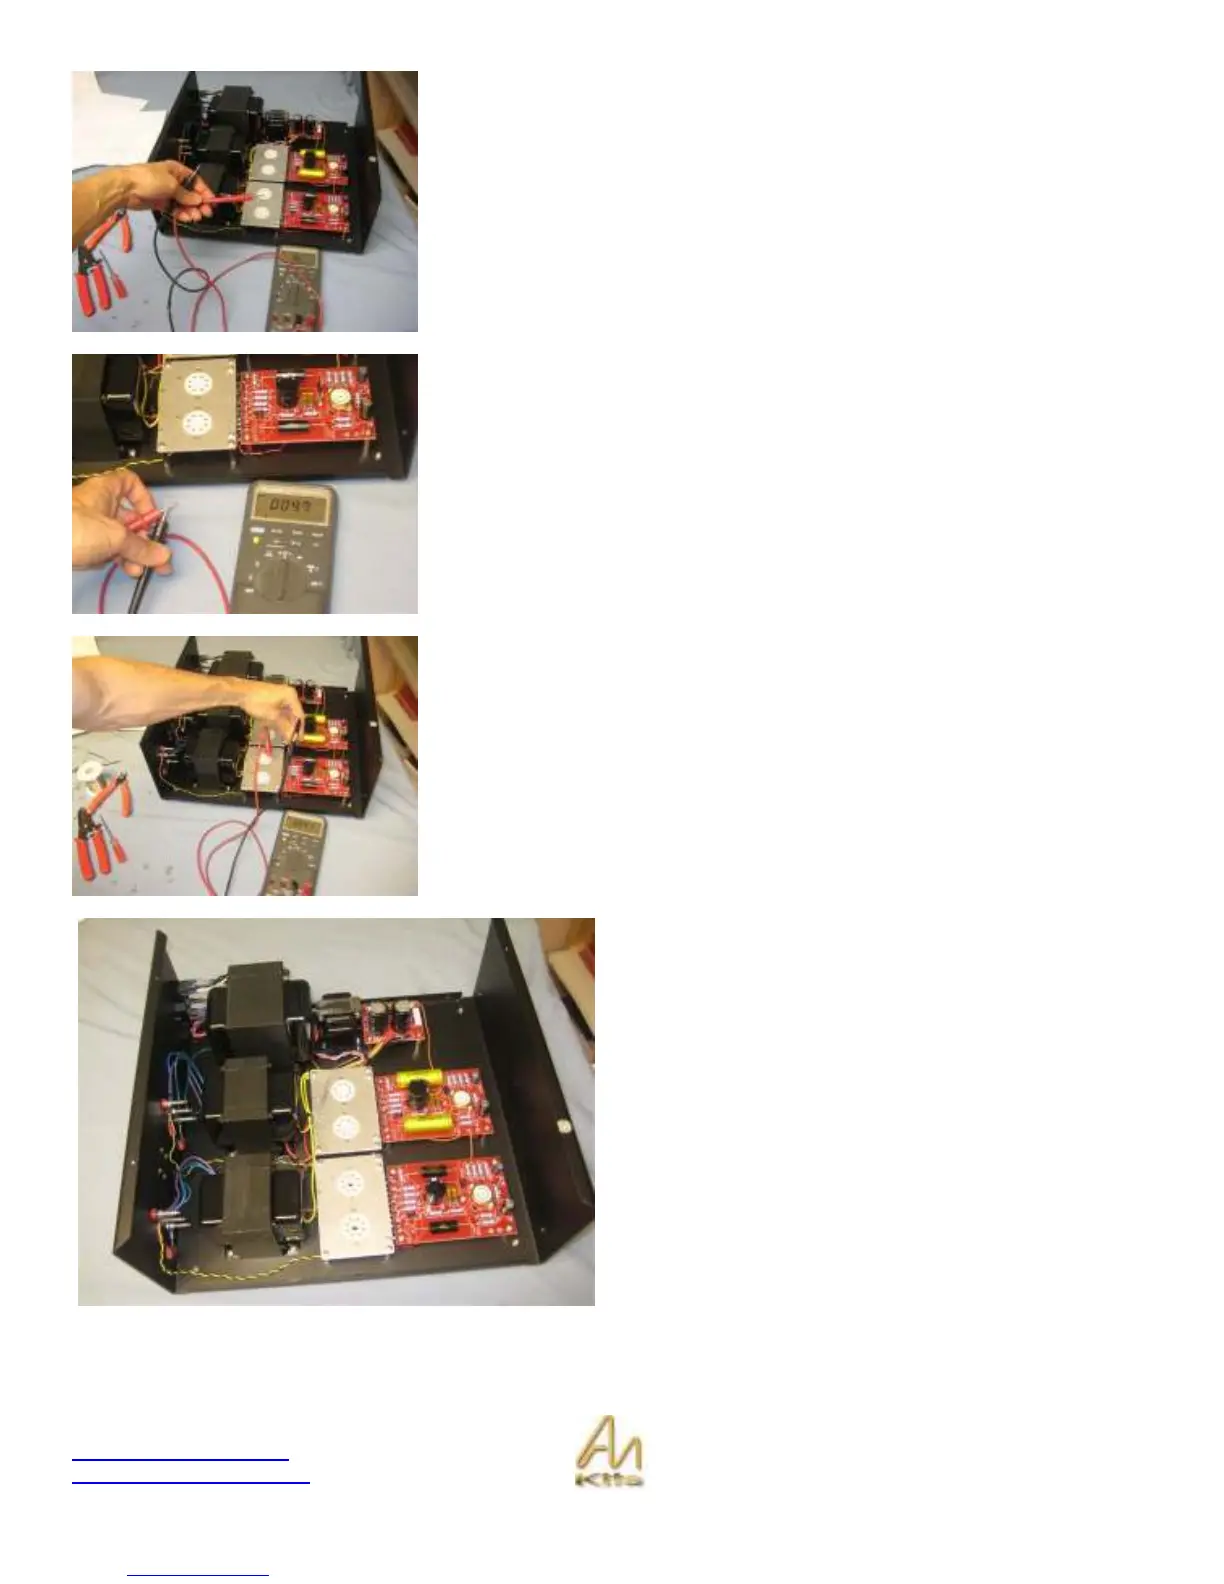
Let’s have a short lesson on using an OHM meter which is a most valuable tool
for checking and debugging with no power on!
When the probes are not touching we have an “open” circuit or in other words
there is no connection between the two points we are testing – on my meter you
can see it says OL for Overload or a resistance of many Mega ohms which is
the same as “not connected”.
Now I am touching the probes together and the meter is showing a very low
resistance of 4.7 ohms – this tells you that there is a connection –it might read 0
ohms or .5 ohms or 1 ohm also.
Now lets go make our first real ohm check...
I am checking between pin 5 of the EL34 valve base, which is connected to -
OUT and the ECF80 -OUT connection – reading 4 ohms.
So, a good exercise would be to use your schematic and see if you can make
some connections to check that everything is wired correctly.
Repeat the inter-wiring and testing on the second channel of the amplifier.
You can do a little wire cleanup at this point with the tie
wraps provided and your amplifier should look something
like this.
NOTE that we are using some different components on the
left and right channel in this prototype that we are building
for the manual – mainly the .22 caps – these caps can be a
fun source for making changes down the road for different
levels of upgrades.