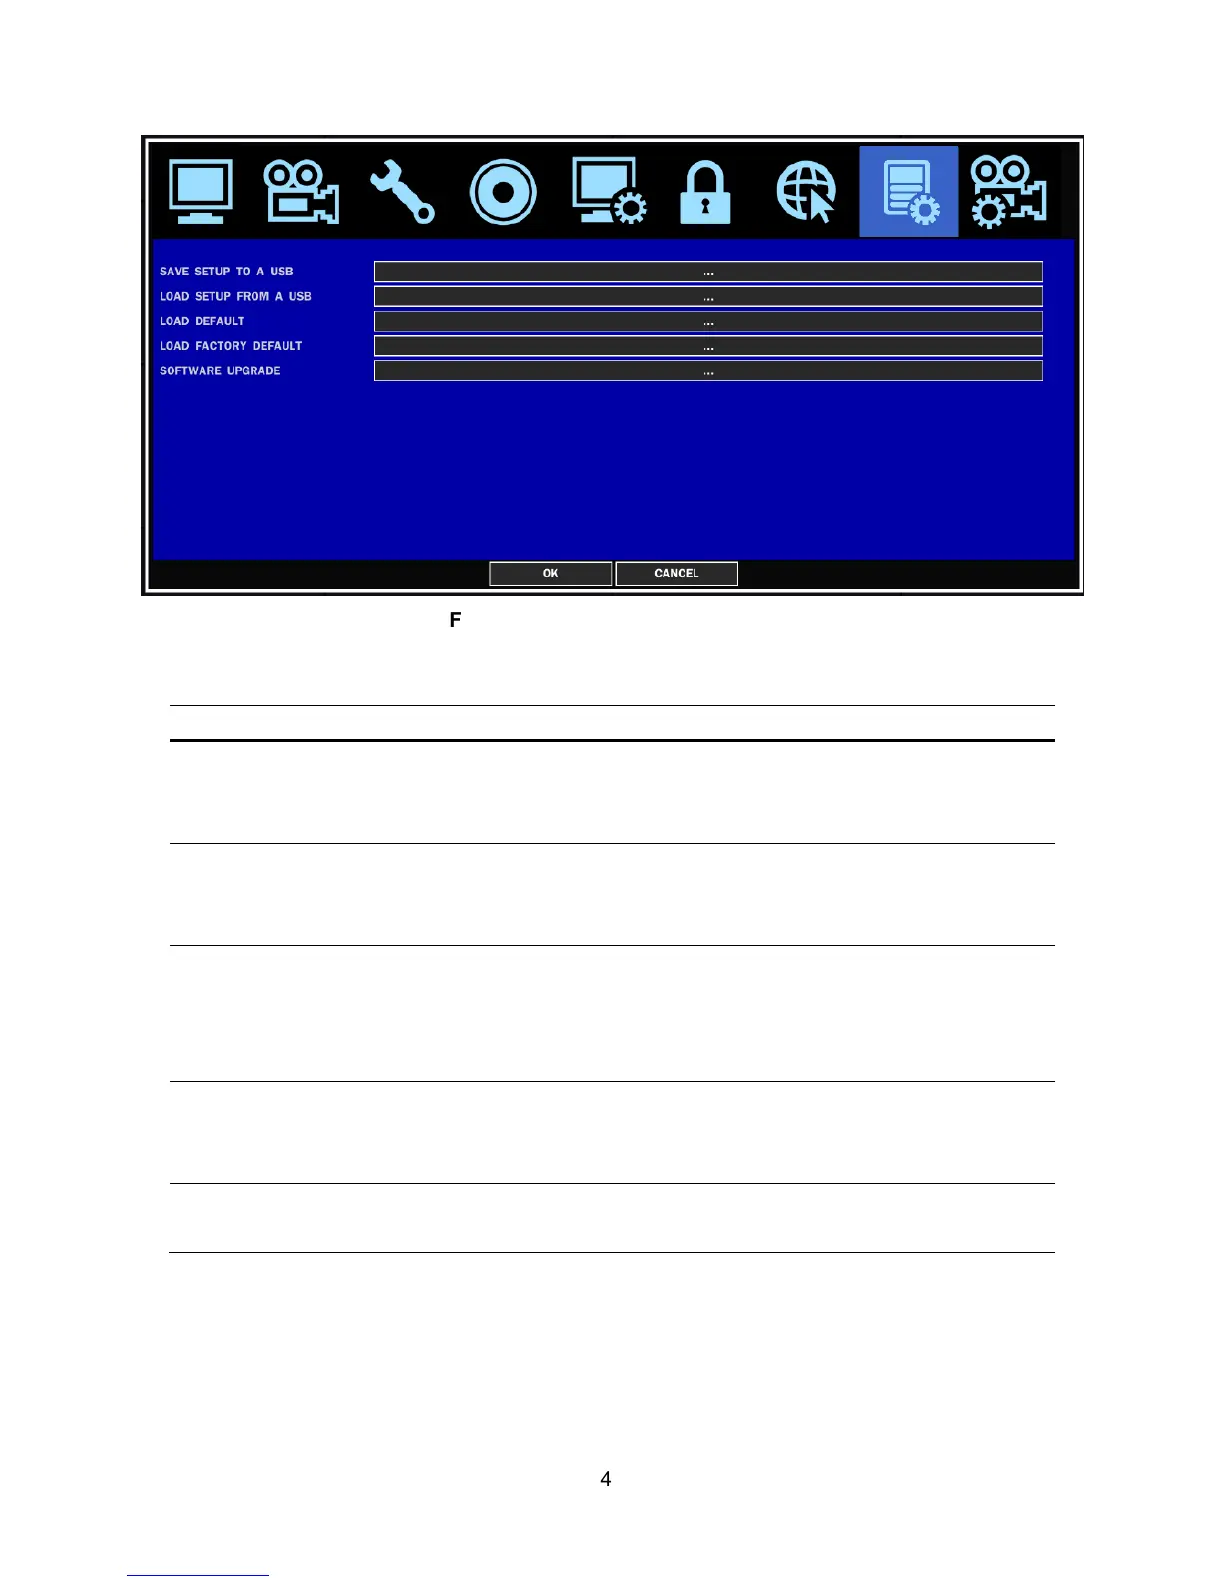
Figure 2.9.1. Config setup screen
Table 2.9.1. Config setup
Item Description
SAVE SETUP
TO A USB
User can save the current configuration (Setting values) of DVR to the
USB memory stick. Put the USB stick on the front panel and press SEL to
start the saving process.
LOAD SETUP
FROM A USB
User can upload the configuration of DVR to another DVR using the USB
Memory stick. Put the USB stick on the front panel and press SEL to start
the loading process.
LOAD
DEFAULT
Select ON to reset the system to the default settings.
(The follow setting such as Language, DVR ID, Security User
Authentication, Security User P/W, Date format, DLS setting, Network
setting, HDD serial number and HDD error time will not be included.)
LOAD
FACTORY
DEFAULT
Select ON to reset the system to the factory default settings.
SOFTWARE
UPGRADE
User can upgrade the latest firmware to this menu. Please refer to 7.
Upgrading Firmware.
2-10. Quick Setup
In the MENU, select the QUICK SETUP tab. Then, the QUICK SETUP menu is displayed as pictured below.
Navigate through the menu items using the mouse or the control button (
◀ ▲ ▶ ▼
) on the remote
control and change the value of the menu item.