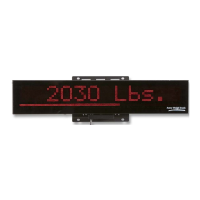
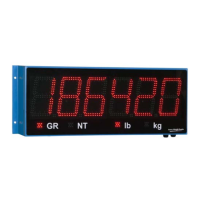
12 XR Series Installation Instructions
3 Installation
3.1.3 Lowering the Electronics Plate
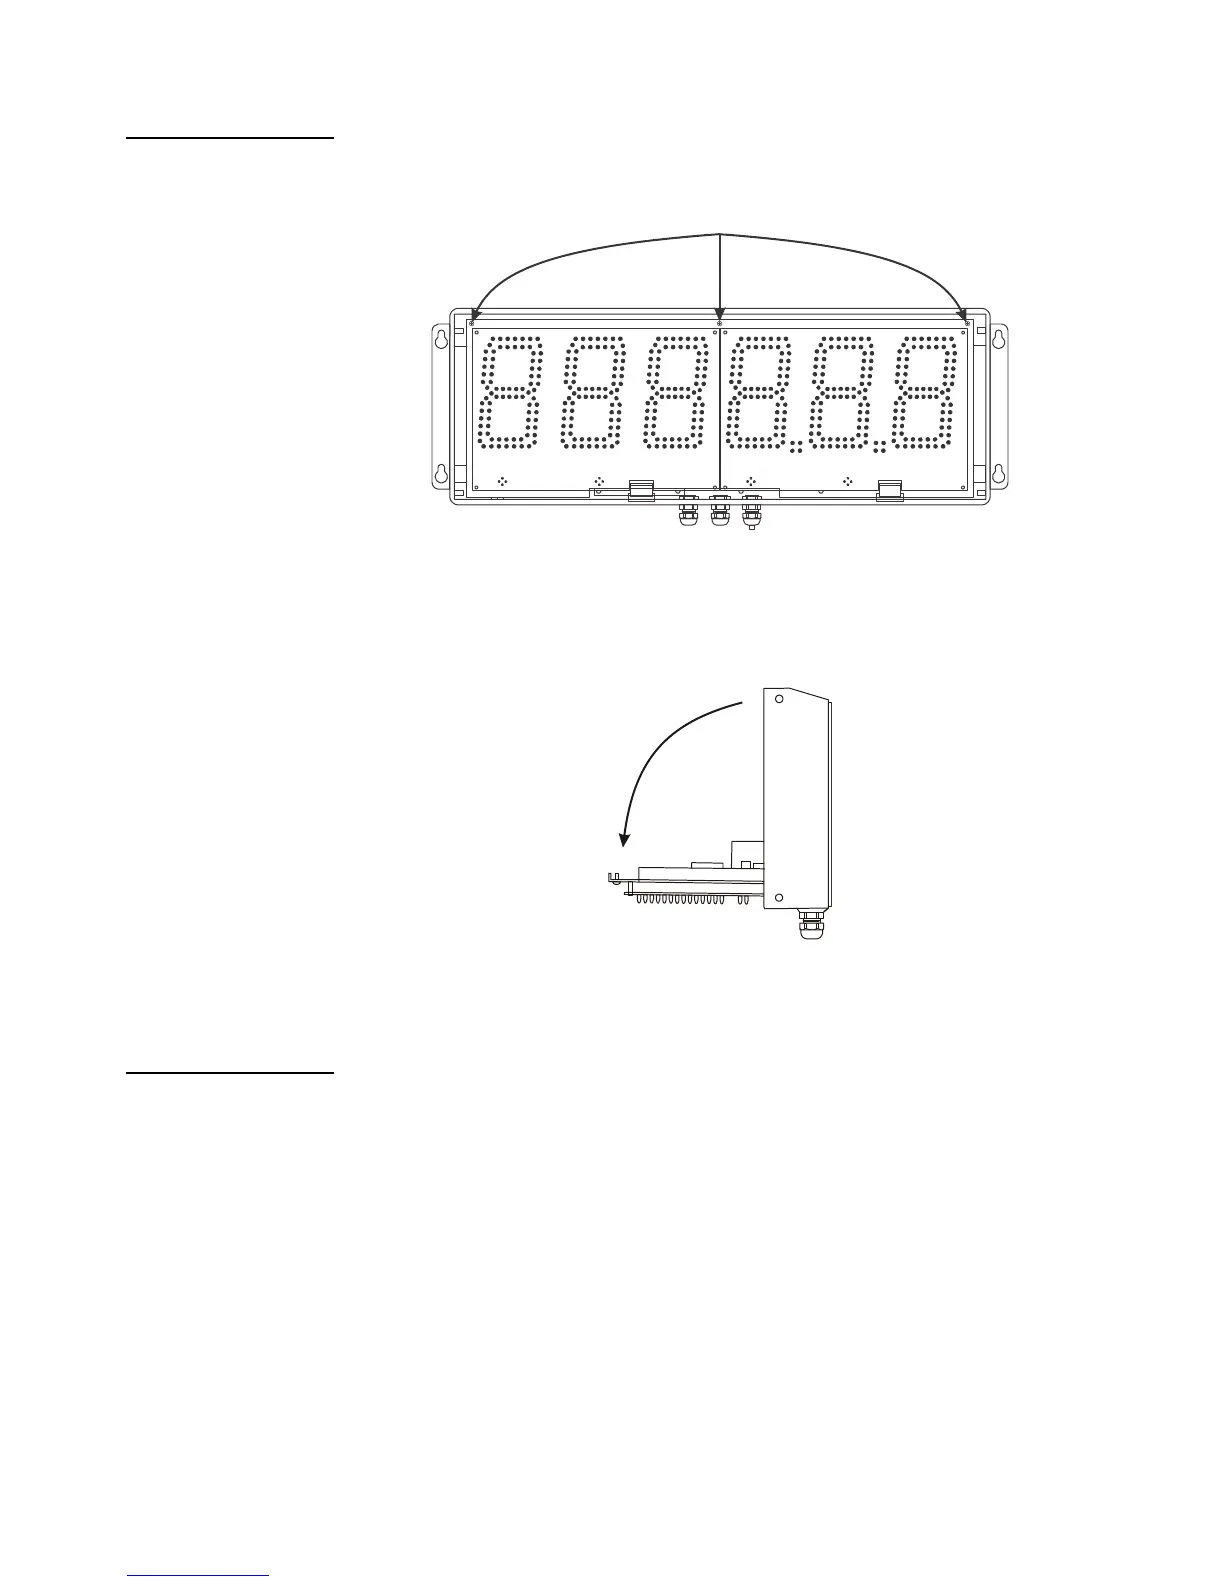
1. Remove the three (3) captive screws holding the electronics plate to the main
enclosure. See Figure 3.2.
Figure 3.2 Open enclosure
2. Slowly, allow the electronics plate to swing down. The controller board and
power supply board are now accessible for installation, wiring and service.
See Figure 3.3.
Figure 3.3 Electronics plate down
3.1.4 Mounting Instructions
1. Inspect the installation site for properly grounded power. The outlet must be
installed near the XR and easily accessible.
2. Ensure that mounting structures (walls, pole brackets, etc.) will bear the weight
of the display (XR 4500: 20 lbs, XR 6500 & 4500TL: 28 lbs).
3. Allow proper clearance for lowering and removing the electronics carriage.
4. Use proper hardware, including wall anchors where necessary, when
mounting the enclosure. Secure the main enclosure to wall or pole mounted
bracket with 5/16ths bolts.
 Loading...