XR Series Installation Instructions 43
10 Temperature Probe Installation (not on XR 2000)
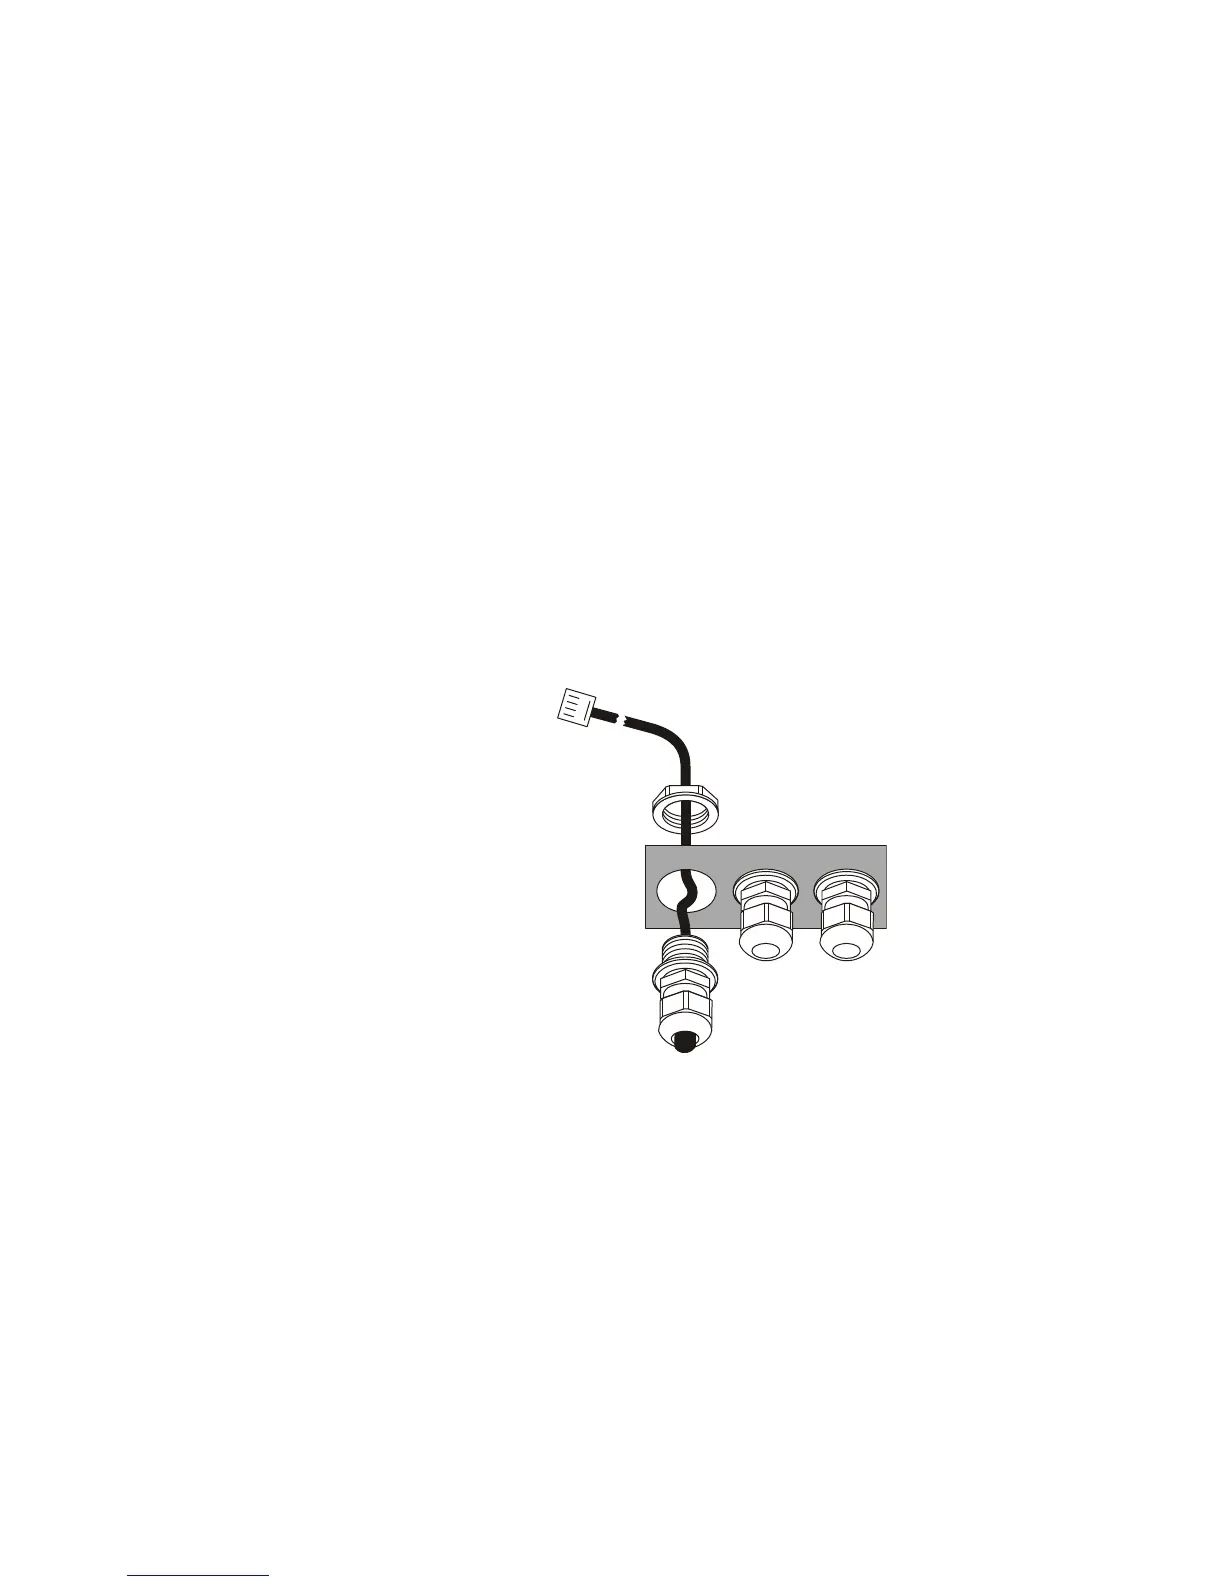
1. Unpack the optional Temperature Probe Assembly. This assembly consists of
the weather-sealed temperature probe contained in a Strain-Relief.
A 4-conductor cable runs from the temperature probe to a 4 pin connector.
2. Ensure the XR display is disconnected from power and open the enclosure.
3. Remove the rubber plug from the hole in the bottom of the XR enclosure.
4. Remove the nut from the Strain-Relief and run the cable up through the hole in
the bottom of the enclosure. See Figure 10.1.
5. Run the connector and cable through the nut and use it to fasten the Strain-
Relief to the enclosure.
6. Plug the Temperature Probe connector into the terminal (J9) on the Controller
Board. See Figure 10.2.
7. Power up the XR. Enter Configuration Mode and set Parameter 3.2 to 1 for
Fahrenheit or 2 for Celsius.
8. Exit Configuration Mode. The temperature will be displayed once the remote
display has been reading zero for the time specified in Parameter 3.4 (Time
Threshold).
Figure 10.1 Temperature probe installation
 Loading...