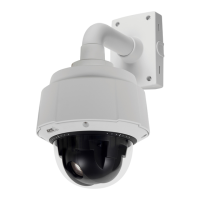
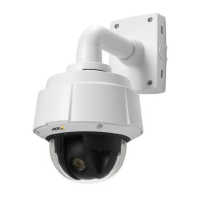
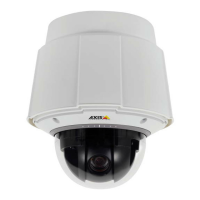
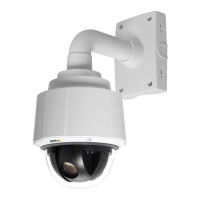
AXIS Q6032 PTZ Dome Network Camera
PTZ (Pan Tilt Zoom)
1. Go to PTZ>GuardTourand click Add.
2. Select Create a record tour and click OK.
3. Enter a descriptive name.
4. Specify the pause length between runs.
5. Click
to start recording the Pan/Tilt/Zoom movements.
6. When satisfied, click
.
7. Click OK.
Note
Only the name of the recorded tour and pause between runs can be modified. Starting a new recording will overwrite the
existing guard tour.
The recorded tour can be activated from the Live View and Guard Tour pages or throug h events. For more information see
theonlinehelp
.
OSDI Zones
On-Screen Direction Indicator (OSDI) zones can be included in the overlay text (see Overlay, on page 17)toaidtheusertonavigate
the Axis product. Each OSDI zone is set up with coordinates and a descriptive name.
OSDI zones are set up under PTZ > OSDI Zones . The Axis product uses the coordinates of the center of the view to set the lower
left and upper right zone areas. First navigate to where you would like the lowermost left point of the OSDI zone to be located.
Click Get to set the coord inates. Proceed to where the upper right point of zone should be located and click Get. Give the zone a
descriptive name and click OK.
To include the name of the O SDI zone in the overlay text, go to Video & Au
dio < Video Stream < Overlay Settings.Checkthe
Include text box and enter the modifier #L in the field. For more information about modifiers, see File Naming & Date/Time Formats
in the online help
.
Advanced
Limits
Define the pan, tilt, zoom
and focus limits for the Axis product. Movements to the left and right, up and down, can be restricted to
narrow the area under surveillance.
Configure the near focus limit to avoid focusing on objects too close to the camera lens.
Move speed sets the speed of the camera’s pan and tilt movements. The default setting is maximum speed.
When using a joystick (or emulating one with the mouse) the Enable proportional speed setting can be used to reduce the maximum
pan/tilt movement speed, i.e. the speed the camera view moves at wh en the joystick is pushed all the way out in any direction. This is
u
seful then the view is zoomed in on an object.
See the online help
for more information.
Controls
Panel Shortcut Command Buttons can be configured to provide direct access to commands issued vi a the VA PIX® Application
Programming Interface. The buttons will be displayed in the PTZ control panel, which is available in the Live View page though
the Ctrl panel button, see page 9 .
27