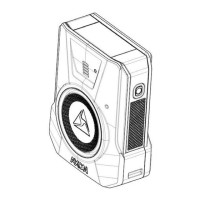
Axon Fleet 3 Installation Guide
Axon Enterprise, Inc. Page 17 of 47
o On the dashboard or upper corner of the windshield.
• Determine how all inputs will connect into Power and Signal Harness and how the
Power and Signal Harness will connect to the Hub, ASV, and router
• Determine how all Ethernet cables will route through the vehicle to connect the
devices:
o Hub to router
o Hub to Dual-View Camera
o Hub to Interior Camera
o MDC to Router
• (Optional) Determine where the power shutoff timer or PSU will be installed and
connect into Fleet 3. If using a power shutoff timer or PSU, Fleet 3 ignition sensing
should still be connected to vehicle ignition.
Tools and Supplies
The following tables list the devices, tools, and supplies needed to install Axon fleet 3.
Devices
Device Purpose
Windows computer Device registration and configuration
Android device w/Bluetooth enabled
Update Axon Signal Vehicle (ASV) firmware.
This may be needed if reusing ASV units in
the installation. The ASV must have
firmware version v4.3.1 or later.
Tools
Tool Purpose
Multimeter Testing for power, ground, true ignition, etc.
#1 Phillips screwdriver Interior camera mount installation
#2 Phillips screwdriver Hub installation to Hub bracket
Mini screwdriver set or multi-bit mini set
with mini ratcheting screwdriver
General installation
Power drill/impact driver set General installation
Mini ratchet/socket General installation

 Loading...