Axon Fleet 3 Installation Guide
Axon Enterprise, Inc. Page 22 of 47
Installation Information
This section provides information on installing the Axon Fleet 3 components. The listed
order of information and procedures is the recommended order used for installation.
Note that setting up Axon Fleet 3 vehicles, cameras, and Signal configuration in Axon
Evidence should be done before or in parallel with the hardware installation. See the Axon
Fleet 3 – Axon Evidence Setup Guide for more information.
Unboxing and Preparing Hardware
Before starting the installing, unbox and prepare the Axon Fleet 3 hardware.
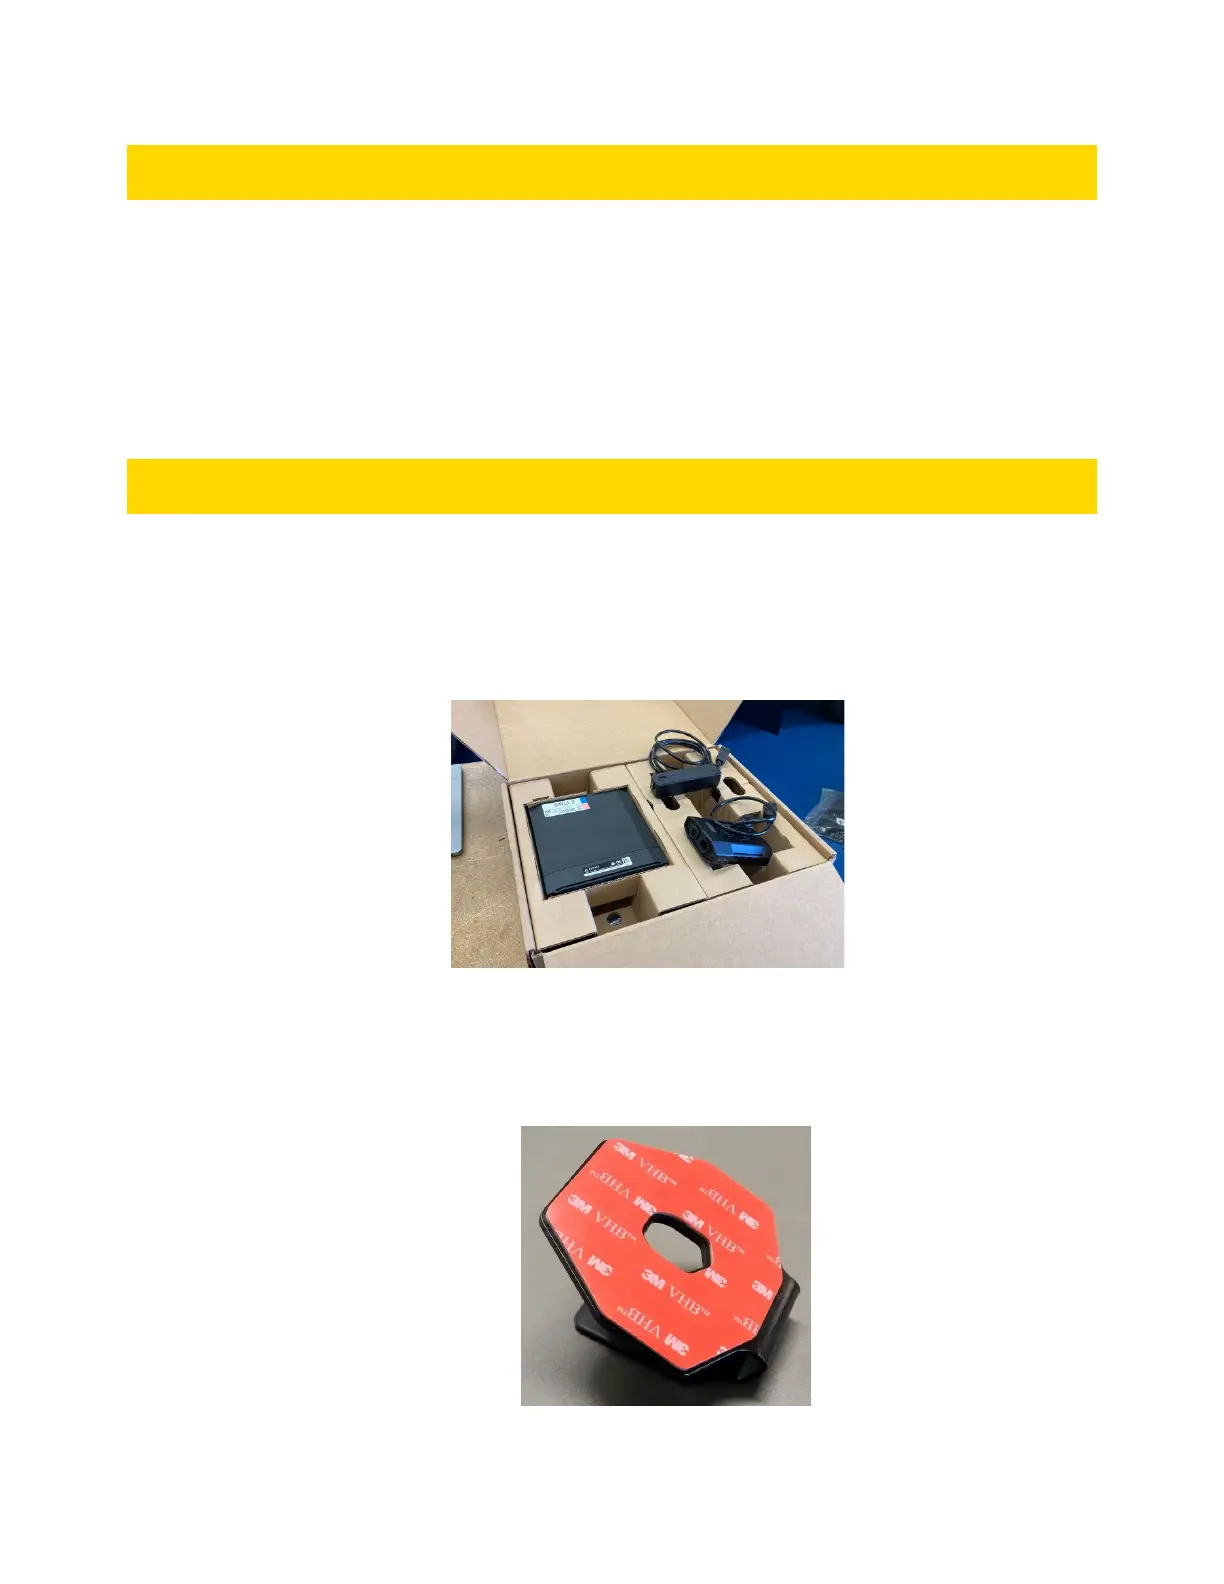
The Fleet 3 components necessary to install one vehicle can be shipped in a single box. The
following image shows the shipping box for the standard two-camera installation for a single
vehicle.
1. Remove the Dual-View camera and camera mount from the box.
2. Attach camera head to the mount using an 8mm wrench or nut driver to fasten the hex
screw supplied in the front camera packet.
 Loading...

