Axon Fleet 3 Installation Guide
Axon Enterprise, Inc. Page 23 of 47
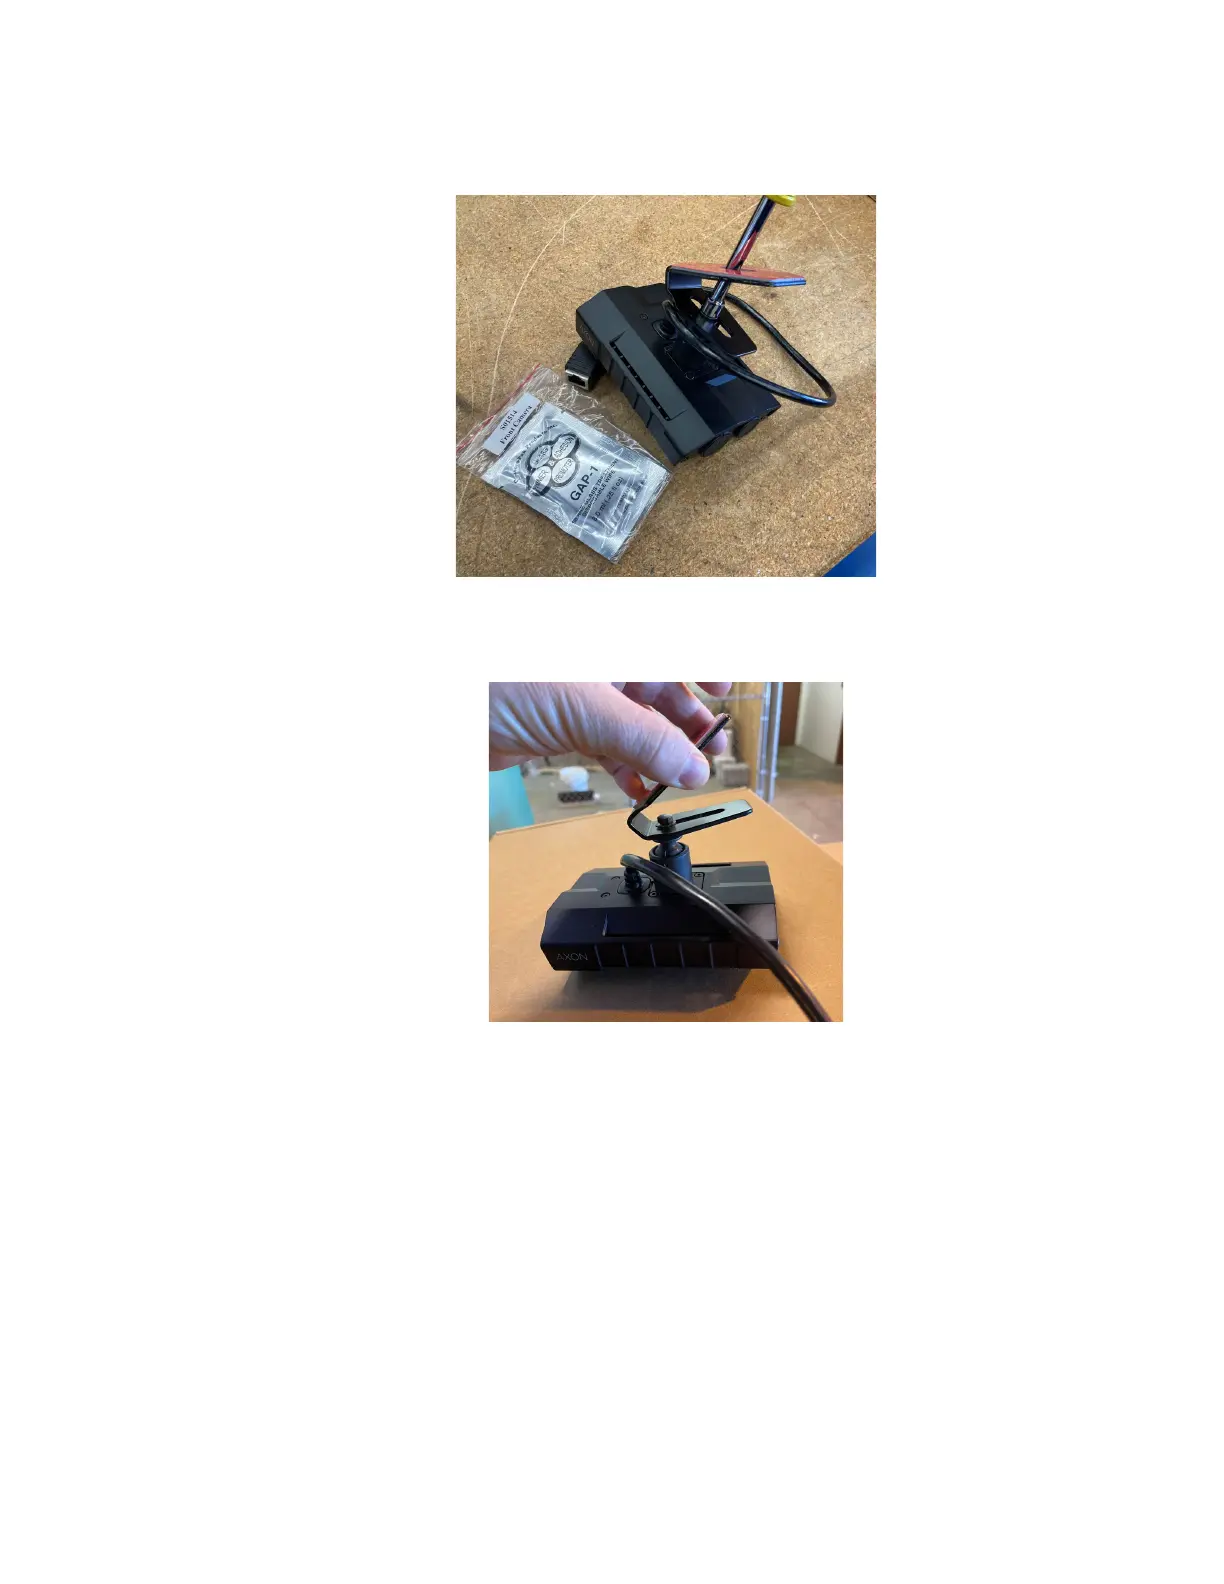
If using a driver, the nut can be reached through the center hole in the mount.
3. Slide the camera to the forward-most position of the mount and ensure the centerline of
the camera is in line with the centerline of the bracket before tightening.
Note: If for some reason the mount is not correctly installed to the windshield, the
standard process is to replace the whole mount instead of trying to replace the VHB
tape.
4. The Fleet Hub can be installed in many locations. The included bracket is designed to be
mounted on any flat surface. Common locations are:
• Behind the passenger seat on the forward-side of the prisoner partition
• On a rear trunk tray
 Loading...

