Axon Fleet 3 Installation Guide
Axon Enterprise, Inc. Page 27 of 47
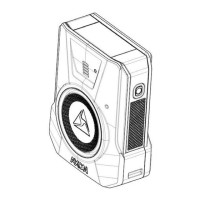
2. Place the adhesive pad on the appropriate antenna side so that the marked side faces
outwards.
3. Peel the top protective layer from the adhesive pad and affix the antenna to the surface.
Hold the antenna in place for 10 seconds to ensure adhesion.
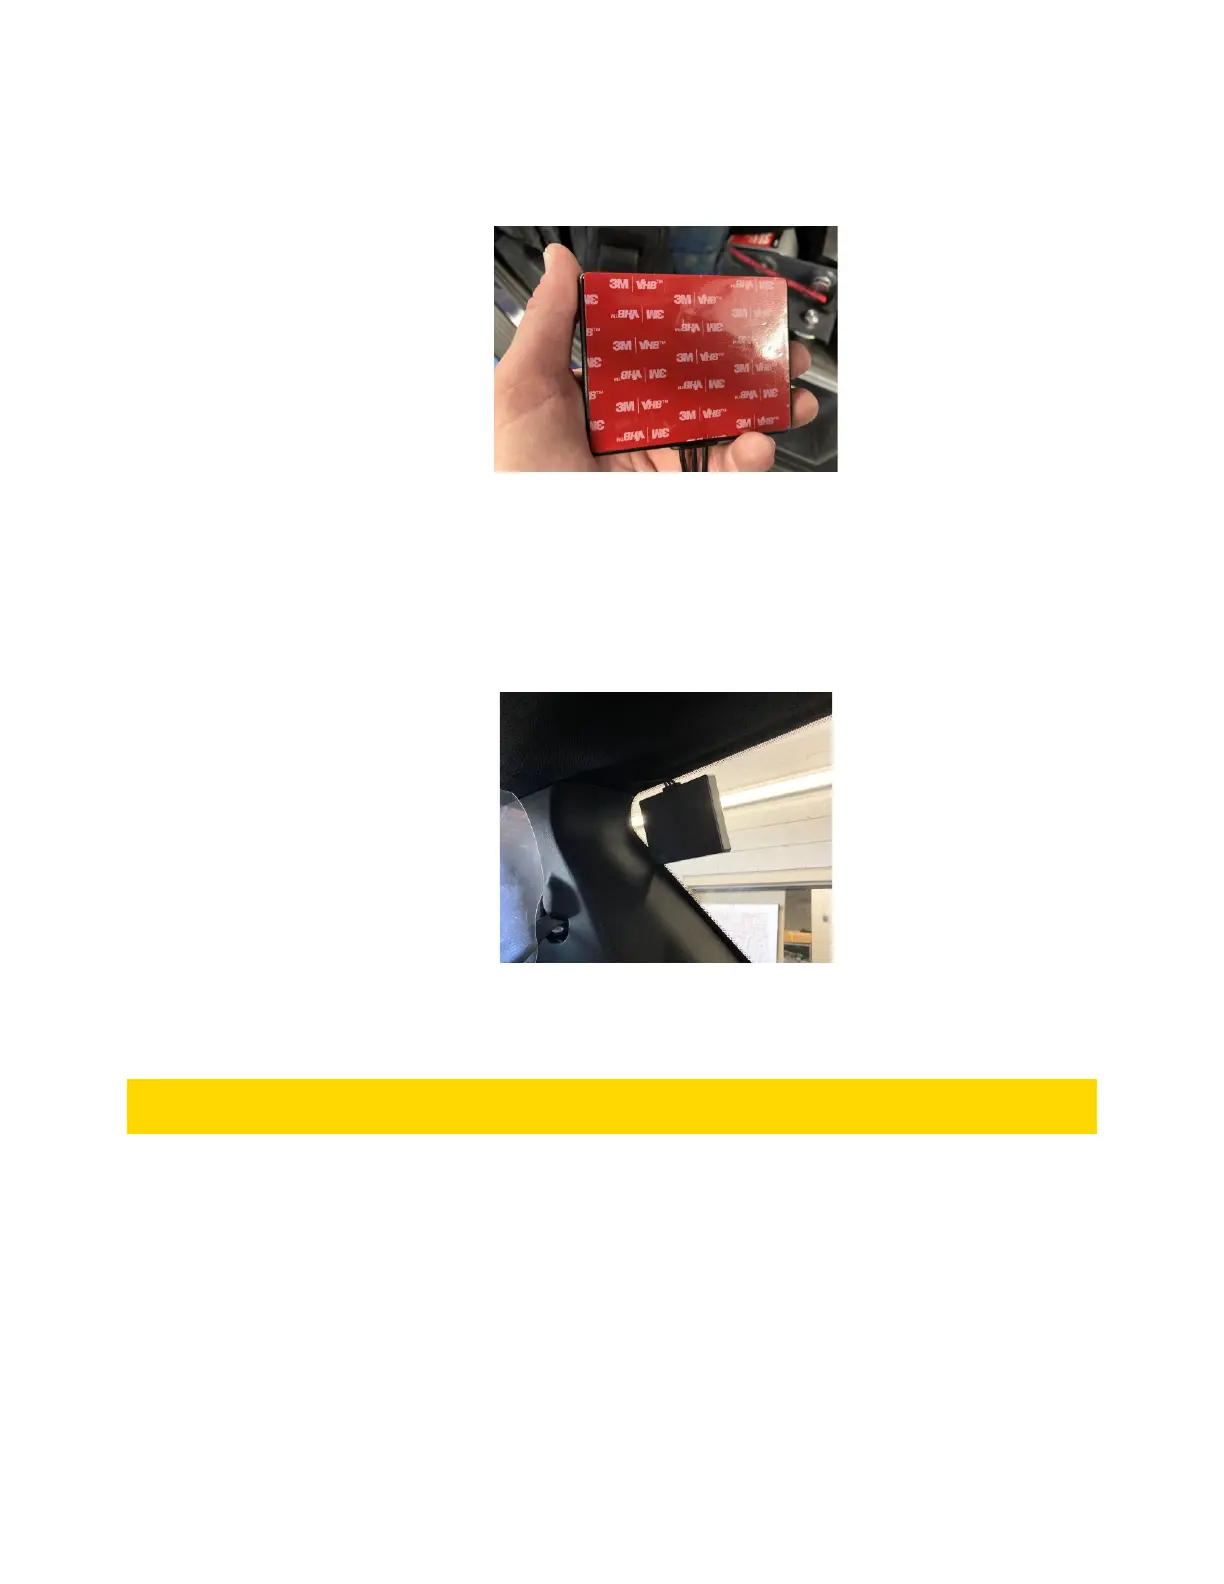
Optionally, the adhesive may first be applied to the glass surface, with the antenna then affixed
to the adhesive. This removes many of the air pockets in the adhesive that may otherwise be
visible from outside the vehicle.
4. Route the antenna wiring to Hub.
Installing the Power and Signal Harness and Ethernet Cables
The Power and Signal Harness simplifies connection of constant power, ignition sensing, and
Signal 12V Input sources into Fleet 3, Axon Signal Vehicle (ASV) device, and the router. The
harness also includes integrated fuses: 5 Amp fuse for the router and ASV, and a 7.5 Amp
fuse for the Hub.
• Place harness so that it can accept vehicle inputs and connect to the Hub, router, and
ASV (optional).
• When routing wires, ensure they do not interfere with airbag operation.
 Loading...

