Axon Fleet 3 Installation Guide
Axon Enterprise, Inc. Page 40 of 47
For safety, disconnect the power and ignition sources and confirm no power is reaching the
wires.
Note: Do not insert a voltage probe into the power cable. Doing so may cause reliability issues.
You can check for power by probing the fuse holder or one of the loose power connectors for the
ASV or router.
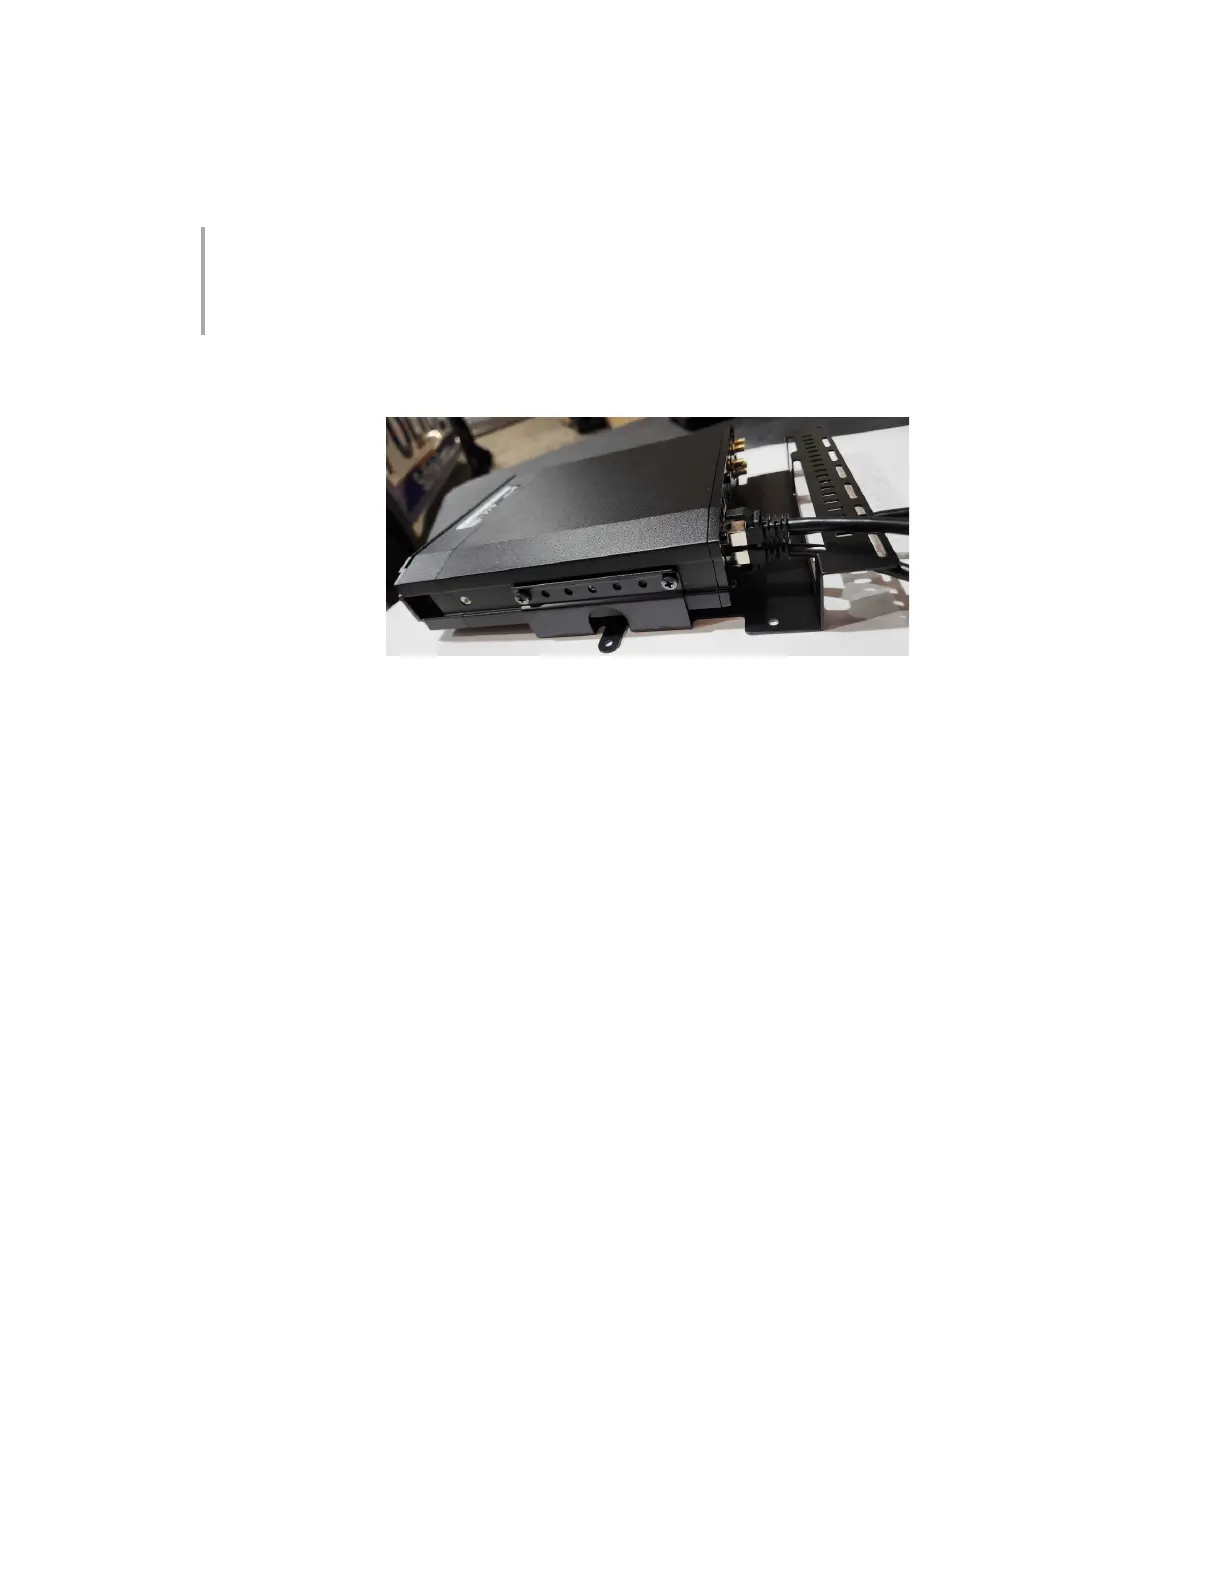
1. Slide the Hub into the Hub bracket and affix the Phillips head screws on either side of
the bracket.
2. Connect the Ethernet cables to the Hub.
a. Cameras: Axon recommends using the LAN1 port for the Dual-View camera and
the LAN2 port for the Interior camera.
i. If desired, the camera Ethernet cables can be plugged into any LAN port.
b. Router: Connect the router Ethernet cable to the WAN port.
 Loading...

